For years, the path from my driveway to my front door was less “inviting garden stroll” and more “treacherous mud run after a minor drizzle.”
It was a patchy, sad-looking strip of dirt and despair that I’m pretty sure was lowering my property value just by existing.
I decided enough was enough. I was going to build a paver walkway. Not only would this enhance my landscape and give my curb appeal a shot of adrenaline, but it would also mean I could get the mail without needing to wear my waterproof hiking boots.
My research led me to a modern miracle: interlocking paver panels. This wasn’t going to be the back-breaking, month-long odyssey of my grandfather’s day.
This was a sleek, 21st-century solution. The plan was simple: use these lightweight, grid-like panels as a base, which would mean less digging, less gravel, and hopefully, fewer chances for me to accidentally call a professional, weeping and covered in dirt.
So, grab a coffee, and maybe learn from my triumphs and my many, many stumbles.
This is the tale of how I gave my yard a spine, one paver at a time.
Choosing the Design and Layout: Or, Analysis Paralysis with a Side of Pavers

Before I could swing a single tool, I had to make some big, adult decisions.
This was arguably the most difficult part of the entire process, largely because my brain short-circuits when faced with more than three options.
1. Selecting the Pattern and Style: A Journey in Indecision
I stood in the paver aisle of my local home improvement store, a lone figure dwarfed by a kaleidoscope of concrete possibilities. The patterns, you see, are a whole thing.

• Traditional Patterns: These are your reliable, steady-Eddie options.
◦ Jack-on-Jack: This is just a simple grid. All the pavers line up, like well-behaved schoolchildren. It’s classic, it’s easy, and my brain immediately said, “Boring. Next.”
◦ Running Bond: This is the brick-wall pattern, where each row is offset by half a paver. It’s friendly, it’s timeless, and it requires minimal cutting. My brain gave a tentative nod. “Acceptable.”

• Advanced Patterns: These are for the show-offs, the people who probably also build their own furniture from reclaimed barn wood.
◦ Herringbone: The crème de la crème of paver patterns. It looks incredible, is structurally very sound, and requires you to cut approximately one billion pavers at 45-degree angles. I pictured my backyard looking like a bombed-out European street after a failed attempt. I wisely said, “Not today, Satan.”
◦ Pinwheel: This one looks like a fun, spinning party on the ground. It also requires a specific mix of paver sizes and a level of spatial awareness I simply do not possess.

Just as I was about to have a full-blown existential crisis in Aisle 7, I saw it.
My salvation: stamped pavers. These clever little devils are textured and colored to look like beautiful, expensive, natural stone, but they’re uniform in size and shape.
I could get the high-end “random ashlar” look with the simple, mindless installation of a running bond pattern. It was cheating, but it was the kind of cheating I could get behind. Sold!
2. Determining the Walkway Width: A Test of Friendship
The standard width for a walkway is 36 inches. It’s fine. It’s functional.
You can walk down it, single-file, like you’re entering a witness protection program.
For that, you need a 48-inch width. It’s the “we’re-comfortable-and-we-want-you-to-know-it” width.
It says, “Come on in, we’ve got space to spare.” I committed to the 48-inch luxurious boulevard.
My future, slightly-less-muddy self thanked me.
Understanding Walkway Layers: Or, Why My Ancestors Had It Worse
Here’s where the real engineering comes in. A walkway isn’t just pretty rocks on dirt. It’s a delicious, multi-layered cake of stability, designed to prevent your beautiful path from turning into a wavy, sunken mess in two years.
The Traditional “Suffer-for-Beauty” Method:
- A whopping 6-inch layer of gravel paver base. That’s half a foot! Do you know how much shoveling that is? My back spasmed just reading about it.
- Then, a 1-inch layer of sand on top of that, meticulously leveled, because the pavers need a soft, level bed to lie on. Like a princess and the pea, but for rocks.
- Then, and only then, do you place the pavers.
- Finally, you sweep polymeric sand into the joints, which hardens like stone when wet, locking everything together and keeping the weeds out.

The Modern “I-Have-Plans-This-Weekend” Method (My Method):
- Interlocking Paver Panels. These are plastic grids that you lay down, and they create an incredibly stable, unified base.
- You only need a ½ inch of sand underneath them. Let me repeat that: ONE-HALF INCH. I almost wept with joy.
- The pavers sit directly into the panels, held perfectly in place. No shifting, no wobbling.
- You still use the magical polymeric sand to finish the job.

The choice was a no-brainer. I was going modern. My lumbar spine threw a party.
Planning and Marking the Walkway: Where Geometry and I Had a Showdown
With my beautiful stamped pavers and my fancy panels in the garage, it was time to translate my vision to the dirt. This is where the project either becomes a masterpiece or a permanent monument to your own incompetence.
1. Creating Straight Layouts

I grabbed some stakes and string. This seems simple enough, right? Pound stakes, tie string. I felt like a pioneer.
I established my two parallel lines, 48 inches apart. Then came the first moment of true panic: making it square.
The outline said to “confirm square layout by checking that diagonals are equal.”
I remembered this from high school geometry, a subject I failed to see the practical application of until this very moment.
I measured from one corner stake to the opposite. Then the other two. They were off by, like, four inches.
I adjusted. Now they were off by six. I spent 45 minutes in the hot sun, muttering Pythagorean theorems like curses, slowly driving myself mad.
Finally, after much sweating and minor swearing, the two diagonal measurements were within a quarter-inch. “Close enough,” I declared to the uncaring squirrels.
I then used a line level to make sure my strings were level. This part was surprisingly satisfying.
2. Designing Curves

My plan was mostly straight, but I wanted a gentle, graceful curve at the end, sweeping towards the garden.
To map this out, I used a garden hose. A hose is the perfect tool for this—it lays down a beautifully fluid line. I snaked it into a curve I liked.
Then, to ensure the width stayed a consistent 48 inches, I took a 2×4 that was 48 inches long and used it as a guide, marking the inside of the curve with landscaping spray paint.
Then, with a sharp spade, I cut the sod along the line. It was like sculpting, but with more worms.
3. Setting Proper Slope: The Most Important Boring Thing

This is critical. Your walkway must slope away from your house so water doesn’t pool against your foundation and turn your basement into an indoor pool.
The grade is ¼ inch drop per foot.
My genius hack, which I highly recommend, was to take my 2-foot level and tape a ½-inch thick piece of wood to one end.
Why? Because ¼ inch per foot over 2 feet equals… a ½ inch!
So, when I placed the level on the ground, if the bubble was centered, I knew I had the perfect slope.
I felt like Einstein in work boots. I checked the slope along my strings, adjusting their height until the slope was consistent.
I followed the natural slope of my yard where I could, which made things easier.
Excavation and Preparation: The Sweaty Part
Okay, the fun theoretical part was over. It was time to get dirty.
1. Removing Sod and Dirt

The depth you need to dig is the paver thickness, plus the base material.
For me, that was my paver (about 2 ⅜ inches) plus the panel (about ¾ inch) plus the ½ inch of sand.
So, roughly 3.5 to 4 inches deep. The key is that the top of your pavers should sit at or slightly above the surrounding ground.
I started digging. And digging. And digging. My “slightly wider” trench quickly became a bit of a wobbly mess, but I assured myself the edging would hide my sins.
I used my long level, constantly checking to make sure my slope was maintained in the dirt. It was grueling, monotonous work.
I found a toy car I’d lost in 2012. I hit a rock the size of a small planet and had to spend 20 minutes in a negotiation with it using a pry bar.
My hands developed blisters that had their own smaller, baby blisters.
2. Optional Step: Install Landscape Lighting Cables

Foresight is not always my strong suit, but this time, I had a spark of genius.
I knew I’d want some sweet, sweet path lighting in the future.
So, before I went any further, I buried a conduit with a pull string under where the walkway would be.
Future-Me will be eternally grateful to Present-Me, who was already tired and slightly sunburned.
3. Compact the Ground

Once the trench was dug, I couldn’t just start throwing sand in. The soil underneath had to be firm.
I rented a plate compactor from the local tool shop. This thing is a glorious, gasoline-powered beast that vibrates with the rage of a thousand angry bees.
It weighs about 100 pounds and trying to steer it is like trying to walk a bulldog on a sugar rush.
But my goodness, does it work. I marched it up and down my trench, and it turned my soft, fluffy dirt into something as solid as a rock concert floor. It was immensely satisfying.
4. Add a Weed Barrier

I laid down landscape fabric over the entire compacted area, trimming it so it extended just a bit beyond my edges.
This is the “screw you” layer to any future weeds that get ideas above their station.
Installing the Paver Panels: The Calm Before the Storm
Finally, we were getting to the good stuff!
1. Add Leveling Sand Layer

This is where the ½-inch PVC pipe trick comes in. I laid two pipes down in my trench, parallel to each other.
Then I dumped a pile of leveling sand between them. Taking a straight 2×4, I rested it on the pipes and pulled it towards me, scraping off the excess sand.
When I lifted the pipes out, I had a perfectly smooth, perfectly level (well, perfectly sloped) bed of sand. It was so flawless I almost didn’t want to put anything on top of it.
2. Set the Panels

The panels are light and interlock with little grooves. I started at my driveway—my nice, straight edge—and began clicking them together.
I made sure to overlap the grooves properly. For my 48-inch width, I had to use multiple panels side-by-side, and I made sure to stagger the joints like you do with plywood or drywall, for extra strength.
Within an hour, the entire trench was covered in a black plastic grid. It looked like a futuristic landing pad. Progress!
3. Trim Excess Panels
Of course, my walkway wasn’t a perfect rectangle. At the curves and angles, the panels needed to be trimmed.
I laid a 2×4 that was wider than the walkway across the area I needed to cut, used it as a straight-edge guide, and scored the plastic panel with a utility knife.
A few firm snaps, and it broke cleanly along the line. Easy peasy.
Laying the Pavers: Where the Magic Happens
This is the part that makes you feel like a god. The transformation is instant and glorious.

1. Start from a Straight Edge
I began again at my driveway, laying the first course of pavers. Because I was using the panels, each paver just dropped perfectly into its little cell.
I decided to lay my outer border first, creating a nice frame, and then fill in the center.
2. Spacing and Alignment
The panels naturally created a consistent ¼-inch joint between each paver. It was idiot-proof. Every few feet, I’d lay my long straightedge across the pavers to make sure everything was lining up perfectly.
It always was. The 2×4 I’d used as a width guide earlier came in handy again to quickly check that my walkway wasn’t mysteriously getting wider or narrower.
3. Install Edging
As I went, I installed plastic paver edging along the perimeter. This is what locks the whole assembly in place and prevents the edges from spreading over time.
I’d place a section, spike it into the ground with the provided 12-inch nails (which felt like driving railroad spikes), and then continue. It made the whole structure feel incredibly solid.
4. Cutting the Pavers: The Moment of Truth
Inevitably, I reached the end of a row, or the curve, and needed a half-paver. This was the scary part. I marked my cut line with a pencil and a square.
I put on my safety glasses and respirator (concrete dust is no joke), fired up my circular saw with a masonry blade, and went for it. The noise was horrific—a screaming, grinding cacophony that made my dog hide in the next county.
A cloud of fine white dust erupted into the air. But when it cleared, I had a perfectly cut paver. For the gentle curve, I found it easiest to lay the full pavers in place, trace the cutting line directly onto them using the hose as a guide, and then cut them.
It was tedious, but the result was a beautifully flowing curve.
Finishing the Walkway: The Grand Finale
The hard work was done. All that was left was the detail work that takes your project from “hey, that’s pretty good” to “wait, you did that YOURSELF?!”

1. Filling the Joints
I bought the fancy polymeric sand. This isn’t regular sand; it has special additives that, when misted with water, harden and bind the pavers together.
I poured a pile onto my finished walkway and used a push broom to sweep it back and forth, working it into every single crack and joint.
I went over it again and again until every gap was completely full.
Then, I rented the plate compactor one more time. This time, I placed a scrap piece of carpet on the plate to protect the surface of my beautiful pavers.
I ran the compactor over the entire walkway, which vibrated the pavers and settled them into the sand, forcing the sand down even deeper into the joints.
I swept in more sand, compacted again, and repeated until the joints would accept no more sand.
2. Clean the Surface
This step is crucial to avoid “hazing.” You must get all the excess polymeric sand off the surface of the pavers before you wet it, or it will cure there as a white, dusty film.
I used my leaf blower on a low setting and meticulously blew off every single paver, going over it three times just to be sure.
Then, with a gentle spray from my hose nozzle, I misted the entire walkway. The instructions said to do this until the sand in the joints started to darken, indicating it was wet.
I held my breath. The water activates the glue in the sand, and you have to keep it moist for a little while for it to cure properly. I did as instructed, and then I left it alone.
For 24 hours, it was a “No Walk Zone.” My family was not pleased.
3. Final Touches
Once it was fully cured, I took my utility knife and trimmed off the excess landscape fabric peeking out from the edges.
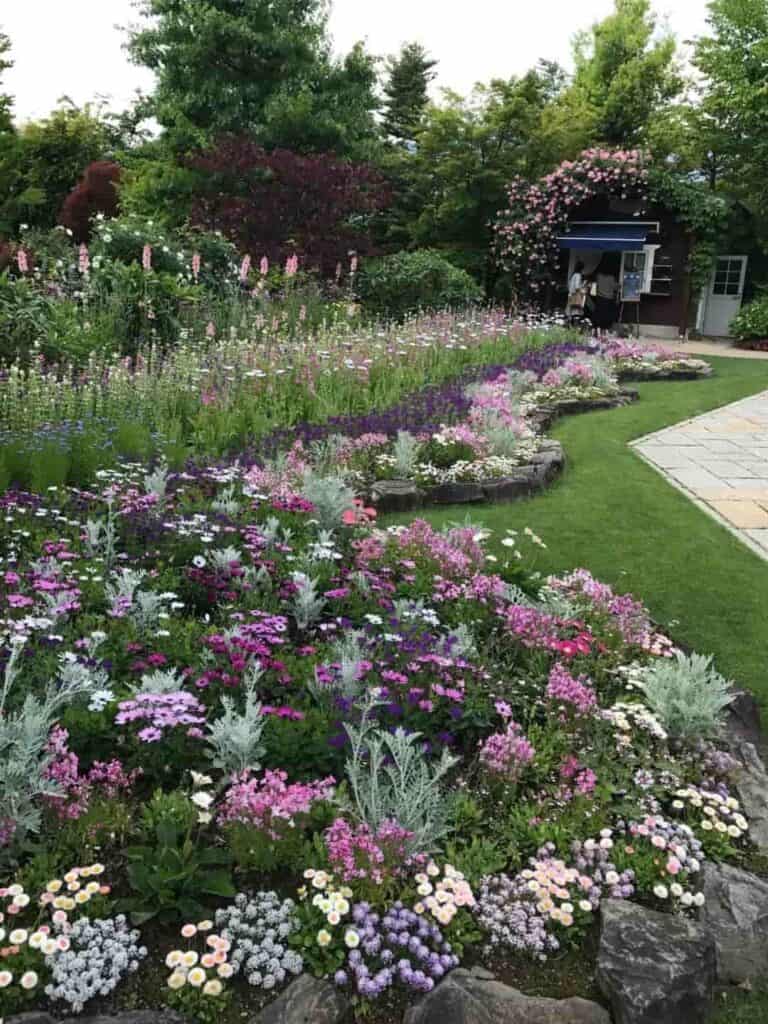
I planted some cheerful flowers along the sides and already started planning the low-voltage lighting that would hook up to the cable I’d buried.
The transformation was absolute.
Conclusion
So, there it is. My new paver walkway is complete. It’s durable, it’s beautiful, and it has single-handedly made my house look about 10% more expensive.
Every time I walk down it, I get a little jolt of pride. Sure, my back ached for a week, I have a permanent tan line from my safety glasses, and I’m probably still inhaling concrete dust, but it was worth it.
It’s more than just a path. It’s a testament to the fact that with a solid plan, the right tools, a moderate amount of swearing, and a willingness to fight a plate compactor for control, you can truly transform your space.