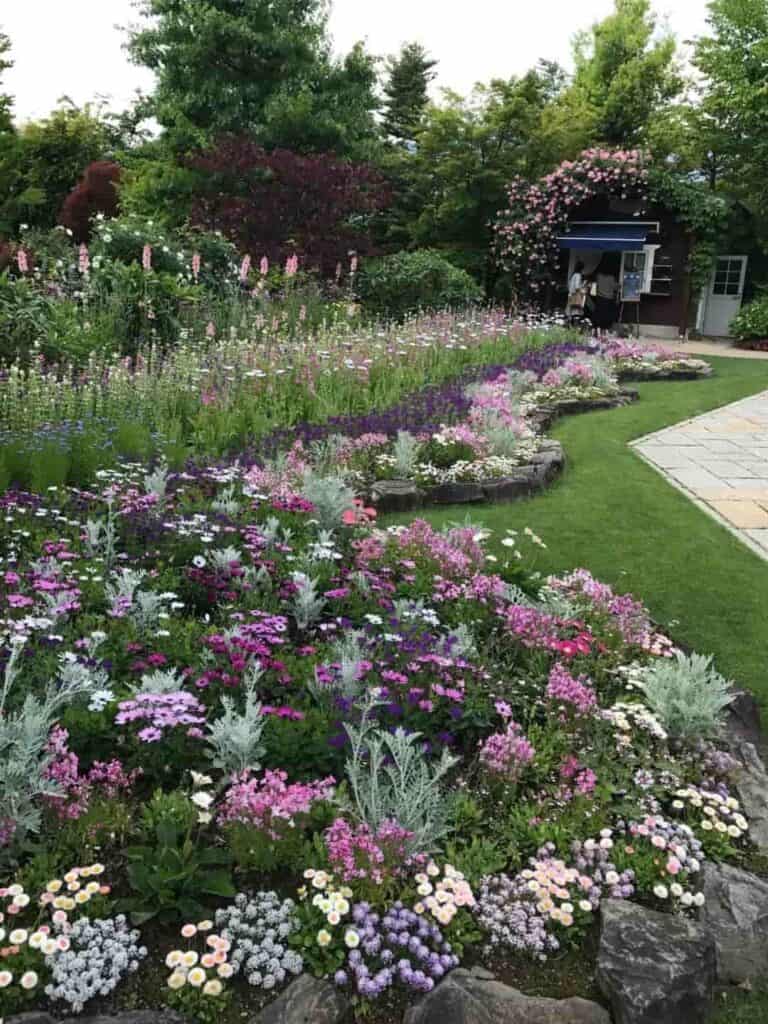
I have a tendency to scatter gardening tips like dandelion seeds in a hurricane—one brilliant idea nestled between a rant about aphids and a three-minute pan over a bee on a coneflower.
Well, no more! Consider this your official, one-stop-shop, master compendium of my all-time favorite garden tips and tricks (or as the cool kids call them, “hacks”).
Welcome, pull up a tuffet (or just sit on the grass, it’s fine), and let’s get clever.
1. The Mailbox in the Garden Hack: Your New Secret Storage Weapon

Let’s start with what sounds like a prank I’d play on a new neighbor: installing a mailbox in the middle of your flower bed. I promise you, I am not trying to confuse your mail carrier. This is, hands down, one of the most brilliantly simple things I’ve ever done.
The genesis of this idea was the universal gardener’s lament: the tool shed is approximately seventeen miles away from where you’re currently working. You need your snips. You trek back to the shed. You return, snips in hand, only to realize you need the twine you left next to the snips. It’s a cardio routine masquerading as a hobby.
Enter: The Garden Mailbox. It’s weatherproof, it’s cute, and it’s designed to hold things. I installed one right in the middle of a bed years ago, and it has been a game-changer. You can mount it on a handsome post stuck right in your garden, like a very useful birdhouse, or even nail it to a tree.
The benefit is sublime simplicity. It keeps your most-used tools—pruners, snips, a roll of tape, a trowel, a secret candy bar—right where you need them. It eliminates the back-and-forth trips that eat up gardening time and morale. I am not exaggerating when I say every gardener deserves this little nugget of convenience. It’s a life hack that pays for itself in saved steps and preserved sanity.
2. Saving Potting Soil Using Nursery Pots as Fillers
Let’s talk about the dark side of those gorgeous, large planters: they are bottomless pits for potting soil. Filling them is a financially and physically draining experience. You might as well just open your wallet and pour the contents directly into the pot.
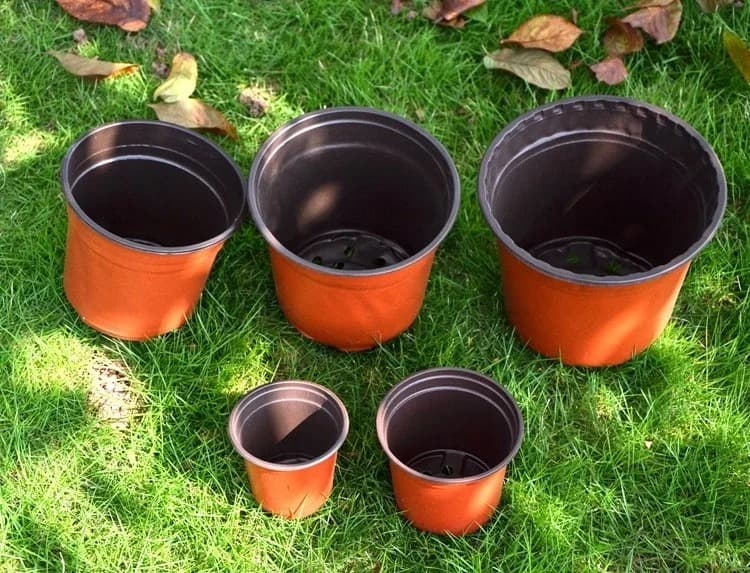
But wait! There’s a better way, and it involves all those plastic nursery pots you’ve been guiltily hoarding in your garage. Instead of filling the entire, cavernous planter with expensive soil, use the pots as filler.
Here’s the drill: pick a nursery pot (or a few) that fits nicely in the bottom of your large container. Turn it upside down. Now, pour your potting soil on top of it. You’ve just created a false bottom.
The benefits are threefold:
- You save a small fortune on soil. You’re only filling the top portion of the planter where the roots will actually be.
- It improves drainage. All those gaps between the upside-down pots create lovely air pockets, preventing the drainage holes from getting clogged with a solid brick of wet soil.
- It makes the planter lighter. This is a critical feature if you ever need to move the thing. Your back will thank you.
Exception to the rule: If you’re planting a perennial or an evergreen shrub that will live in that pot for years, fill it all the way with soil. Those roots need the space and moisture retention for the long haul.
3. Reusing and Refreshing Potting Soil
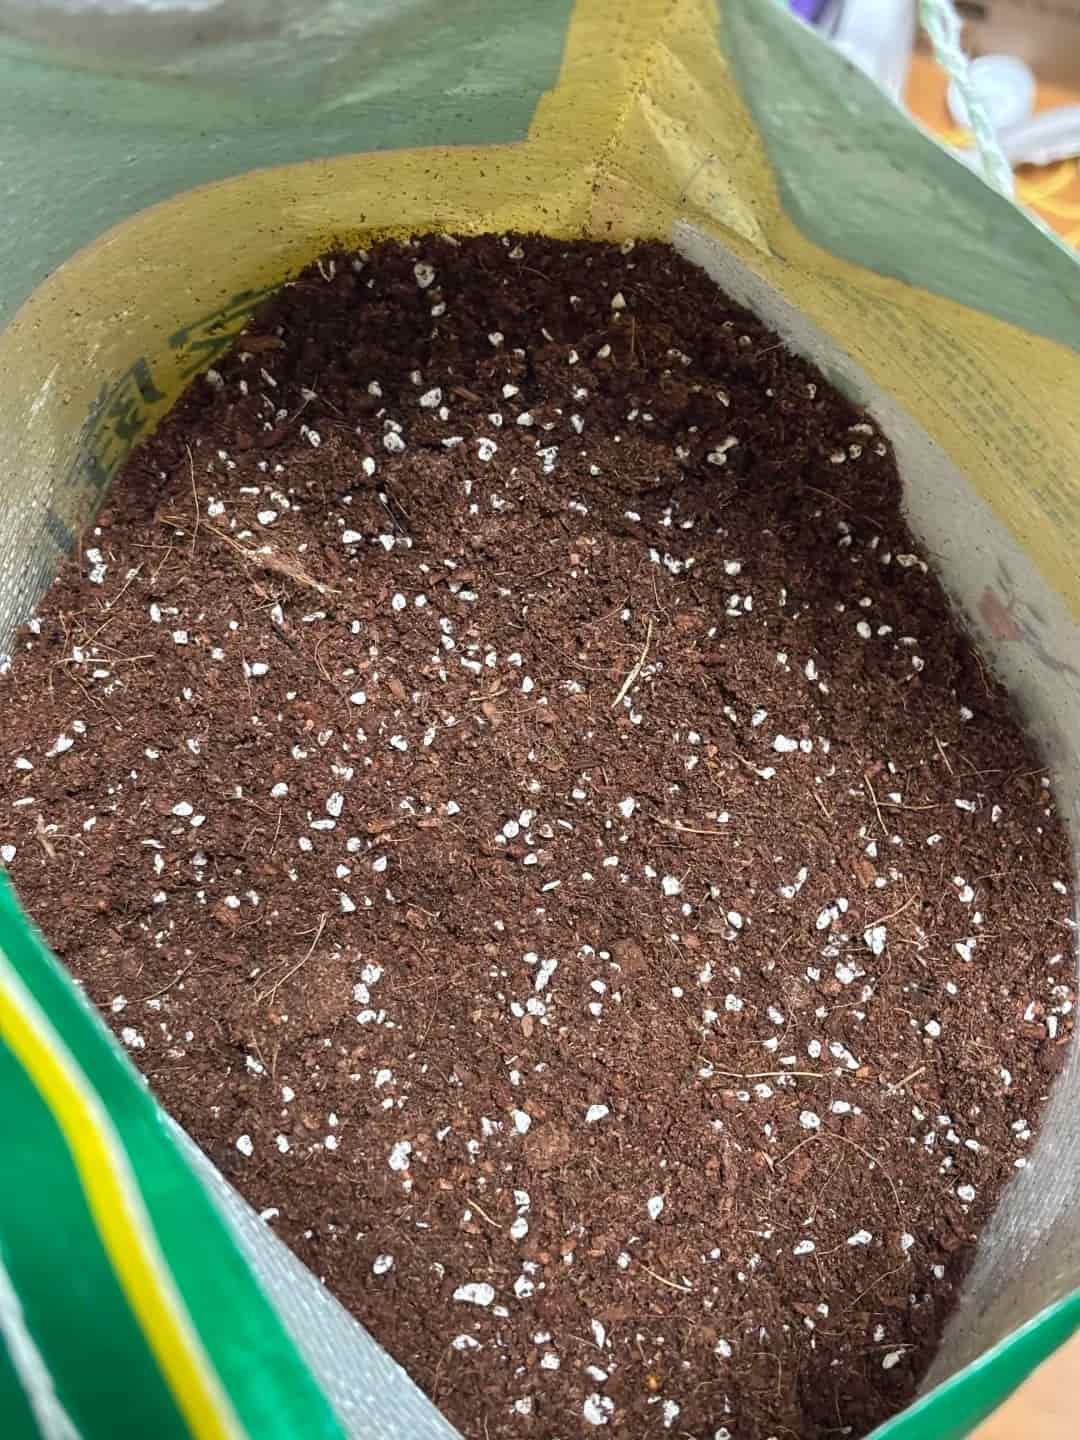
The gardening industry would have you believe that potting soil is a single-use item, like a paper plate or my motivation to go to the gym. This is nonsense. You do not need to buy new soil every single season. My wallet and my compost bin rebel against the idea.
Here is my simple process for giving old potting soil a new lease on life:
a. Dump and De-plant: Empty the container, removing the old plant and as much of its root system as you can.
b. The Great Root Hunt: Sift through the soil with your hands like a squirrel looking for a particularly elusive nut, picking out all the old roots and debris.
c. The Top-Up: Remove about the top third of the old soil (it’s the most depleted). Then, mix the remaining old soil with a fresh batch of potting mix to refill the container.
d. The Secret Sauce: Add a slow-release fertilizer, like my beloved Osmocote. This is the multivitamin that brings your revitalized soil back to peak performance.
This method saves you a ridiculous amount of money and keeps perfectly good organic matter out of the landfill.
When DO you replace it entirely? When you’ve had a particularly vigorous plant in there, like ornamental grasses, which can turn the soil into a dry, water-repellent brick that’s more like a sponge made of dust. At that point, it’s not soil; it’s a cry for help. Toss it on the compost heap and start fresh.
4. Buying Perennials You Can Divide (The “Buy One, Get One Free” Strategy)
I am a frugal gardener at heart. I see a price tag on a large, lush perennial at the nursery and my first thought is, “How can I turn you into two?” Often, you can. This is the gardening equivalent of a superhero origin story.
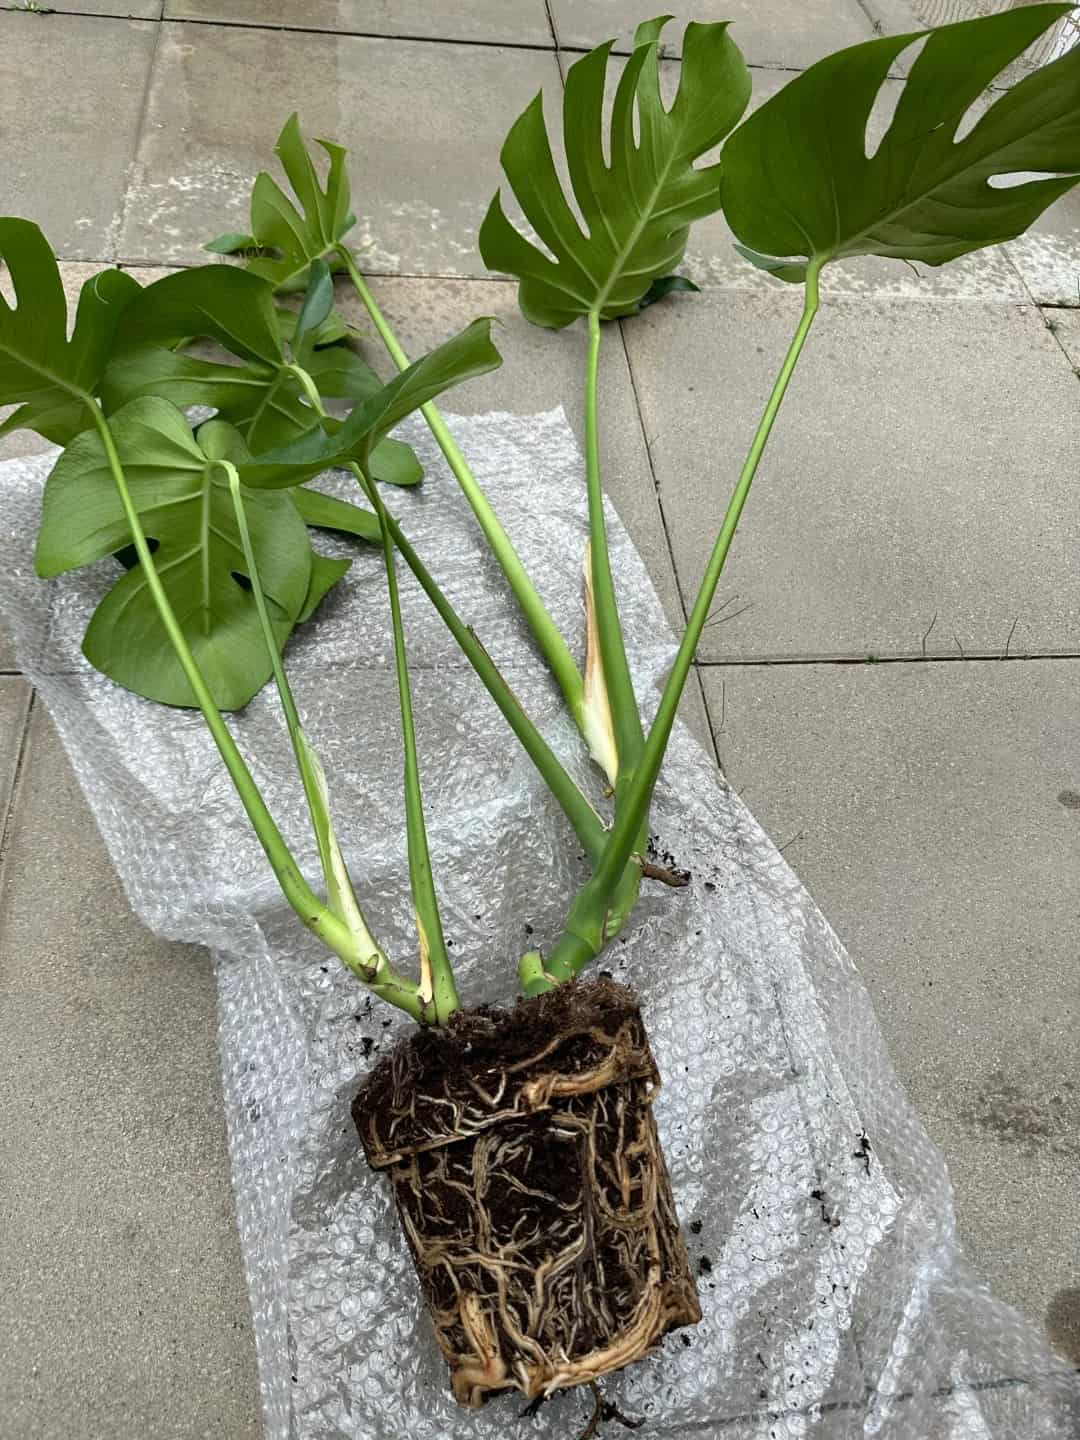
Many perennials at garden centers are root-bound, which is bad for them but great for you. It means they are literally bursting at the seams, ready to be split into multiple plants.
My method is brutally simple: At the nursery, gently pop the plant out of its pot and look for the crown. See a natural division? A seam where you could imagine a spade sliding through? Bingo. You’ve just found a two-for-one deal. Buy it, take it home, and before you even plant it, use a sharp spade or even just your hands to gently but firmly tear or cut that bad boy into two (or sometimes more!) separate plants.
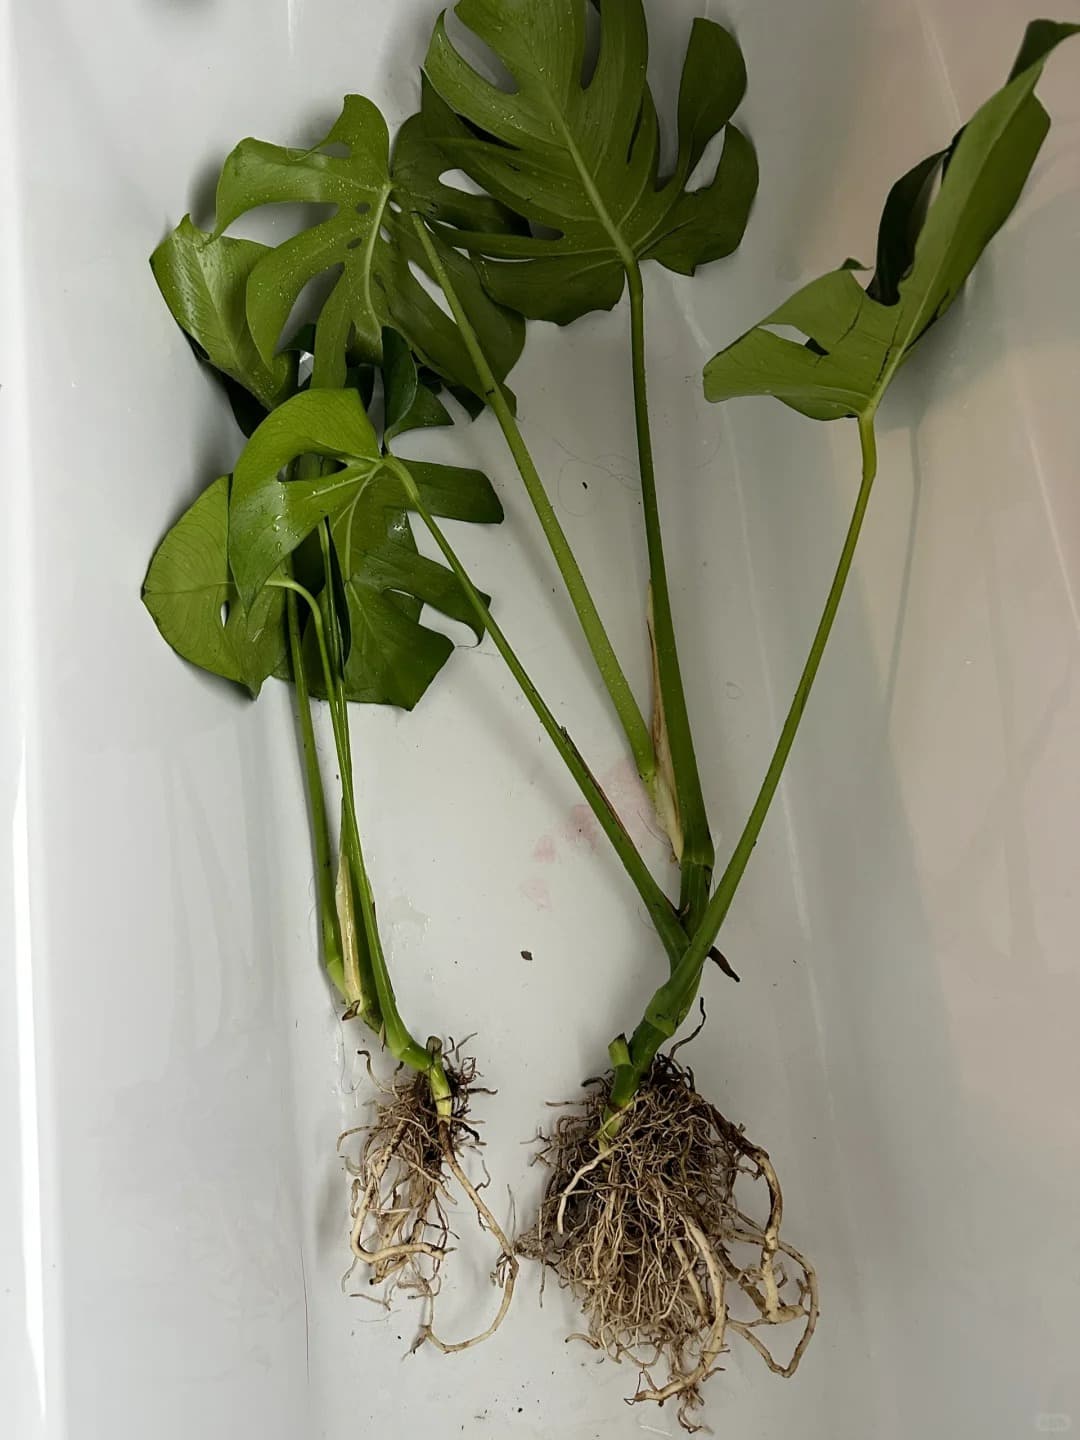
The outcome? You’ve instantly doubled your floral bounty for the price of one. It’s budget-friendly gardening at its most satisfying.
5. Using Coffee Filters in Planters
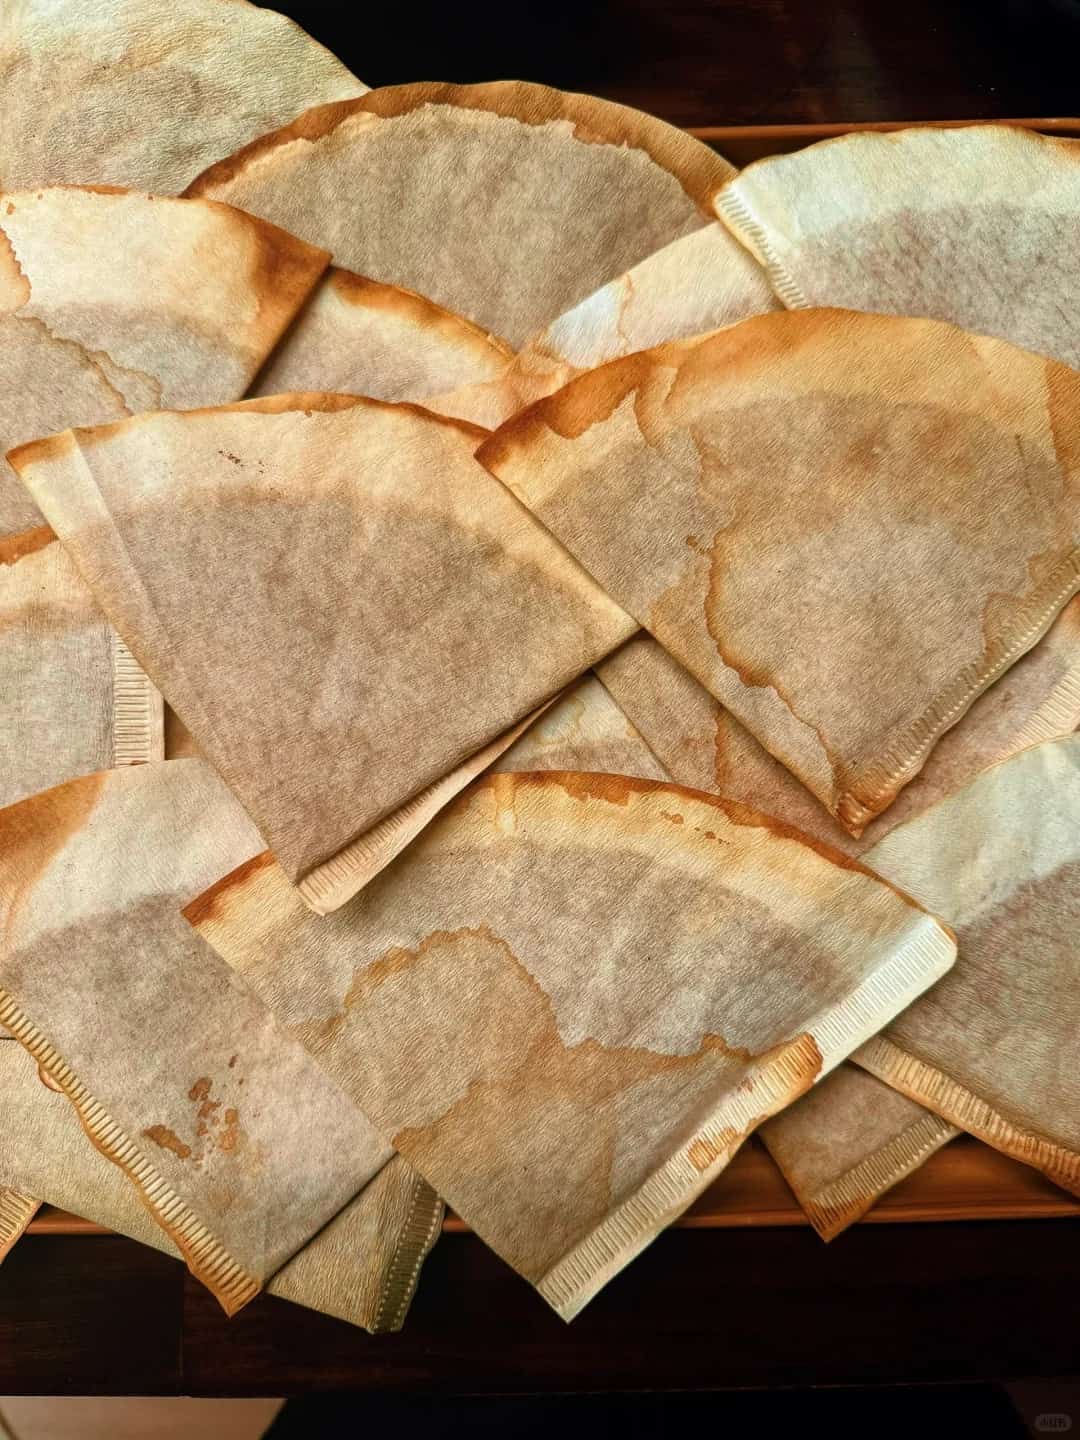
This hack is so simple it feels like cheating. Before you add soil to any planter with a drainage hole, line the bottom with 2-3 coffee filters.
Why? They act as the perfect barrier. They let water drain out freely but prevent the soil from washing out with it, keeping your patio, deck, or windowsill mysteriously clean. No more little piles of soil beneath your pots after a heavy rain.
And before you ask, “Won’t they just rot?” Yes, eventually. But that’s the beauty of it—they decompose slowly, so they’ll last the season. Just replace them the next time you refresh the soil. It’s a tiny, biodegradable miracle.
6. DIY Plant Feet from Scrap Wood
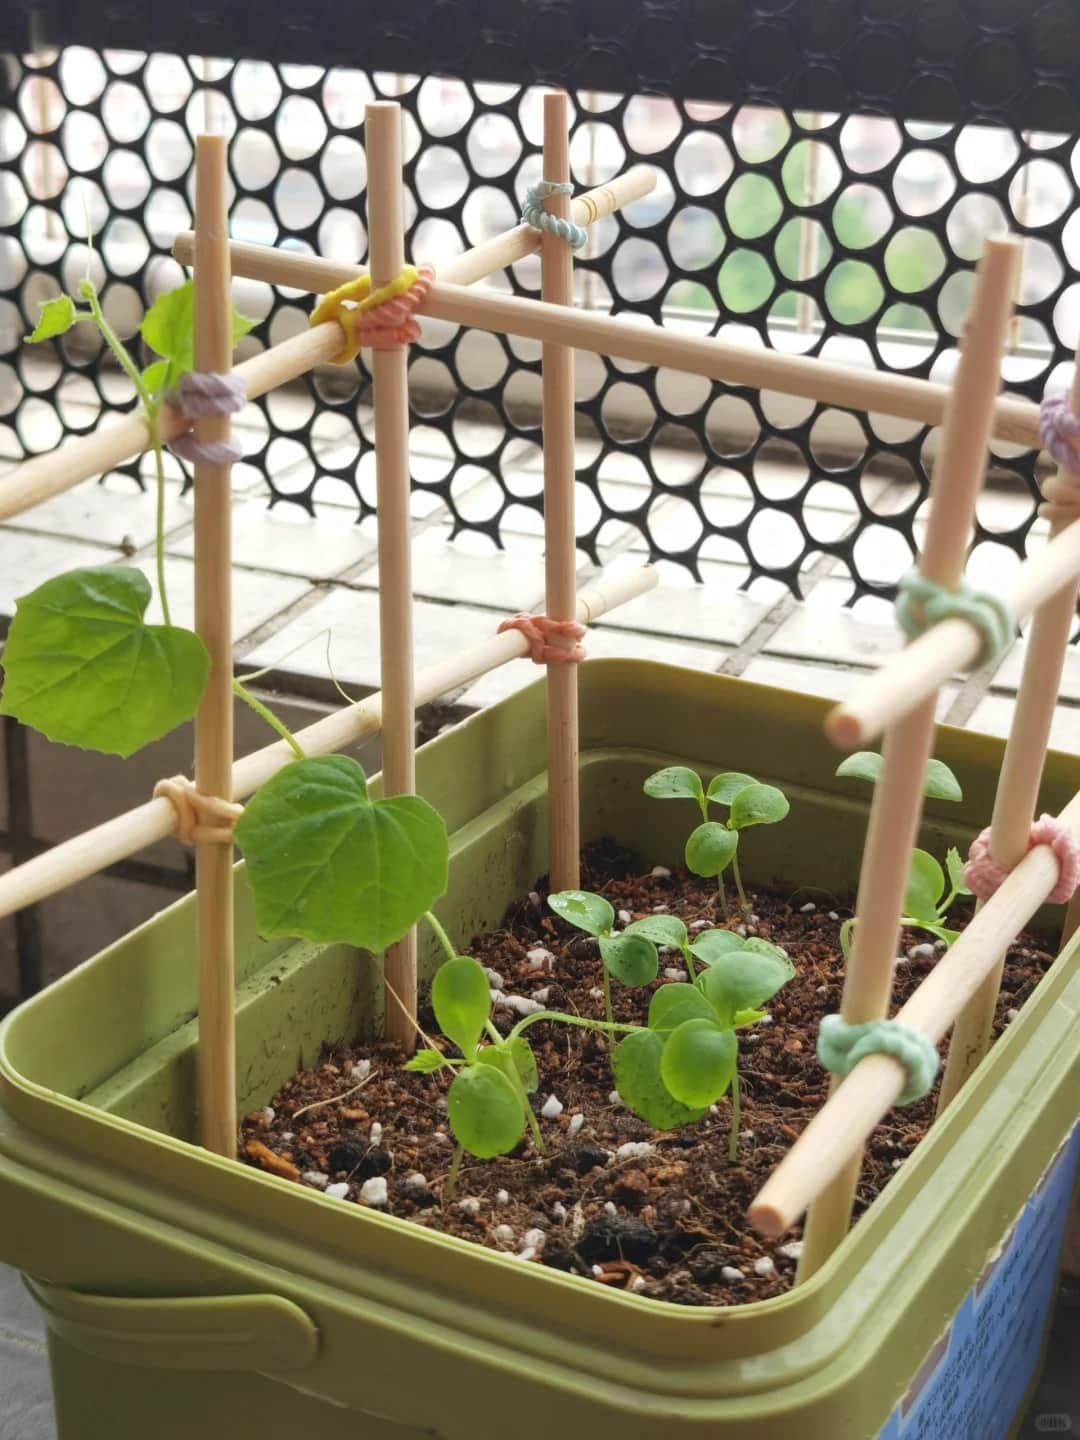
Planters sitting flat on the ground are like people wearing wet socks—uncomfortable and prone to problems. They can’t drain properly, airflow is restricted, and it creates a five-star hotel for pill bugs and other creepy-crawlies to set up camp.
The solution? Give your pots some lift! You can buy fancy “plant feet,” or you can be like me and raid the scrap pile. I’ve used everything from paint stirrers to chunks of leftover Trex decking from a construction project.
Just cut a few small, equal lengths and place them under the rim of your planter. Instant elevation! This small gap promotes killer drainage and airflow, and it evicts any squatters trying to live underneath. If you have access to old pallet wood, you’ve got yourself a lifetime supply of free plant feet. You’re welcome.
7. Newspaper and Cardboard as Natural Weed Barriers
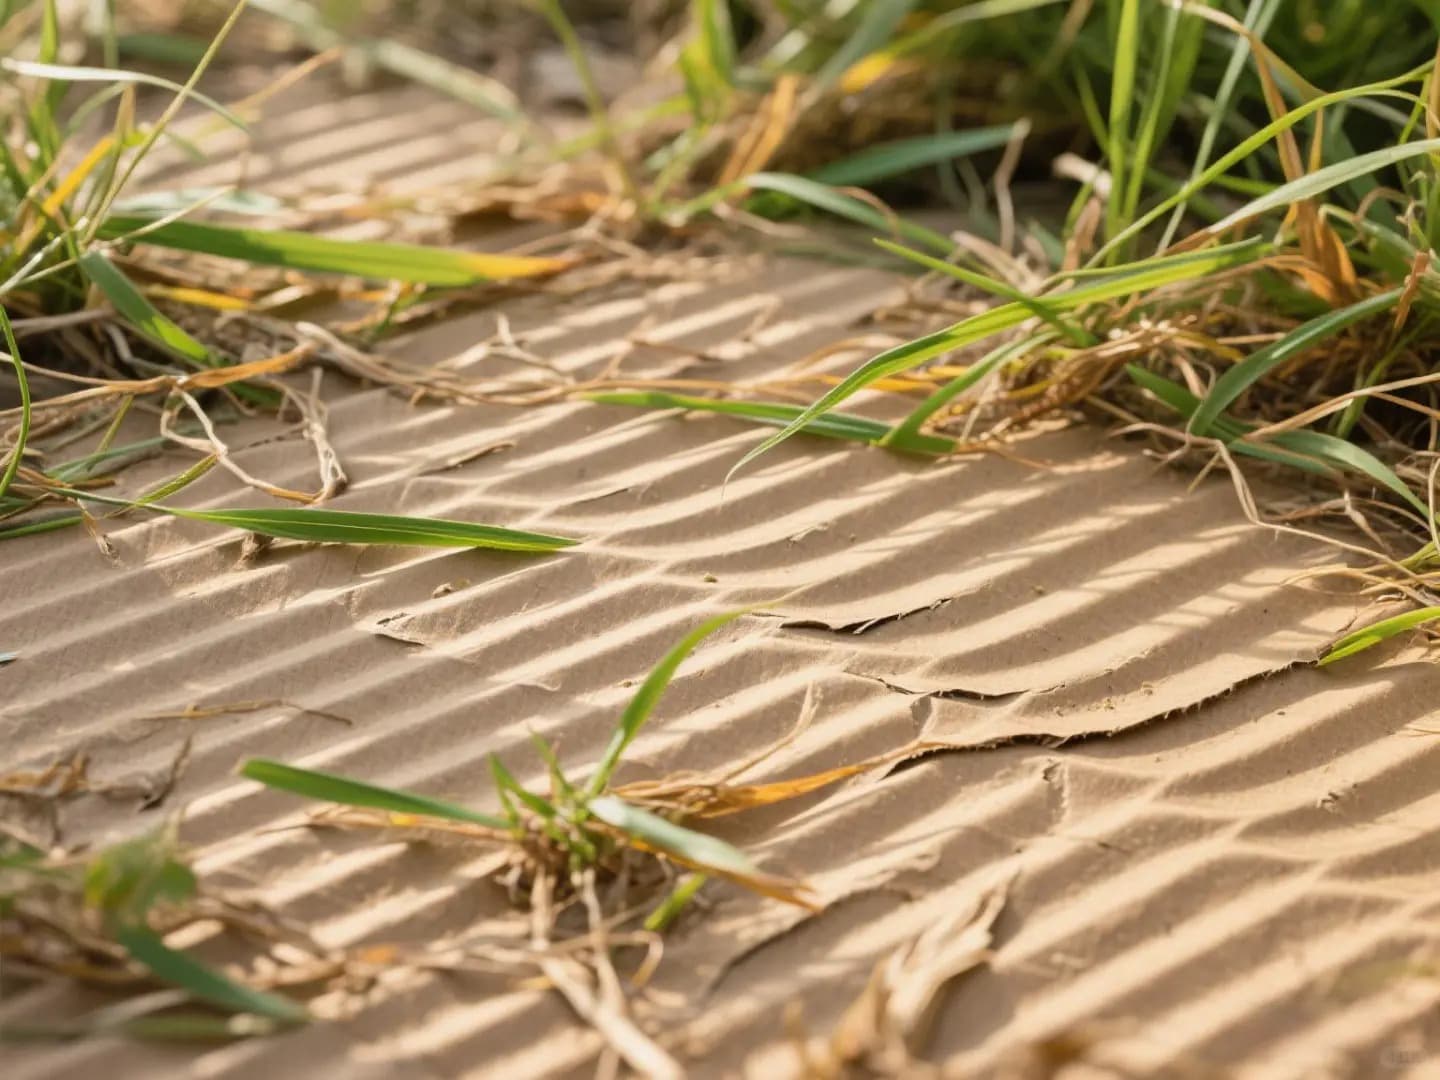
I have a deep, philosophical opposition to weeding. It’s a tedious, never-ending battle. My solution? Smother them before they even start. Enter sheet mulching, the lazy gardener’s best friend.
The Newspaper Method: For existing beds where you just want to suppress weeds between plants, lay down 5-6 sheets of newspaper (overlap them like shingles) before you add your mulch. It creates a fantastic barrier that blocks light, and it will break down naturally over a year or two, feeding the soil.
The Cardboard Method: This is the nuclear option for new planting areas. I’m a snob about my cardboard—I prefer the clean, brown, ink-free stuff from pallets (no staples or tape!). Lay the cardboard sheets right over the grass or weeds in your new bed. Wet it down. Then, add a layer of compost and a thick layer of mulch on top.
This process, known as sheet mulching, is pure magic. The earthworms will slowly work their way up, eating the cardboard and the grass beneath it, turning it all into beautiful, rich soil. You build healthy soil and eliminate sod without back-breaking labor. It’s a win-win.
8. Recycled Plastic Bottles for Winter Sowing
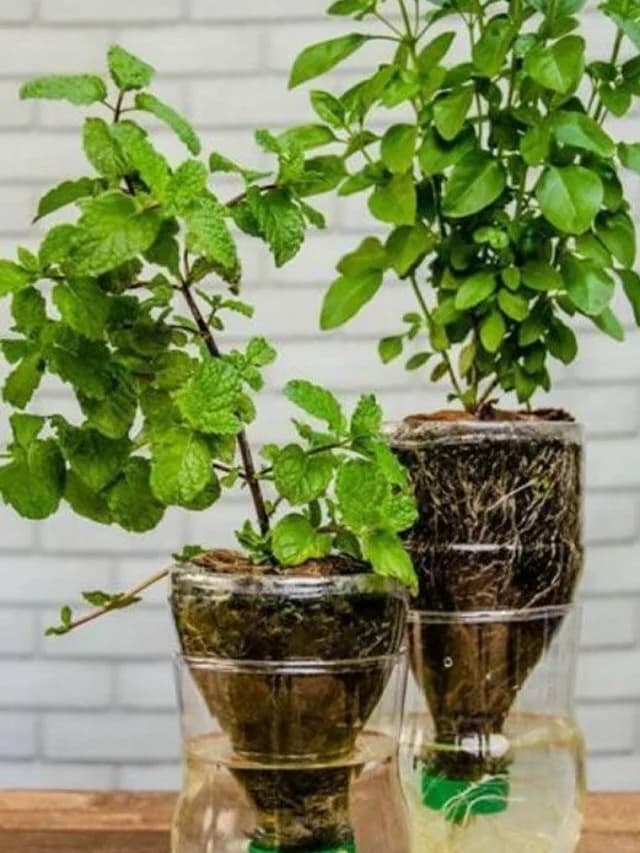
If you’ve ever wanted to start seeds but don’t have the space, money, or patience for indoor grow lights and heat mats, let me introduce you to winter sowing. It’s a method that uses recycled containers as mini-greenhouses, and it’s so brilliantly simple it feels like you’re getting away with something.
The benefits are immense:
- No indoor mess. Your dining room table remains a dining room table.
- No electricity needed. The sun and the natural cycle of the seasons do all the work.
- Hardier seedlings. These babies germinate when they are ready, so they’re already acclimated to the outdoors. No more “hardening off” drama.
All you need are plastic jugs or bottles. Instead of tossing them in the recycling bin immediately, give this a try. You’ll feel like a gardening wizard.
9. Using Plastic Bottles and Nursery Pots for Frost Protection
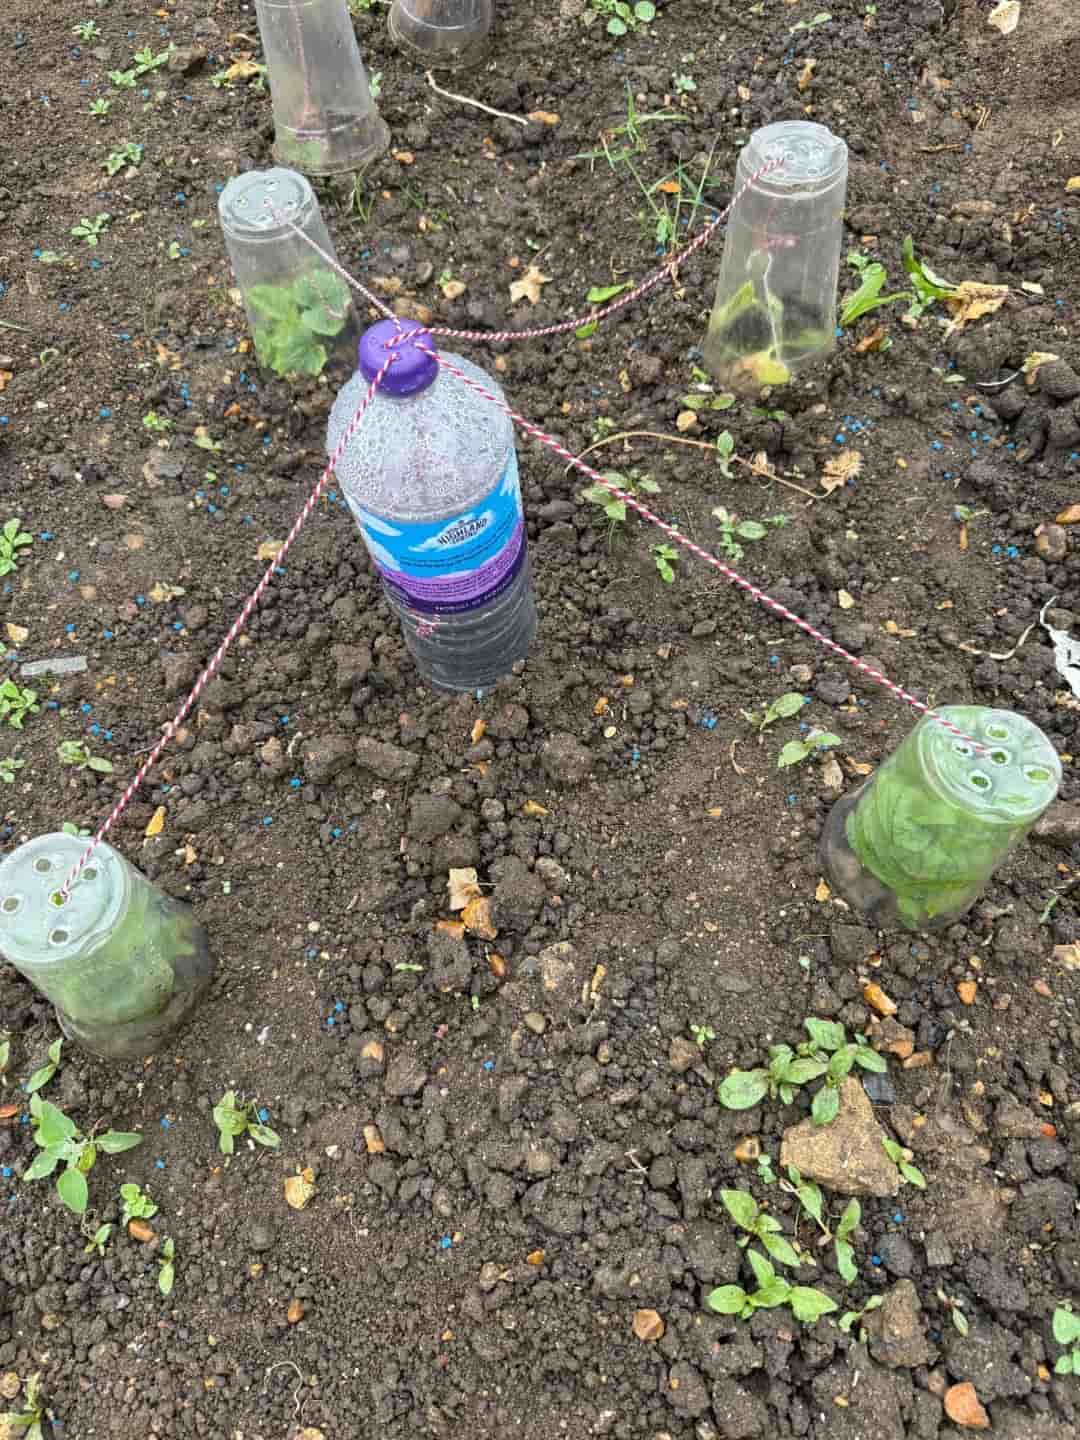
Speaking of plastic bottles, they have another superpower: saving your seedlings from a surprise late-spring frost. You’ve just planted out your tender babies and the weather forecast turns traitor.
Don’t panic! Run outside with your collection of recycled goods.
- The Bottle Cloche: Cut the bottom off a 2-liter soda bottle and plop it over a seedling. Instant individual greenhouse.
- The Nursery Pot Dome: Take a nursery pot (the kind your new plants come in) and turn it upside down over the plant. Put a rock on top so it doesn’t blow away.
You’ve just created a microclimate that can save your plants from a light freeze. Crucial reminder: Don’t forget to take them off once the sun comes out and temperatures rise, or you’ll bake your plants. Ask me how I know.
10. DIY Plant Markers from Recycled Materials

I don’t know about you, but I can never find a plant marker when I need one. The solution is to make them from the junk you already have.
- Plastic Knives: Leftover from a party? Perfect. Write the plant name directly on the white plastic and stick it in the soil. It’s the perfect size and shape.
- Mini Blinds: If you have an old set, you’ve hit the jackpot. Cut the slats into strips, and you have hundreds of free, durable plant tags.
- Plastic Containers: Sour cream, yogurt, and cottage cheese tubs can be washed and cut into tag-shaped strips.
Writing Tip: Do not use a standard Sharpie. It will fade to invisibility in about two weeks of sun. Invest in a UV and weather-resistant garden marker. It makes all the difference.
11. Dollar Tree Mesh Waste Baskets as Plant Cloches
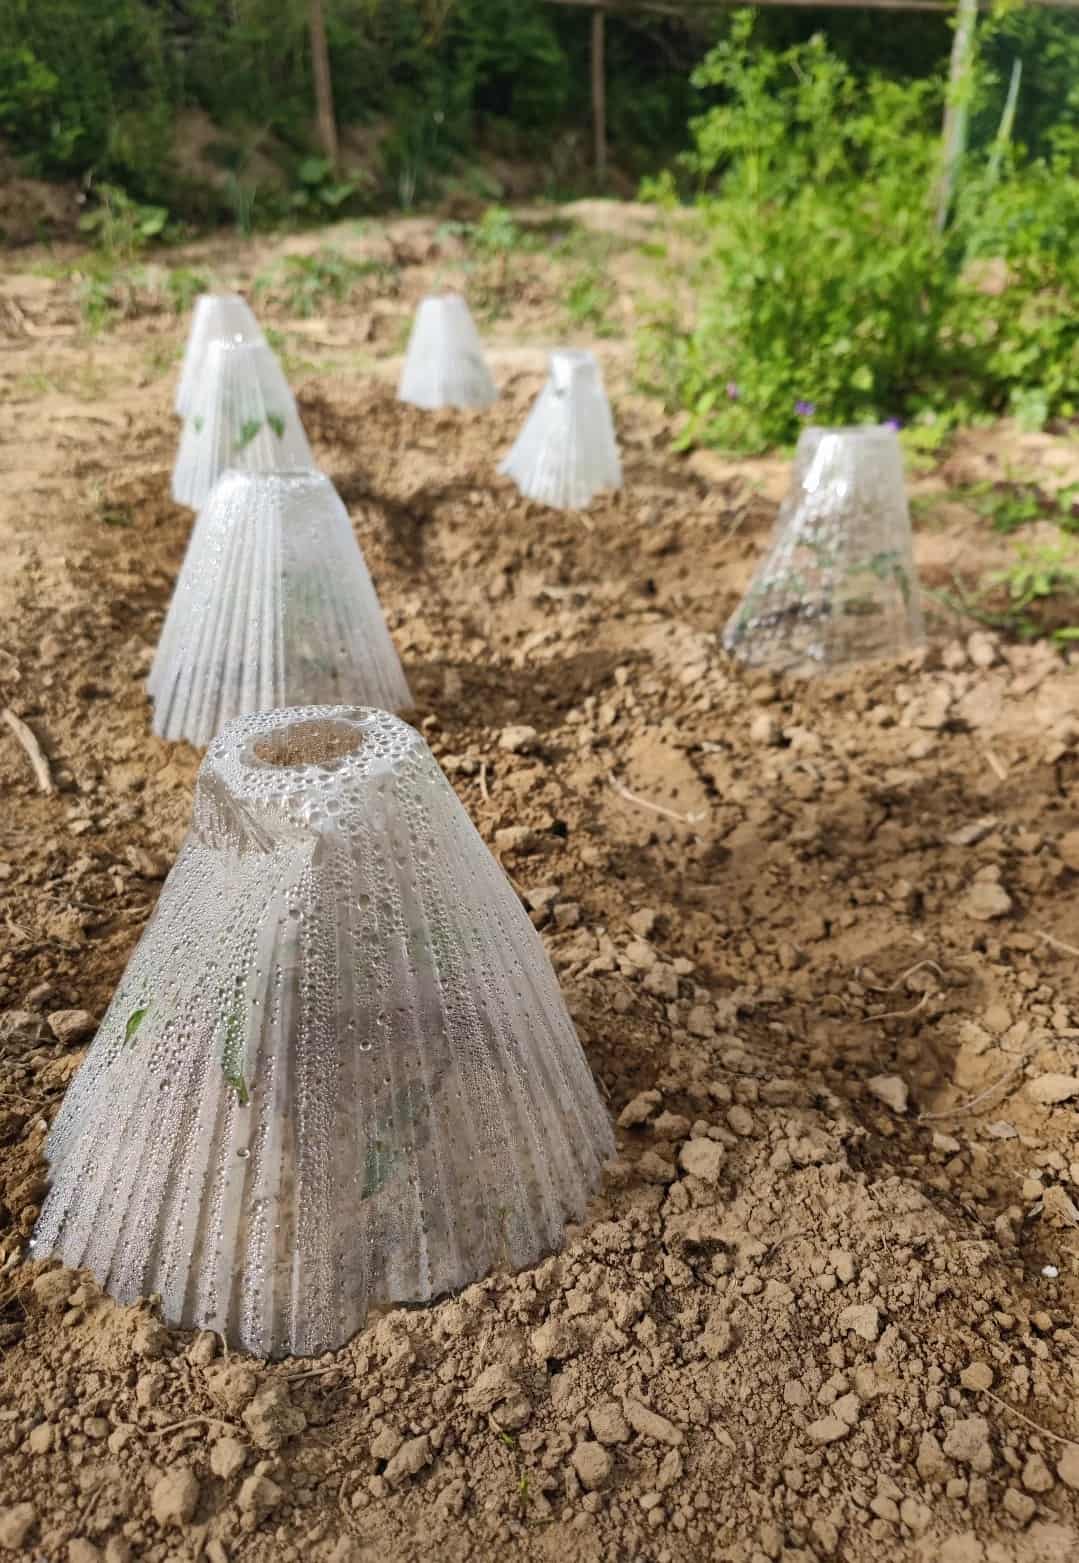
This might be my favorite Dollar Tree find of all time. Those cheap, mesh wastebaskets aren’t just for trash; they’re perfect, lightweight plant cloches.
Invert one over a young seedling, and you have a protective cage that keeps birds, cats, and curious squirrels from digging up or nibbling your precious plants. They come in two main sizes: a short one perfect for new sprouts, and a taller one (about 12 inches) for bigger plants.
I personally prefer the black ones because they blend into the garden and are less visually obtrusive. Be warned, they are a popular item with gardeners in the know, so when you see them, grab a bunch! I’ve been using the same set for years to protect my ferns and hostas, and they’re still going strong.
12. Using a Garden Hose to Shape Planting Beds
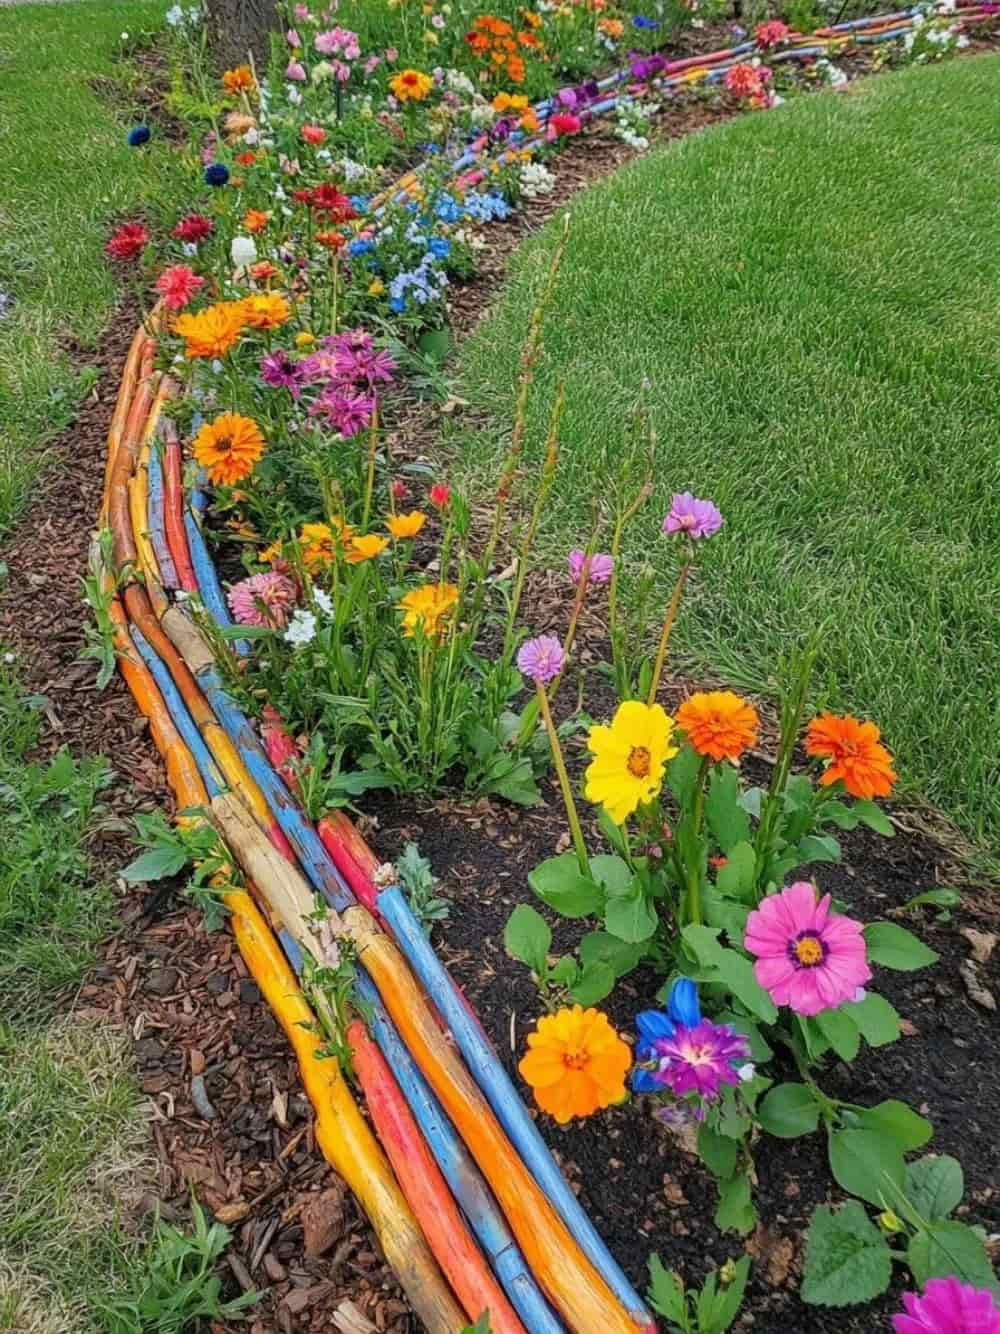
Trying to lay out a new flower bed with spray paint or string can be a frustrating exercise in rigid geometry. For beautiful, flowing, natural curves, your best tool is already in your shed: the garden hose.
Lay the hose on the ground and play with the shape. It’s flexible, it holds a curve beautifully, and its length is perfect for larger beds. You can step back, look at it from the house, adjust it, and fine-tune the layout until it’s just right. Once you’re happy, you can use it as a guide to edge your lawn or dig your new bed. It’s the simplest, most effective planning tool you already own.
13. Moving Heavy Rocks Using PVC Pipes
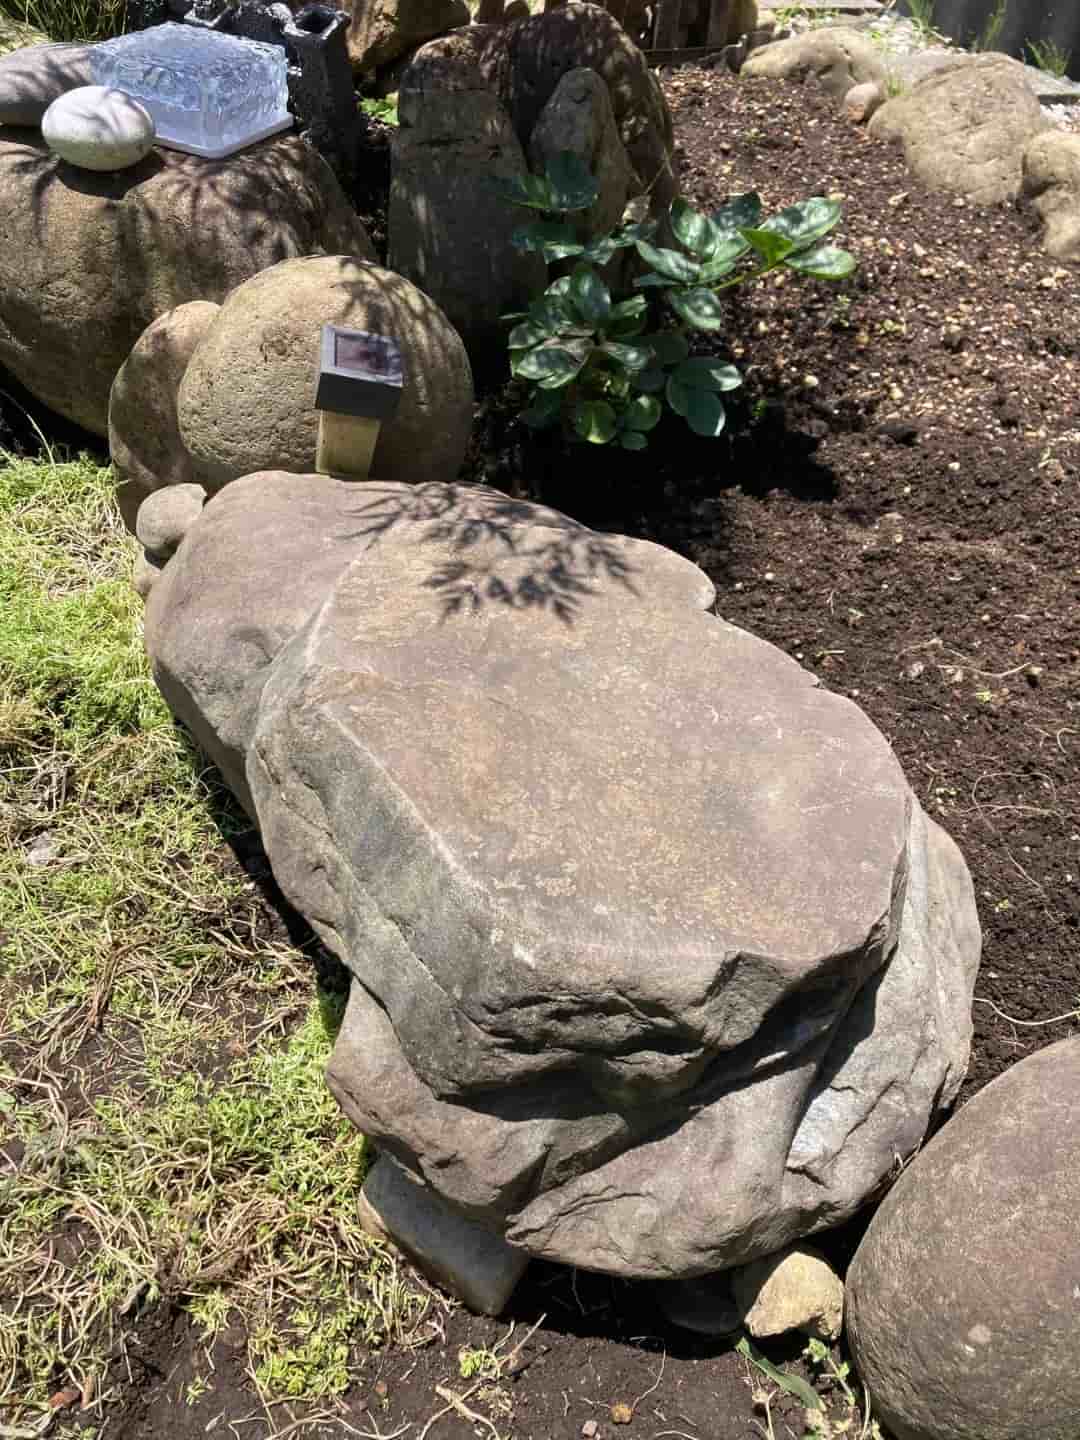
Finally, a story of brute force meeting brilliant intellect. We had a large, handsome rock that needed to be moved about 20 feet. It was too heavy for the two to lift, and I didn’t have a hand cart.
I with a solution so elegant it should be in an engineering textbook. I emerged from the basement with three long pieces of leftover PVC pipe.
The method? Place the pipes on the ground, perpendicular to the path you want to move the rock. Use a pry bar to get the rock onto the first pipe. Then, slowly and carefully, roll the rock forward. As the back pipe is freed up, pick it up and move it to the front. It’s like the ancient Egyptians building the pyramids, but with supplies from the local hardware store. It requires no special tools and turns an impossible task into a manageable, almost fun, project.
Conclusion
And there you have it! A sprawling, slightly chaotic, but deeply heartfelt collection of the clever, simple, and budget-friendly tricks that make my gardening life easier, cheaper, and a whole lot more fun. From mailboxes holding secrets to rocks rolling on pipes, it’s proof that the best solutions often come from looking at everyday objects a little differently.