I once managed to kill a succulent by looking at it with too much hope. So, when I decided I wanted raspberries—those jewel-toned, expensive, delicate gems from the grocery store—my partner gave me a look usually reserved for people announcing they’re going to build a rocket in the shed.
“We have a balcony,” he said, gently. “Not a farm.”
Ah, but that’s where he was wrong! Through a process of trial, error, and several spectacular failures that likely confused my neighbors, I discovered the magical world of container raspberrying.
It’s for the space-challenged, the renting, the clumsy, and the overly ambitious.
If I, a person who once tried to grow a watermelon in a window box, can do this, so can you. Here are the 10 hard-learned, dirt-under-the-nails hacks that transformed my patio from a graveyard of horticultural dreams into a compact, prolific raspberry haven.
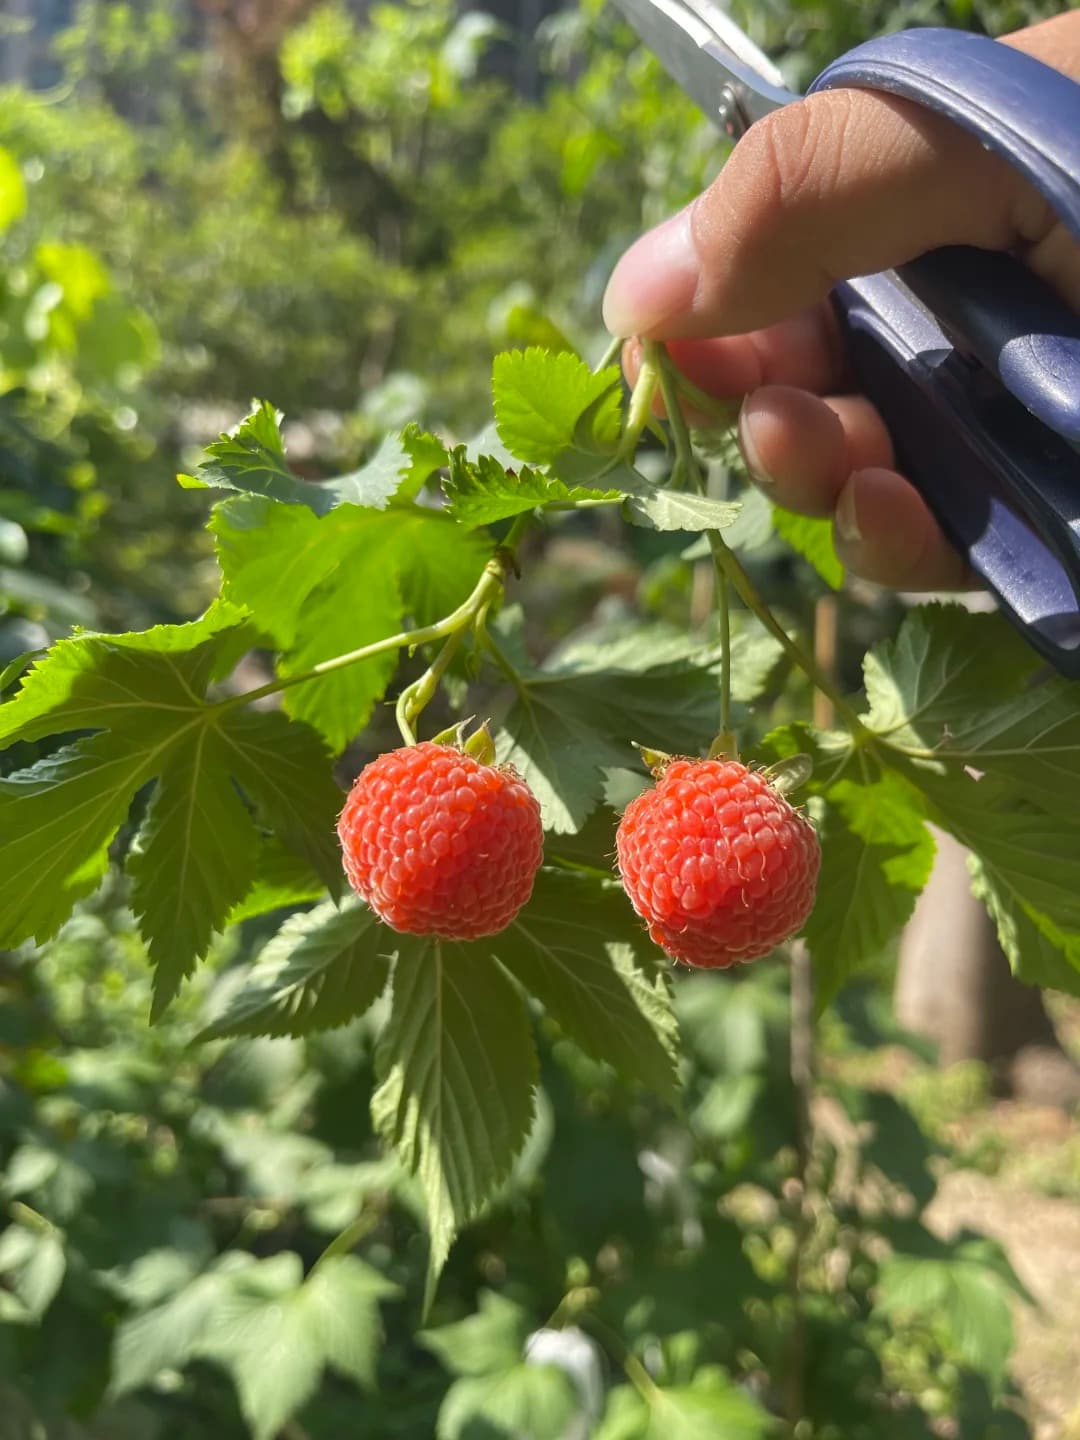
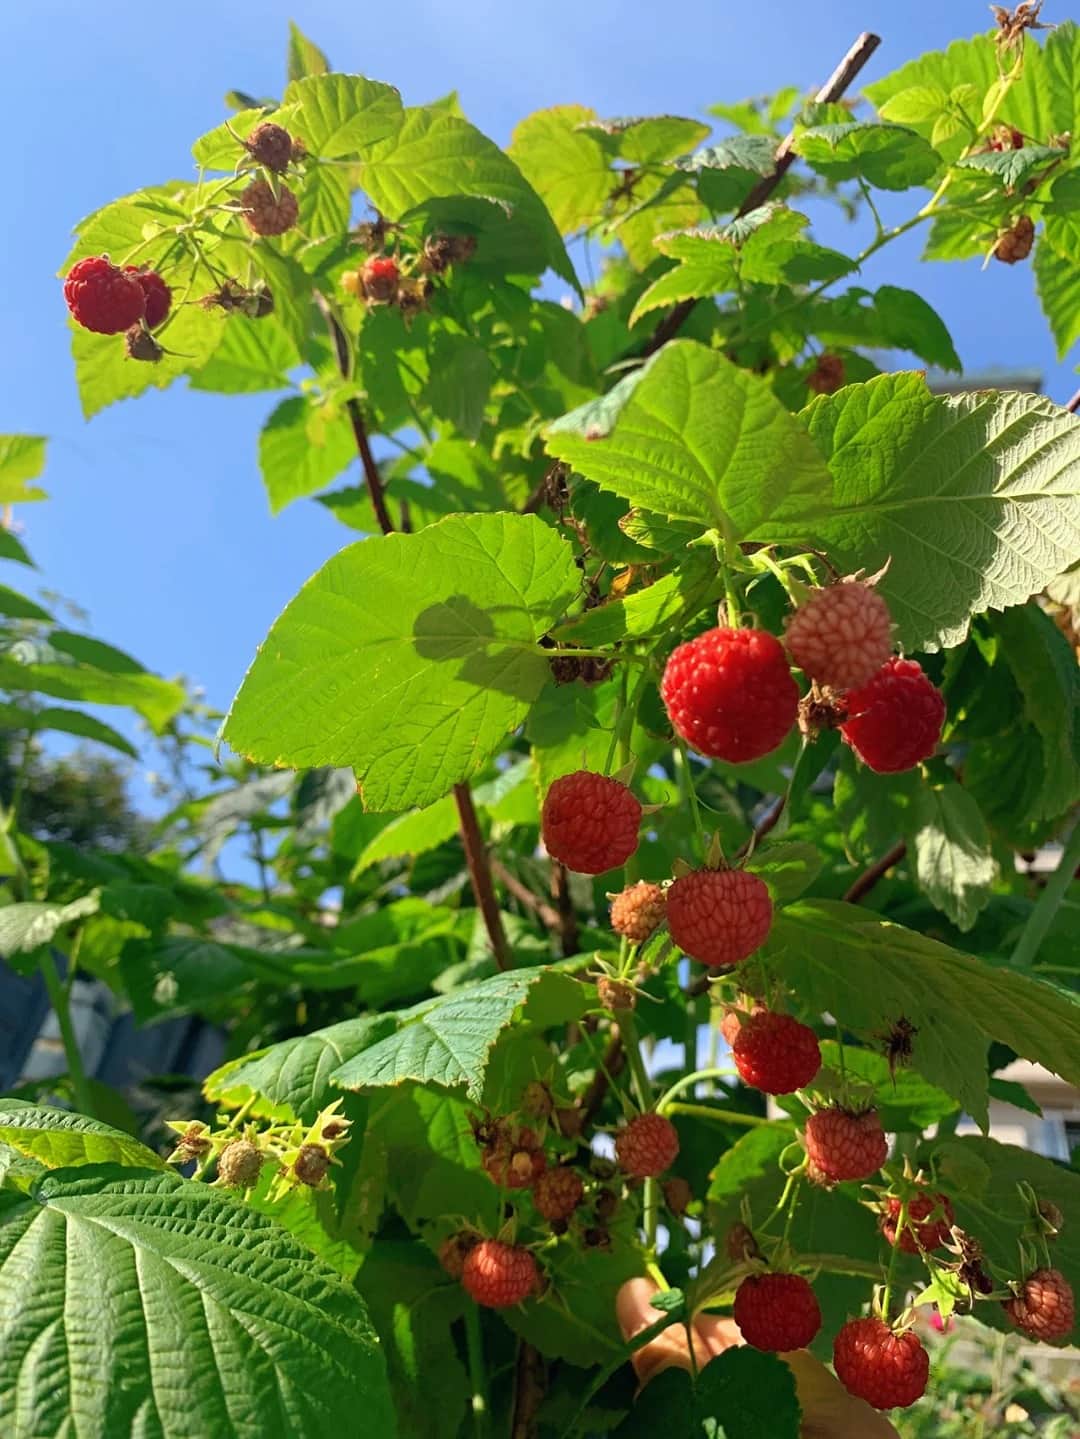
1. Choose Compact or Everbearing Varieties

My first mistake was one of sheer scale. I bought a raspberry cane from a clearance rack with a label so faded it just said “Raspberry.”
I imagined a gentle, polite plant. What I got was a botanical Kraken. It sent out runners like it was trying to annex my neighbor’s balcony.
The canes grew tall enough to tap on the upstairs apartment’s window. It was less a fruit bush and more a privacy hedge with an attitude.
Learn from my folly. You are not selecting a variety for the open plains of Nebraska. You are selecting a roommate for a pot.
You need a well-behaved, compact, preferably everbearing (also called fall-bearing) variety.
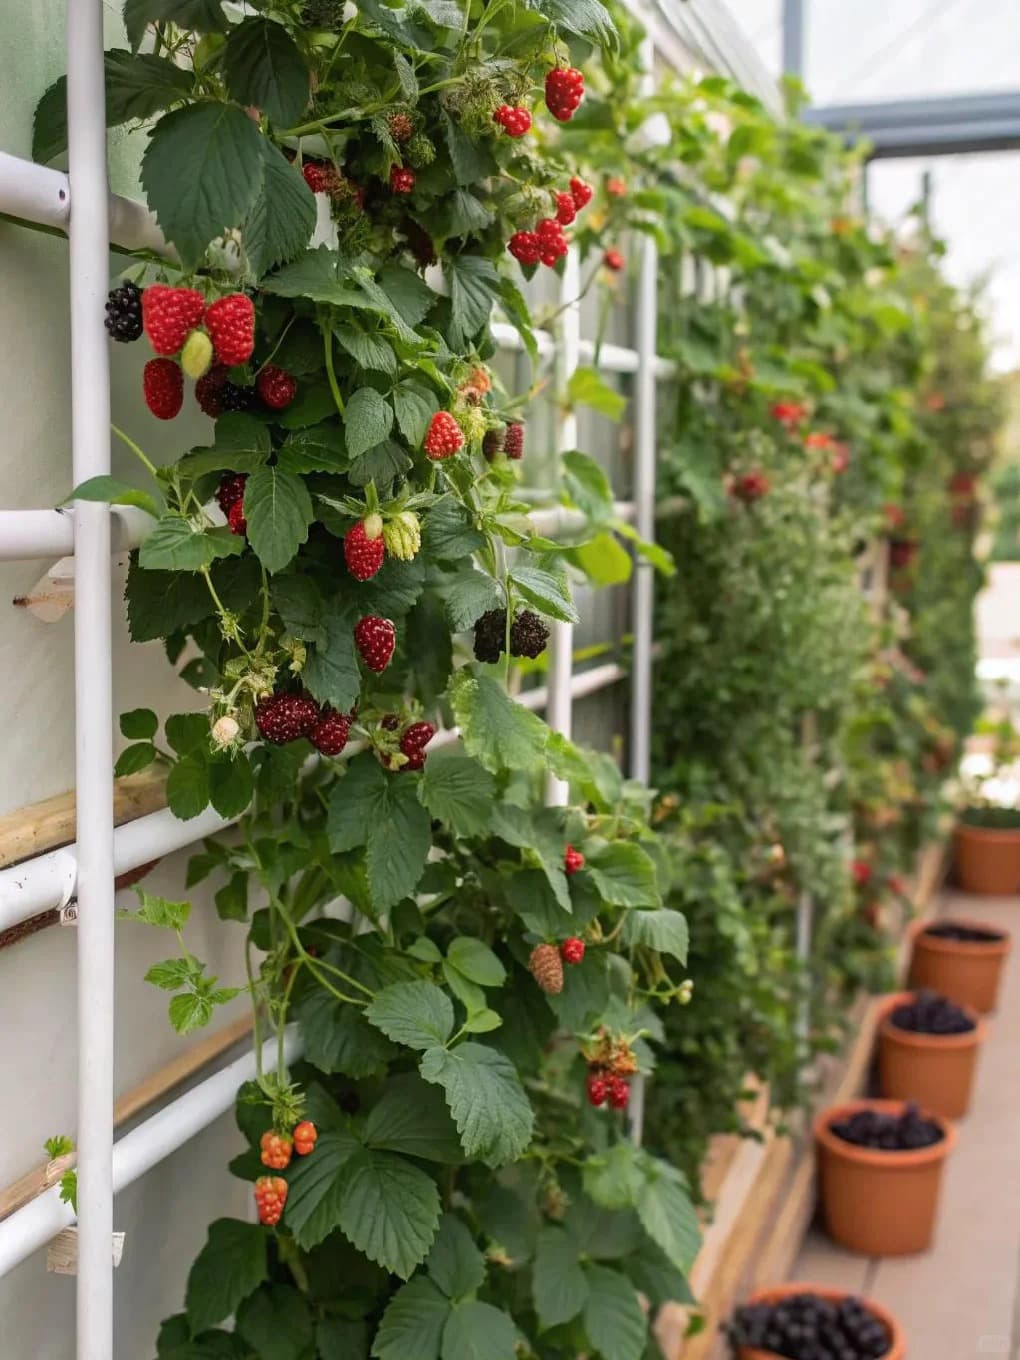
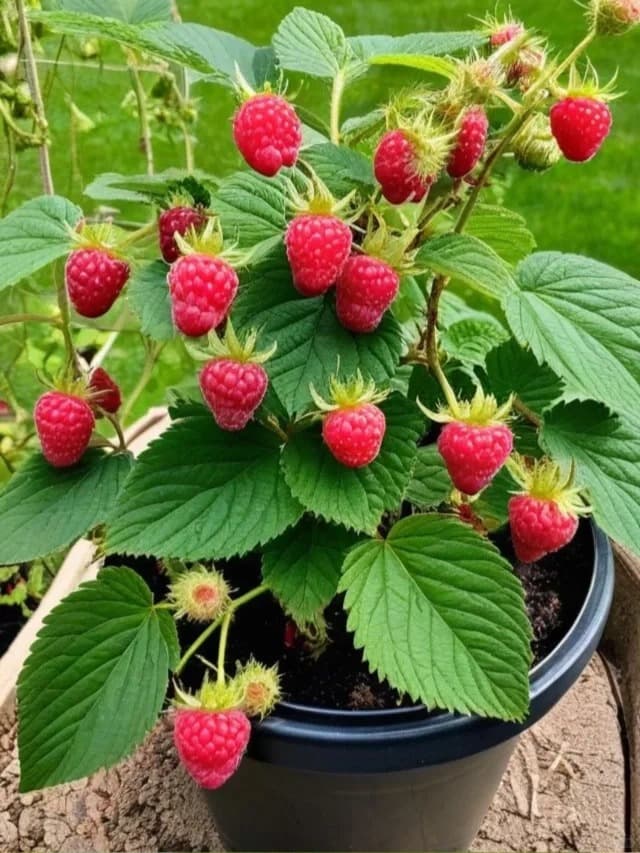
2. Use a Large, Sturdy Container

After my Kraken incident, I over-corrected. I planted my precious new ‘Heritage’ cane in a “cute” 5-gallon pot.
It was ceramic, painted with sunflowers. Adorable. For about six weeks, it was a happy little plant. Then it started fruiting.
The weight of those beautiful, plump berries acted like a lever, and on a slightly windy day, the whole thing—cane, fruit, soil, and dignity—toppled over onto my balcony floor.
It was a raspberry crime scene.
The rule is simple but non-negotiable: A 15–20 gallon pot is your minimum. Think half a whiskey barrel, a large, heavy-duty plastic grow bag, or a substantial ceramic pot.
This does two critical things:
- Root Room: Raspberries are hungry, thirsty, and need space for their root system to support growth and fruiting. Cramping them is a one-way ticket to sad, stressed-plant town.
- Stability: A tall cane with a canopy of leaves and fruit is a sail. A shallow, light pot is a tippy base. A large, heavy pot filled with soil is an anchor. You want the anchor. Ensure it has excellent drainage holes. If it doesn’t, get a drill and make some. Your plant’s life depends on it.
3. Skip Garden Soil Entirely

Here’s a confession: I used to think “dirt was dirt.” I’d dig up some from a flower bed, plop it in a pot, and wonder why my plants developed the personality of a soggy paper bag.
Garden soil in a container is a death sentence. It compacts, becoming as dense as a brick, suffocating roots and holding water like a swamp.
Your raspberries crave the opposite: a fluffy, breathable, well-draining mansion for their roots. Use a high-quality potting mix as your base.
Then, be a mixologist:
- Blend in 20-30% compost: This is the nutrition and moisture-retention component. It’s the comfort food for your plant.
- Blend in 10-20% perlite or coarse horticultural sand: This is the drainage and aeration component. It creates tiny air pockets, preventing compaction and root rot. It’s the plant’s personal gym, keeping the root environment light and airy.
Think of it as baking a cake for roots. You want it light and moist, not a dense, sodden brick.
4. Install Support at Planting Time
This is the “measure twice, cut once” of raspberry gardening. Do not, I repeat, DO NOT wait until your canes are flopping over like overcooked spaghetti to think about support.
Trying to install a trellis into a pot full of established roots is like trying to build the framing of a house after moving in the furniture.
It’s messy, destructive, and you’ll likely stab a root and feel like a monster.
Do it right at the beginning. As you fill your pot with that lovely fluffy mix, install your support structure.
- A small, two-legged trellis pushed deep into the center works beautifully.
- A sturdy tomato cage (the tall, conical kind) is a perfect, ready-made solution.
- Three or four bamboo stakes arranged in a teepee and tied at the top is a cheap and effective DIY option.
Secure the young canes loosely to the support as they grow. This does three things: prevents snapping in the wind, keeps the fruit clean and off the damp soil, and allows for maximum air circulation (which fights off fungal diseases).
It’s a plant bra. Supportive, necessary, and best put on at the start of the day.
5. Prune Hard to Control Size
I used to be a timid pruner. I’d snip a little here, a little there, whispering apologies to the plant. The result was a congested, unproductive thicket.
Raspberries, especially in pots, need tough love. They thrive on it. Pruning is not cruelty; it’s redirecting energy from leaves and wood to beautiful, delicious fruit.
Here’s the simple mantra for everbearing varieties (the ones you should have chosen per Hack #1):
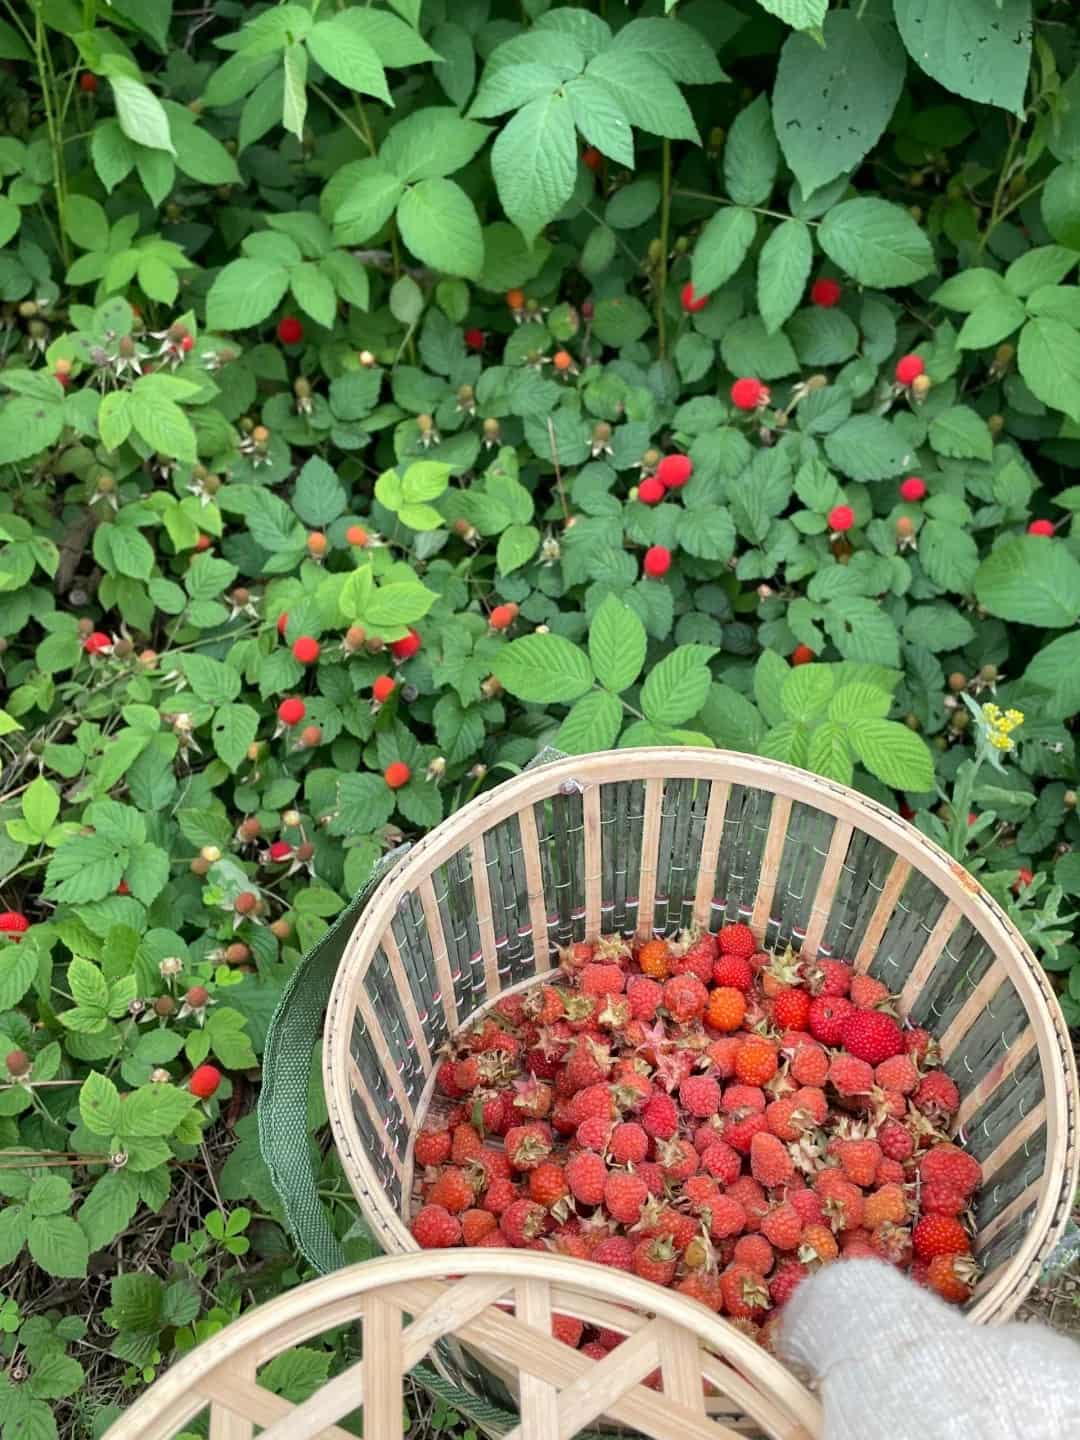
- In Late Winter/Early Spring: Cut ALL canes down to about 1 inch above the soil. Yes, all of them. It looks brutal. You will feel like a plant murderer. But this forces the plant to push up brand new, vigorous canes that will fruit in the fall.
- During the Growing Season (The “Tip”): When your new primocanes (the green, first-year guys) reach about 3-4 feet tall, snip off the top 3-4 inches. This stops their vertical ambitions and tells them to start branching out laterally. More branches = more fruiting laterals = more berries in your bowl.
For summer-bearing varieties (which you probably don’t have, because you listened to me), you’d only cut down the brown, dead-looking canes that just fruited (floricanes).
But stick with everbearing. The “chop it all down” method is gloriously simple.
6. Water Deeply and Consistently

Containers are cruel, thirsty masters. On a hot, sunny day, a large pot can drink a gallon of water.
The top might look damp while the root zone is a desert. Shallow, frequent watering is the worst thing you can do.
It teaches the roots to stay lazy and near the surface, where they’ll fry.
You must water deeply and less frequently. Pour water slowly onto the soil until you see a steady stream run out of the drainage holes.
This ensures the entire root ball is saturated. Then, let the top inch or two of soil dry out before doing it again.
Stick your finger in the soil. Is it dry up to your second knuckle? Time to water.
This practice encourages roots to grow deep and strong in search of moisture, building a resilient, drought-tolerant plant.
It also prevents crumbly berry syndrome—those dry, seedy, disappointing berries that happen when the plant gets stressed for water just as the fruit is plumping up.
7. Feed Lightly but Regularly
Raspberries aren’t gluttons, but they’re growing in a finite amount of soil that gets depleted. Think of fertilizer like vitamins, not a all-you-can-eat buffet.
Too much, especially nitrogen, and you’ll get a gorgeous, lush, green bush… with three sad berries hiding in the foliage.
My feeding schedule, born of both book-learning and panic-googling, is foolproof:
- Early Spring (as new growth emerges): A balanced, gentle fertilizer. I like a liquid fish & seaweed emulsion or a granular organic fertilizer scratched into the soil surface. This gives them a good start.
- Once Flowering Begins: SWITCH GEARS. Reduce nitrogen. Now, you want to encourage flowers and fruit, not leaves. Look for a fertilizer higher in phosphorus (the middle number on the bottle, like 2-8-4). Tomato fertilizer is perfect for this. A dose every 3-4 weeks through harvest is plenty.
- After Harvest (Fall): A light top-dressing with compost is like a comforting nightcap before winter. No more strong fertilizers.
8. Mulch the Surface of the Pot

I ignored this step for years, thinking mulch was just for garden aesthetics. Then I spent a summer as a slave to the watering can, watching my soil turn into a cracked, concrete-like substance between waterings.
Mulch is a container game-changer.
A 2-3 inch layer of straw, shredded leaves, or bark chips on top of your soil acts like a superhero cape for your plant.
- Moure Stabilizer: It dramatically reduces evaporation, meaning you water less often and the roots experience fewer wet-dry swings.
- Root Protector: Raspberry roots are shallow and sensitive. Mulch insulates them from summer’s scorching heat and winter’s biting cold.
- Weed Suppressant: Fewer weeds means less competition for water and nutrients.
- Splash Guard: It prevents soil (and soil-borne diseases) from splashing up onto the leaves and fruit during watering.
It’s the simplest, cheapest hack with the most dramatic quality-of-life improvement—for you and the plant.
9. Rotate Pots for Even Sunlight
Plants are sun worshippers. They will bend, stretch, and contort themselves towards the light like yoga instructors.
If your pot sits in one spot, you’ll end up with a beautiful, fruit-laden canopy all leaning decisively in one direction, like a botanical Tower of Pisa.
This stresses the plant and makes the pot even more tippy.
The fix is stupidly simple: Every time you water (or every couple of weeks), give the pot a quarter turn.
This ensures all sides of the plant get their time in the sun, promoting even growth, even fruiting, and a nice, balanced shape.
It’s the plant equivalent of evenly roasting a marshmallow.
10. Protect Roots in Winter
This was my final hurdle. I’d have a glorious fall harvest, then watch my beloved canes slowly die over winter, not from cold air, but from frozen roots.
In the ground, soil insulates. In a pot, the root ball is exposed on all sides to freezing temperatures.
The roots, not the canes, are the vulnerable treasure.
In cold climates (USDA zones 6 and below, generally), you must tuck your pots in for a long nap.
- Cluster & Huddle: After the pots go dormant (leaves have fallen), group them together in a sheltered spot—against a house wall, in an unheated garage, or on a porch out of the wind.
- Insulate, Insulate, Insulate: Wrap the pots in bubble wrap, burlap stuffed with straw, or even old blankets. The goal is to protect the roots from freeze-thaw cycles. You can also mound extra mulch or straw on top of the soil.
- The Sneaky Trick: If you have the space, you can even dig a hole and sink the entire pot into the ground for the winter, then dig it up in spring. It’s a bit of work, but it’s the ultimate root protection.
It feels silly, wrapping a pot in a blanket. But come spring, when that pot pushes out vigorous new growth while your neighbor’s unprotected one is silent, you’ll feel like a gardening genius.
Final Thought
Growing raspberries in containers transformed my relationship with food and my tiny patch of the outdoors.
It taught me that abundance isn’t about acreage; it’s about intention, a few good hacks, and the willingness to learn from spectacular failures.
These ten steps are the distillation of my mishaps and mini-triumphs.