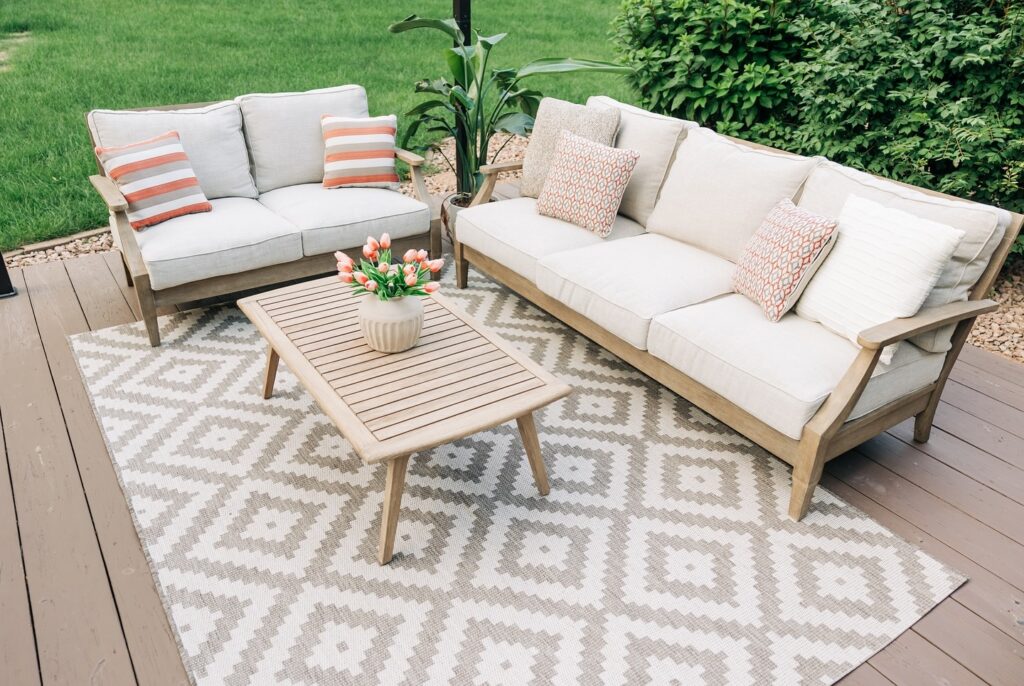
Is your patio table looking more like a haunted relic than a place to dine?
Many people face this issue, and the good news is that reviving your table is totally doable.
You might think it’s too late for your old table, but all it needs is some TLC.
With just a little elbow grease and the right products, you can bring that sad, weathered table back to life and make it look fabulous again.
Assessing the Condition of Your Patio Table

Before diving into a full restoration, take a moment to inspect your patio table. You need to know what you’re working with, whether it’s a sturdy hero or a sad, wobbly relic.
Start with a good old-fashioned inspection. Look for scratches, dents, or anything that might make your table look like it survived a battle with the wind and rain. Check the surface for peeling paint or a faded finish—it’s like your table crying for help!
Don’t forget to check for any wobbly legs or loose screws. You might need a toolbox for that. If your table can’t stand straight, it might spill your drinks faster than you can say “Oops!”
Next, consider what your patio table is made of. Different materials come with their own quirks. If it’s wood, check for rot or insect damage. Give it a gentle poke; we don’t want surprises here. Metal tables can rust and get all kinds of sticky if they’re not treated right.
If it’s plastic, look for fading or cracks. You don’t want your guest sitting on a fragile structure that might snap like a twig under pressure.
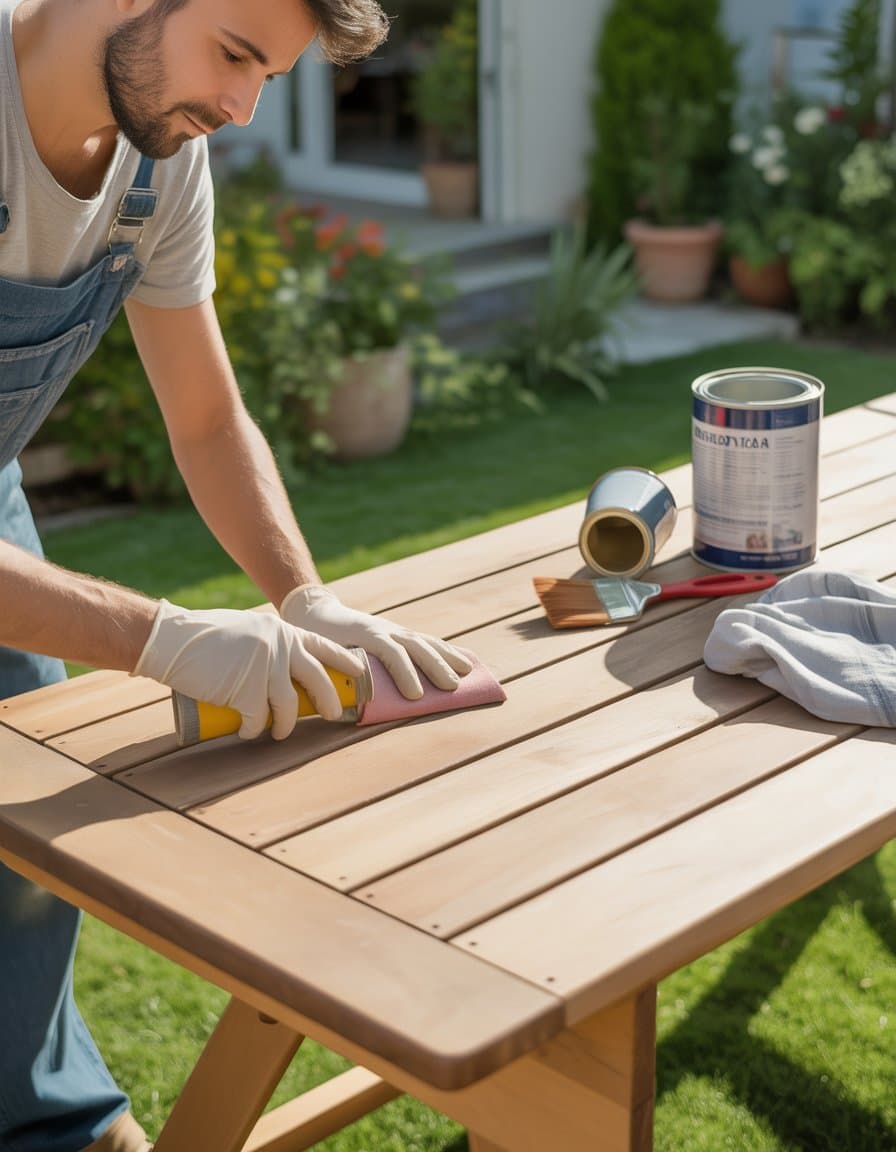
Choosing the Right Sander

An electric sander can save you from a huge workout. If you’re inclined to spend more time making your table look fabulous rather than getting ripped, consider an orbital sander. This tool is your best friend—quiet, efficient, and perfect for those smooth finishes.
Make sure you grab some fine-grit sandpaper. Aim for about 220 grit. A lighter squeeze helps to avoid deep scratches.
And don’t forget a tack cloth to capture all that sawdust; we don’t want a “fuzzy” table, do we?
Selecting Cleaning Supplies
First up, a trusty bucket! You need it for your soap-and-water mixture that will work wonders on all that debris. Mild soap is your best bet—no one wants to be the owner of a smelly table.
Next, rubber gloves are a must. They keep your hands clean and out of soap’s clutches. A stiff-bristle brush can tackle tougher grime. You’ll want to scrub like a champ! For the final touch, have a garden hose with a spray attachment ready. It’s like giving your patio table a spa day.
How to Power Wash Effectively

Using a power washer can be a game changer for your patio table. Make sure you set it to a low pressure to avoid any accidental damage. Start by rinsing the table at a distance to remove loose dirt. Move in closer for tougher stains, but remember: this isn’t an art contest.
If your table has grooves, a nozzle attachment can help get into those tight spots. Make sure to allow the table to dry completely before applying any sealant or finish.
Pressure Washing: Dos and Don’ts

Now, let’s talk about pressure washing. It sounds fancy, but it’s not rocket science. Here are some dos and don’ts to keep in mind.
Do:
- Test a small area first. This lets you see how your table reacts.
- Use appropriate cleaning solutions. A mixture of water and vinegar works wonders without being harsh.
Don’t:
- Use high pressure on old wood or delicate materials. You don’t want to turn your table into splinters.
- Forget to follow up with a rinse. Cleaning solutions can leave residue if not rinsed off properly.
With these tips, your patio table will look brand new before you know it!
Fixing Wobbly Legs
Wobbly legs are the dark knights of patio furniture. They can make your table feel like it’s auditioning for a circus act. To fix this, inspect each leg carefully.
Tools You’ll Need:
- Wood glue
- Clamps
- A level (because you don’t want your drinks spilling off)
Start by identifying the culprit leg. A quick test—push down on each corner to see which one flops. Once you find it, apply a generous amount of wood glue where the leg joins the table. Use clamps to hold it tight. Let it cure for a while, and voila! Your table is now stable enough to host the most intense game of cards.
Replacing Broken Parts

Sometimes, your patio table’s injuries are a bit more severe than just wobbly legs. If you notice cracks or breaks, it’s time for some serious TLC.
Steps for Replacement:
- Assess Damage: Check if parts like the tabletop or legs need replacing.
- Get Replacement Parts: Visit a local hardware store or find online retailers that specialize in patio furniture.
- Installation: When you pop in the new parts, make sure everything fits snugly. A little wood glue can help here too!
Ensure all screws are tightly fastened to avoid future breakage.
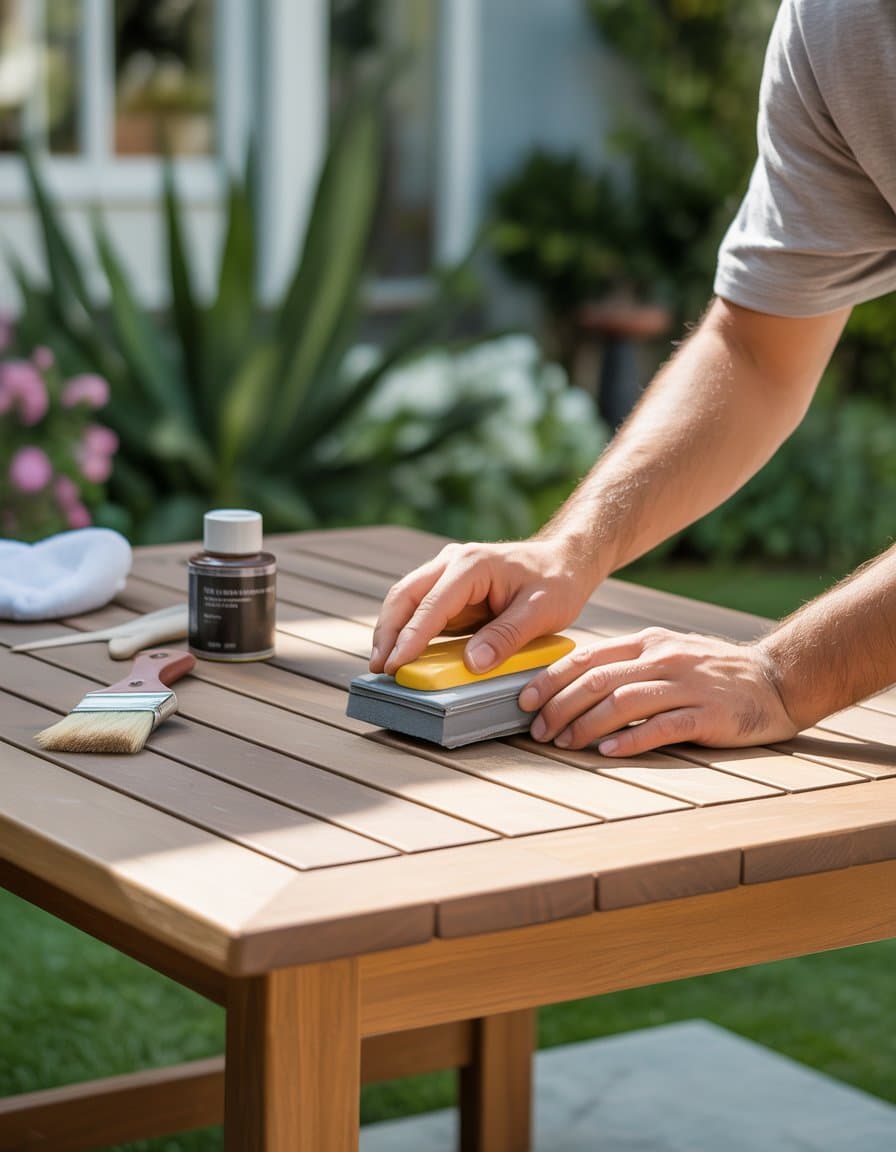
Stripping and Sanding Old Finishes
When your patio table starts to look like a sad relic of the past, it’s time to get it back to its former glory. Stripping and sanding old finishes can feel like a chore, but it’s a crucial step that makes all the difference.
Manual vs. Power Sanding
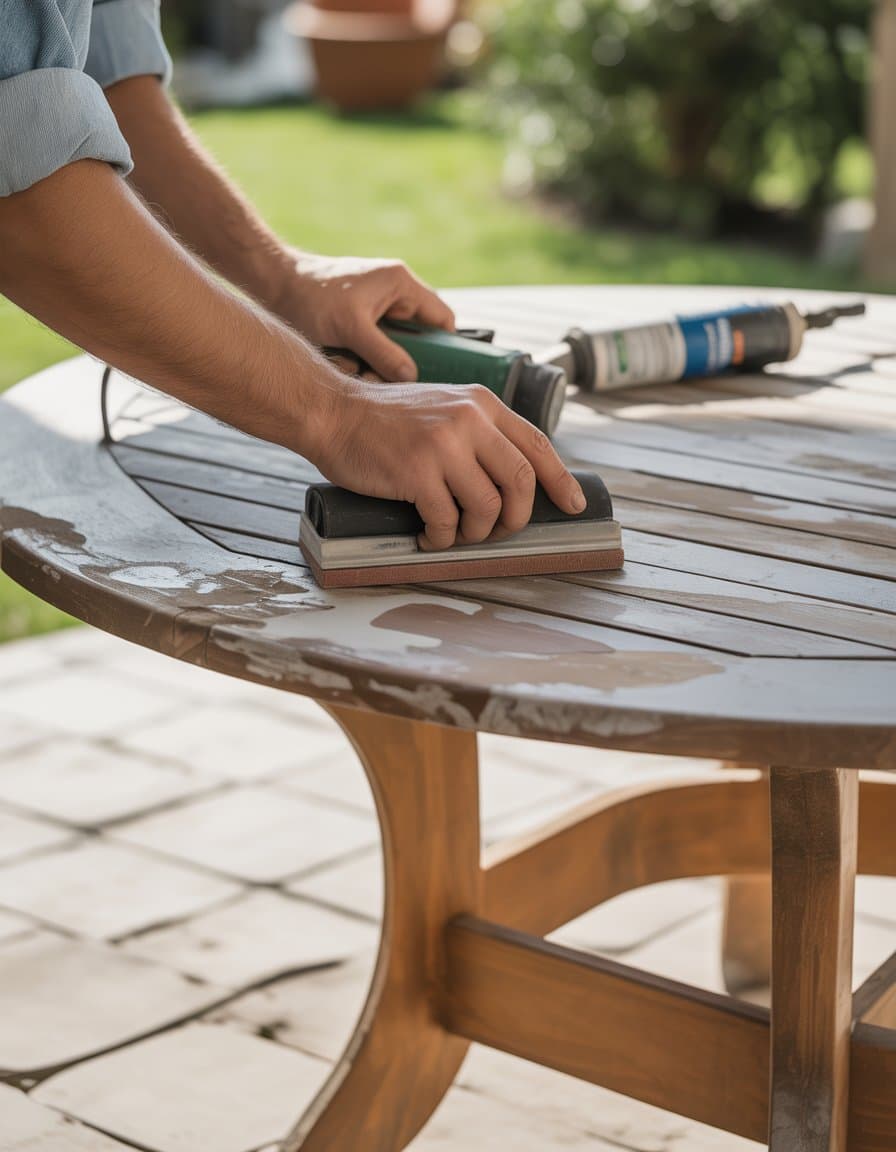
You have options here, and it’s up to you to choose how to wield your sanding weapon. With manual sanding, you grab a piece of sandpaper and get to work. It helps you control the pressure and focus on those tricky spots.
On the flip side, the electric sander, like a trusty orbital sander, is the superhero of the sanding world. It whirs and buzzes, tackling large areas in no time. Just make sure you don’t get too carried away and create uneven surfaces.
Using Tack Cloth Like a Pro
Once you’ve stripped and sanded, your table’s surface will likely look like a dust cloud exploded. This is where the tack cloth becomes your best friend. It’s sticky enough to catch all that fine dust without making a mess.
To use it, simply wipe the cloth over the surface after sanding. Move in one direction and don’t be shy about using a few sheets if needed. Tack cloths can be purchased or even made at home if you’re feeling crafty. Just remember, a clean surface is essential for the new finish to stick!
Restoring Different Patio Table Materials
Reviving your patio table depends on whether it’s wooden, wicker, or metal. Each material has its quirks and needs a different approach.
Reviving Wooden Patio Tables

Your wooden patio table deserves some love. Start by giving it a good scrub. Use a mixture of soap and water to wash away dirt and grime. Once clean, inspect for splinters that might catch your hand like an unwelcome surprise at a party.
Next, for any cracks, a little wood filler goes a long way. Apply it, let it dry, and sand it smooth. This will prepare your table for a beautiful finish! Choose a high-quality outdoor sealer or paint to keep the wood protected from the elements. Let it dry thoroughly—patience is key here!
Wicker Furniture Rescue Mission
Wicker furniture may look delicate, but it’s tougher than it appears. Begin the rescue mission by removing loose dirt. A vacuum with a brush attachment can do wonders; it’s like a spa day for your table!
Next, use a damp cloth to wipe down the wicker. For stains, a gentle soap solution works best. Avoid soaking it; you don’t want your furniture to feel like it just took a dip in the pool.
If the wicker is frayed, consider reweaving or fixing those pesky strands. Lastly, a protective spray can help fend off UV damage and keep your wicker looking fabulous.
Metal Tables: Rust Be Gone

Metal tables often become a rusty sandwich left out in the rain. Start by removing any loose paint and rust with a wire brush or sandpaper. This step is crucial to prevent further decay—think of it as removing bad vibes from your life!
Once you’ve got it smooth, wipe the surface clean with a cloth. Now it’s time to apply a rust-resistant primer. This helps your paint stick and keeps rust from crashing the party. Choose an outdoor metal paint that suits your style.
After painting, let it dry entirely before setting anything on top. And just like that, your metal table is ready for more outdoor adventures!
Choosing Outdoor Paints and Sealants

When picking a paint or sealant, think of it as choosing an outfit for your patio table. You want something that looks good and protects against rain, sun, and the occasional spilled drink!
- Outdoor Paints: Make sure it’s specially made for outdoor use. Look for paints labeled as UV-resistant. This keeps colors vibrant despite the sun’s efforts to fade them.
- Sealants: Go for clear, water-resistant options. Brands like Penofin work well to protect wood without stripping the old finish. Remember, a good sealant will keep mold away and maintain that fresh look!
Reassembling and Repositioning Your Patio Table

After giving your patio table the makeover it deserves, it’s time to put it back together. Reassembling and repositioning can feel like assembling IKEA furniture on a bad day, but it doesn’t have to be.
Proper Reassembly Steps
First, lay all the pieces out like a puzzle. Locate your screws and bolts. If you’ve confused them with the spare parts from last week’s barbecue, good luck!
- Start with the base. Attach the legs to the tabletop first. Make sure everything is tight but don’t overdo it—this isn’t a wrestling match.
- Add any cross-bracing. This is crucial for stability. You don’t want your table wobbling like a newborn giraffe.
- Secure the tabletop. If you have a separate top piece, attach it last. Make sure it’s snug; you don’t want your drinks launching off the side during a family gathering.
- Check for stability. Give it a gentle shake. If it’s wobbling, double-check those screws. Remember, we want your table to be stable, not the star of a slapstick comedy.
Accessorizing with Chic Tabletop Decor

Start by selecting some chic tabletop decor that reflects your personality. Think vibrant flower vases, quirky candles, and fun table runners that scream, “I’m here to relax, not to work!”
- Flowers: Fresh or faux, flowers can bring color to your table. Opt for bold hues or even a minimalist arrangement to match your vibe.
- Candles: A few colorful candles can set a warm atmosphere. Just avoid the ones that look like they might explode if a breeze hits them!
- Tableware: Use colorful plates or unique serving dishes. Remember, your table isn’t just for food; it can be a canvas for creativity!
Seasonal Cleaning Tips
Think of cleaning your patio table as spring cleaning, but for the outdoors. At the start of each season, grab a brush or dry cloth and wipe off any dust and debris. Your table will thank you.
- Spring: Spray off dirt with a garden hose. Select a gentle nozzle to avoid a water fight with the neighbors.
- Summer: Use a mix of warm water and mild soap to scrub stubborn stains. Make sure to rinse well so your table doesn’t become a sticky surface for snack overflow.
- Fall: Remove leaves and debris before they turn into a natural compost. Nothing says “I gave up” like a leaf pile on your table.
- Winter: If you live in a snowy area, store your table indoors or cover it with a protective tarp. Your patio furniture deserves a cozy retreat!
Preventing Future Wear and Tear

You want your patio table to last, right? Here are some easy ways to keep it looking sharp:
- Use a Tablecloth: It’s like a sweater for your table! It protects against scratches and stains. Plus, it adds a splash of color.
- Coasters, Coasters, Coasters: Let’s be real—nobody likes rings from drinks. Invest in coasters to keep your tabletop gleaming.
- Avoid Excessive Sun: Just like you seek shade on a hot day, your table does too. If it’s made of wood, consider using an outdoor umbrella to shield it from direct sunlight.
- Regular Inspection: Check for any loose screws or wobbly legs. A quick fix now can save you from a table tumble later.
Taking these steps will help your patio table survive the elements and keep it party-ready all summer long!