If you’ve ever taken a photo of your living room and wondered why it looks more haunted house than dream home.
Interior photography is a mysterious game, and getting your space to look as amazing on camera as it does in real life can feel impossible.
You don’t need fancy equipment or a degree in photography from Hogwarts. With a few smart tips, like staging your space and grabbing photos on overcast days for softer light, you can turn even the messiest room into an Instagram-worthy masterpiece.
Ready to see your space in the best light? Let’s make your friends think you hired a pro (and maybe even fool yourself, too).
Essential Gear for Interior Photography
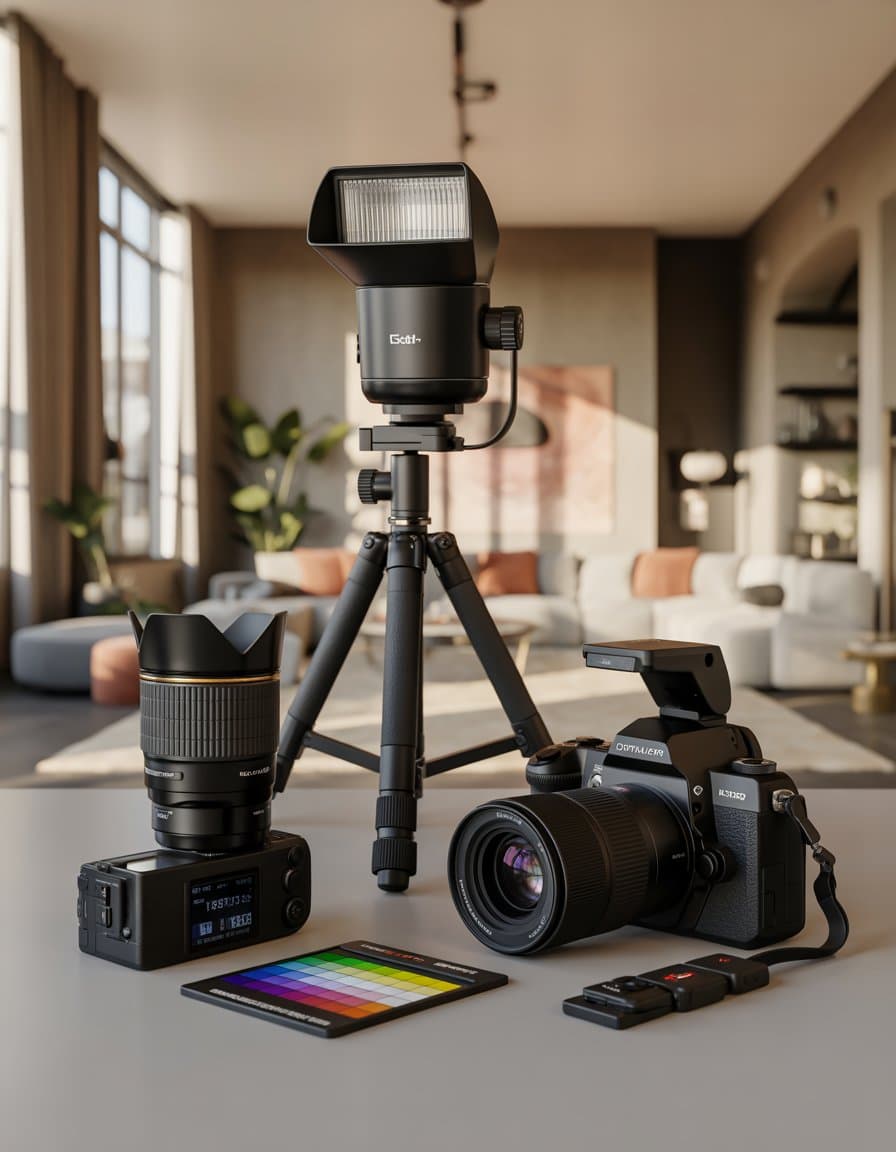
To get sharp, professional-looking interior shots, you need more than just a fancy phone and a prayer. Using the right camera, lens, and tripod can make even a messy living room look like it belongs on a magazine cover. Let’s break down the must-have gear for nailing those perfect interior photos.
Choosing the Right Camera
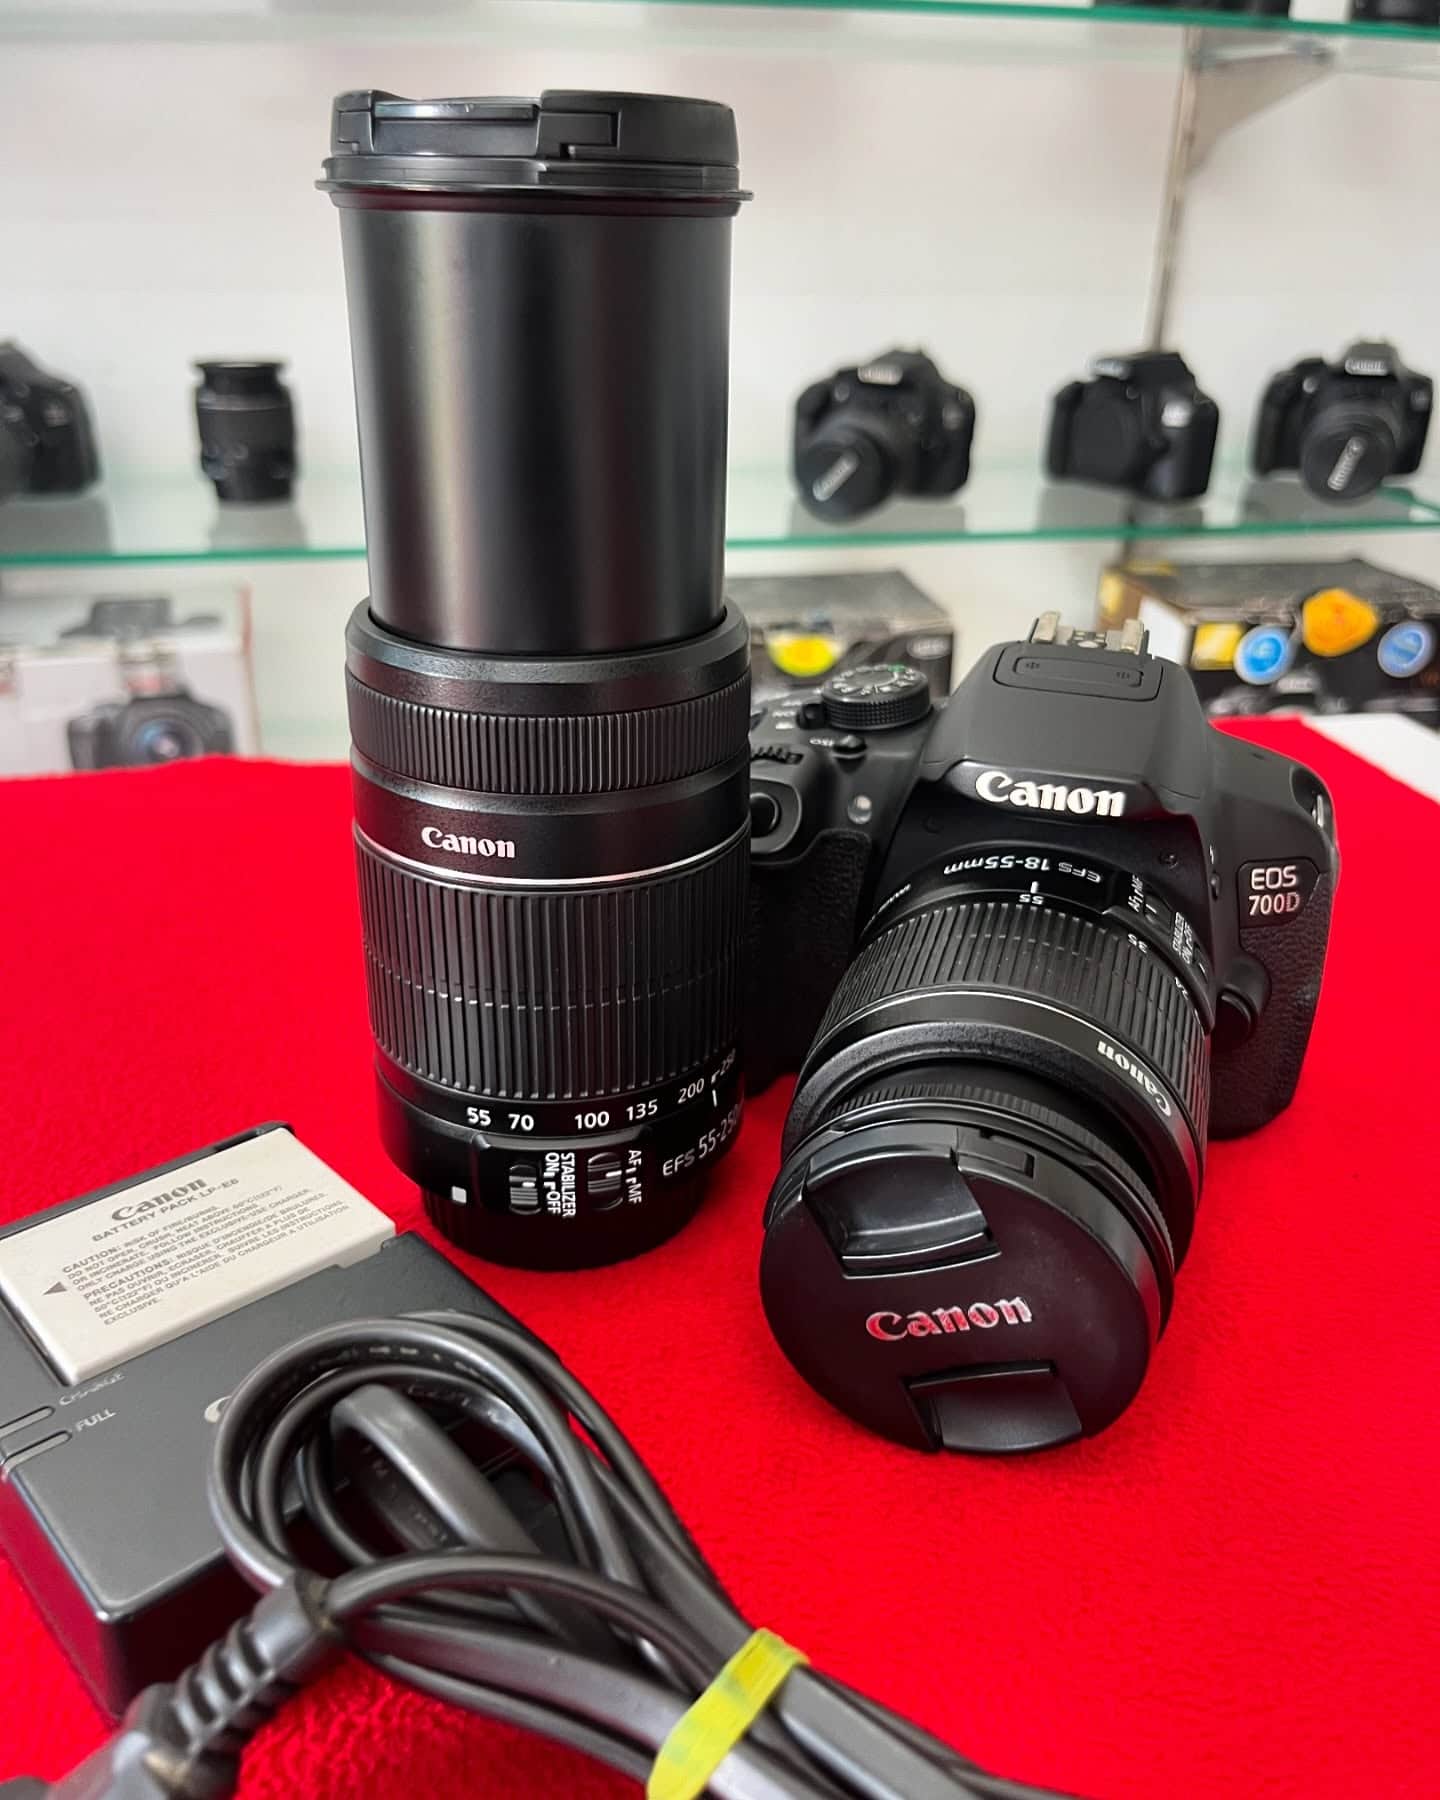
If your idea of a camera is the one on your tablet, it may be time for an upgrade. For crisp, clear pictures and rich details, a full-frame DSLR or mirrorless camera is your best friend. Cameras like the Canon 5D Mark IV or Nikon Z6 are favorites among interior photographers for their great image quality even in low light. Don’t worry if you’re on a budget—just pick a camera that lets you control settings like aperture, shutter speed, and ISO.
A bigger sensor means better depth, more detail, and less noise—that’s nerd speak for “your photos look smoother and more real.” Look for a camera with manual mode, so you’re the boss. Autofocus is useful, but you’ll often want to use manual focus for more control.
Wide-Angle Lenses vs. Tilt-Shift Lenses
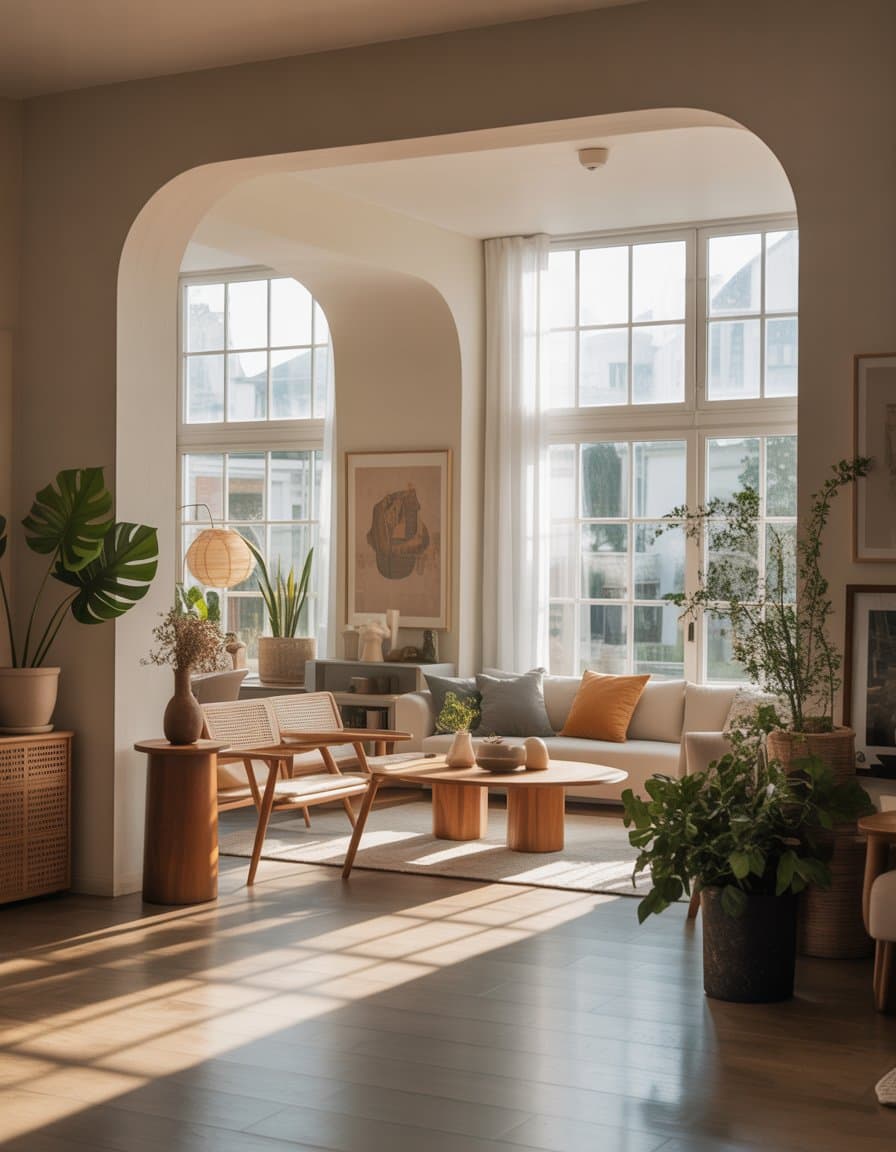
To squeeze a whole room into one frame, a wide-angle lens is a must. Lenses in the 16-35mm or 24-70mm range are popular for interior photography, giving you the ability to capture tight spaces without making them look weird. Many pros prefer the Canon EF 24-70mm or 24-105mm for their sharpness and flexibility.
If you want to level up, tilt-shift lenses are your secret weapon. They help keep lines straight, so your walls don’t look like they’re falling over. This is great for keeping things looking natural and preventing that “funhouse mirror” effect. Tilt-shift lenses can be pricey, but if you’re serious about interiors, they’re worth it.
Tripods: Your New Best Friend
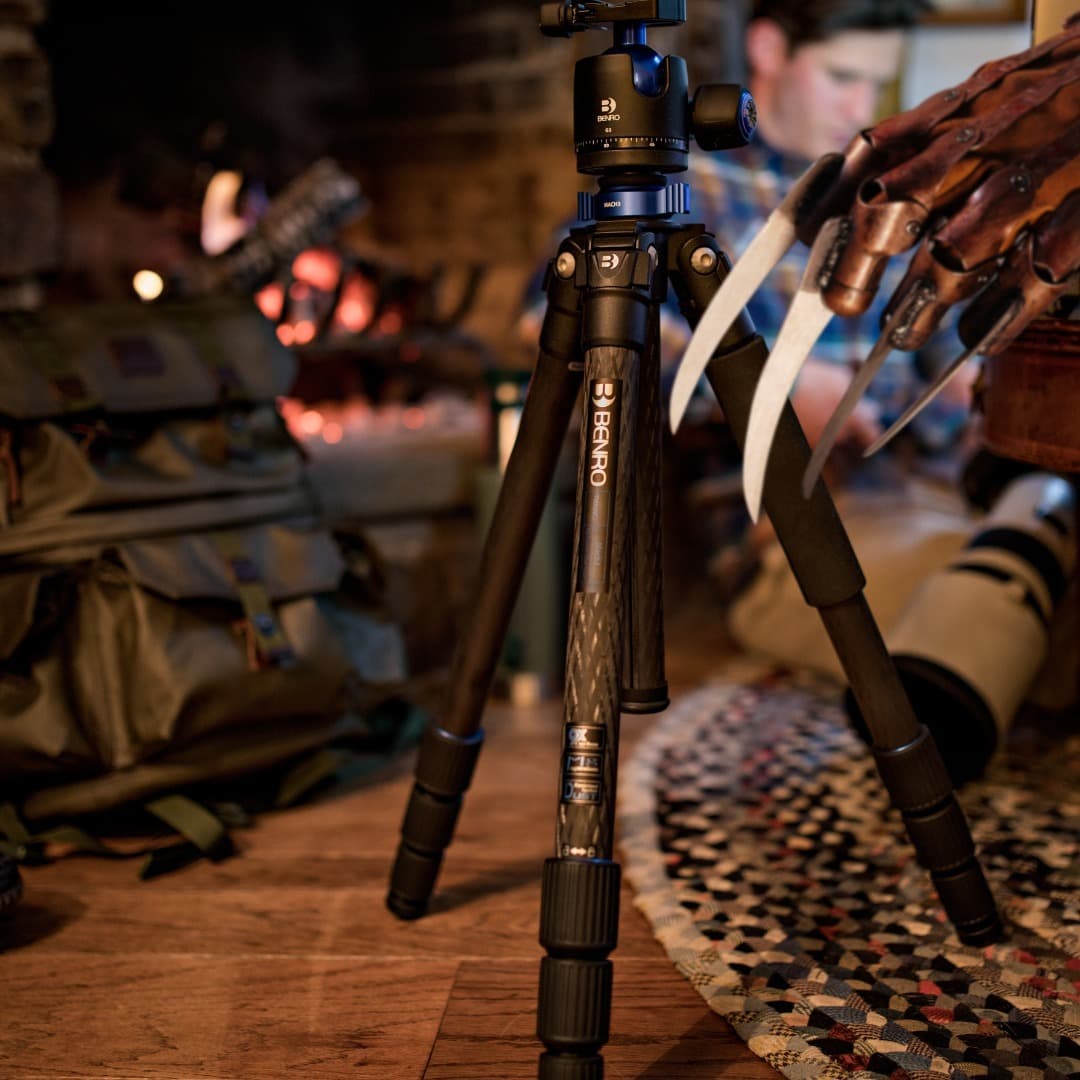
Think of your tripod as the patient friend who keeps you steady when your hands are shaking from too much coffee. A good tripod helps you shoot with slower shutter speeds, which is key for bright, noise-free interior shots. Look for one that’s sturdy but light enough to carry around as you shuffle furniture.
Tripods also let you take several shots of the same scene, which is perfect for blending images or removing the ghostly figure of your elbow from the mirror. Many photographers say a tripod is their most-used piece of gear—don’t be the person trying to balance your camera on a stack of books.
Mastering Interior Lighting
If shooting interiors feels like a wild game of hide and seek with light, you’re not alone. Knowing how to control, soften, and play with lighting will put you way ahead in the world of interior photography.
Harnessing Natural Light for Vibrant Spaces
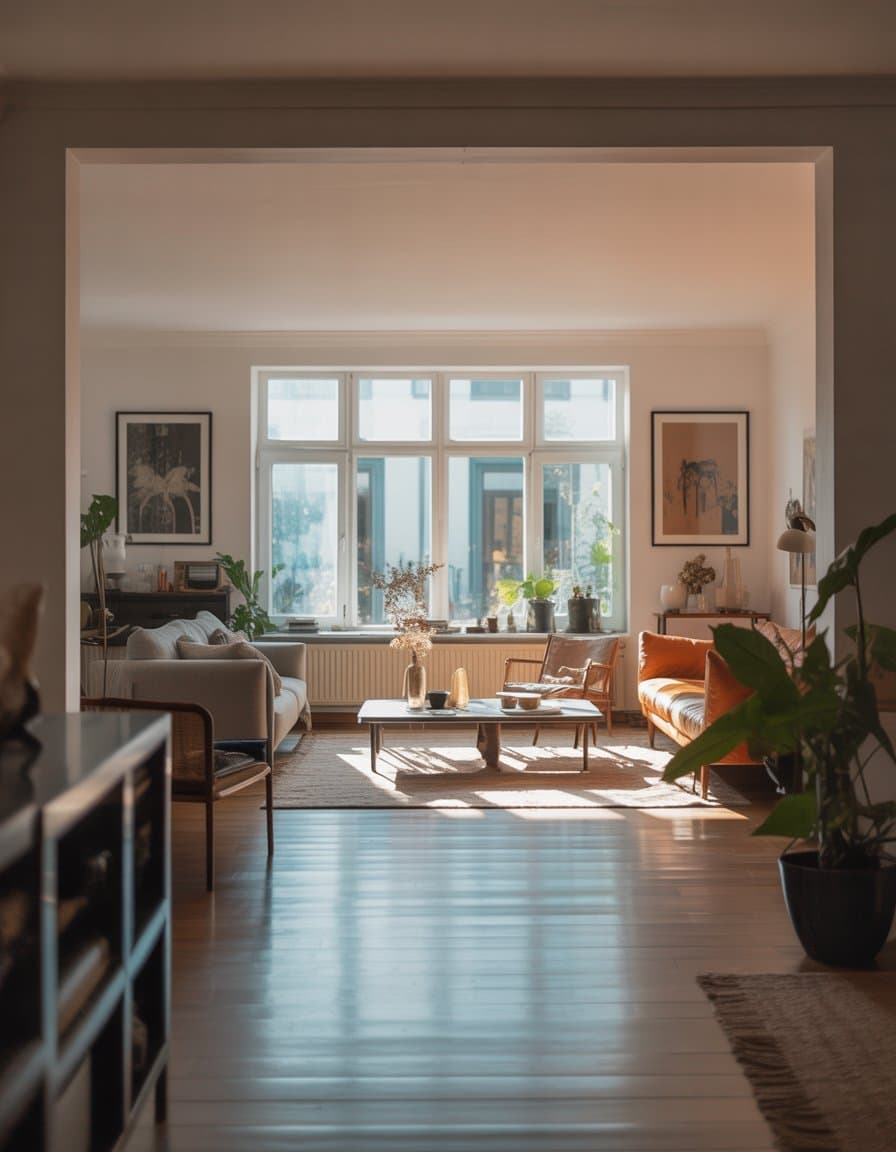
Natural light is your best friend—unless it hits like an over-caffeinated spotlight. Start by opening every curtain and door you can find. This lets the light flood in and gives your photos a bright, even glow, instead of those dramatic, moody shadows that make your couch look haunted.
Take note of where the sun sits at different times. Direct sunlight can wash out colors and create harsh contrasts. If you keep getting weird glare, try hanging a thin white sheet or using white curtains to diffuse the light. Think of it as sunglasses for your room.
Dealing with Tricky Lighting Conditions
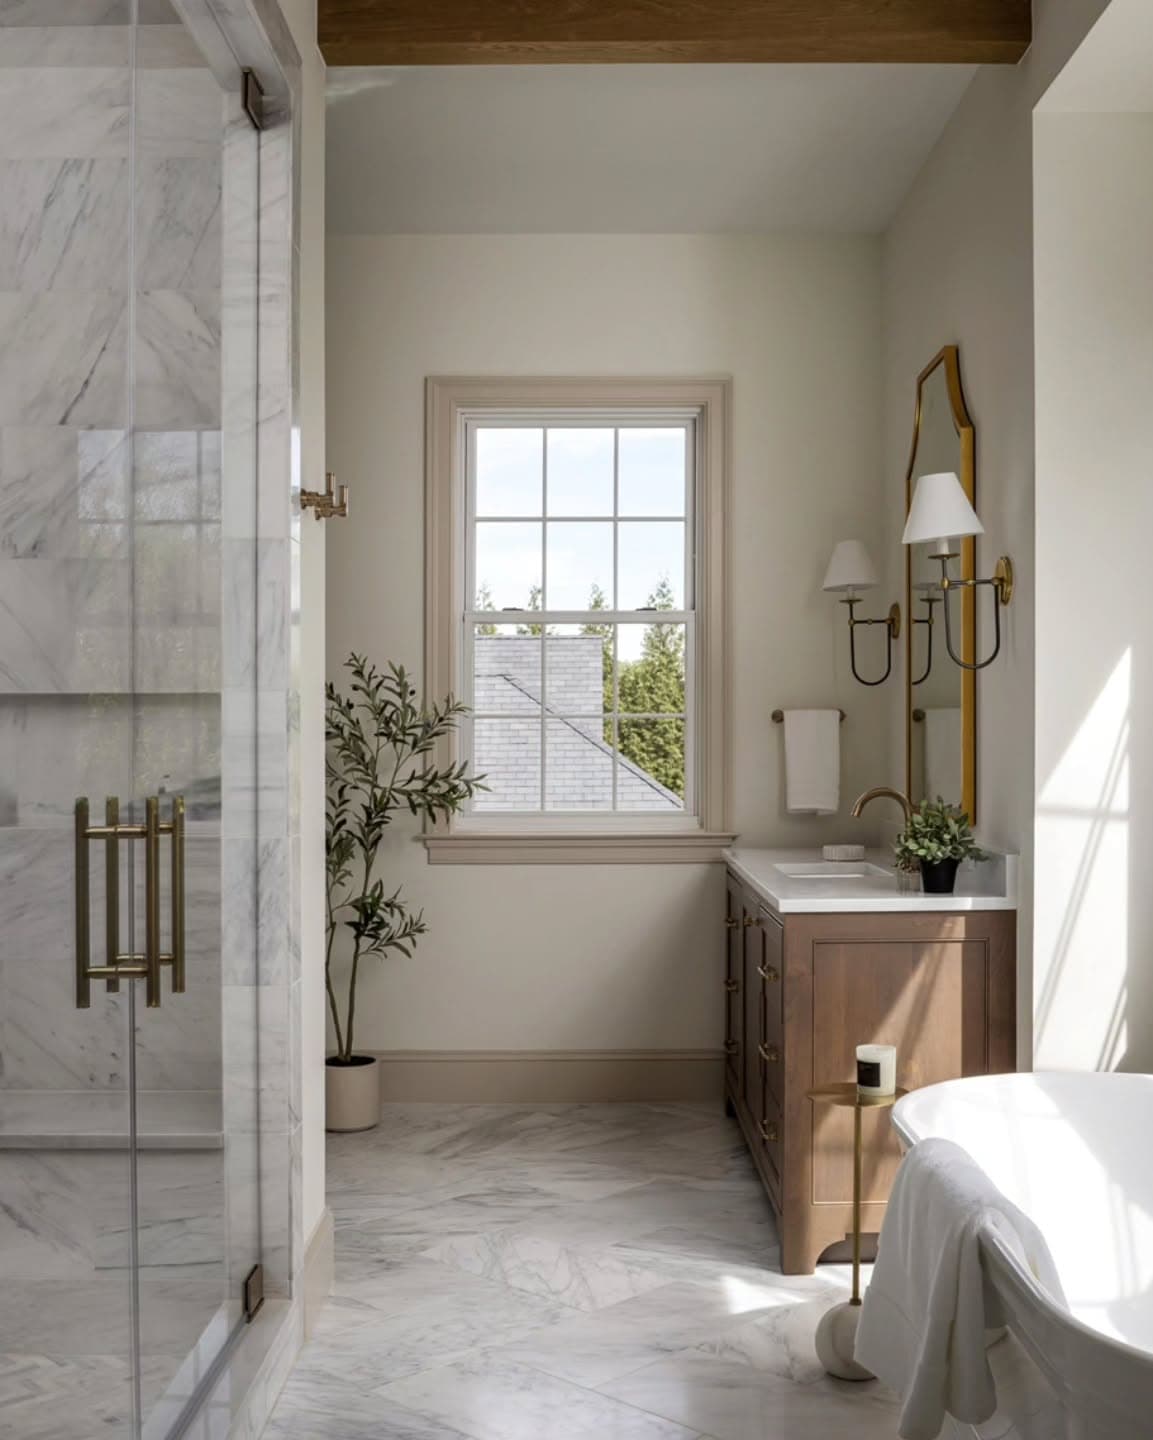
Sadly, not every room is blessed with sunshine. When natural light bails on you, artificial lighting is your next best sidekick. Grab lamps, LED panels, or flash units and set them at different spots to avoid that “interrogation room” vibe.
Use bounce techniques. Aim your lights at white walls or ceilings to spread light evenly, making everything look soft instead of spooky. Want to get fancy? Use umbrellas or softboxes for that gentle, glowy look—no harsh lines allowed! Just make sure all your lightbulbs are the same color temperature, or your room will look like a weird split between Mars and Antarctica.
In kitchens or spots with shiny surfaces, position lights at a 45-degree angle. This stops those eye-piercing reflections that can ruin a photo. For more insight, check out some professional lighting tricks for interiors.
Camera Settings Explained (So You Don’t Have to Guess)
Let’s face it, interior photography can be cruel if you don’t know your camera settings. Think of this section as your cheat code to smarter shutter speed, ISO sanity, and white balance wizardry.
Perfecting Shutter Speed Indoors
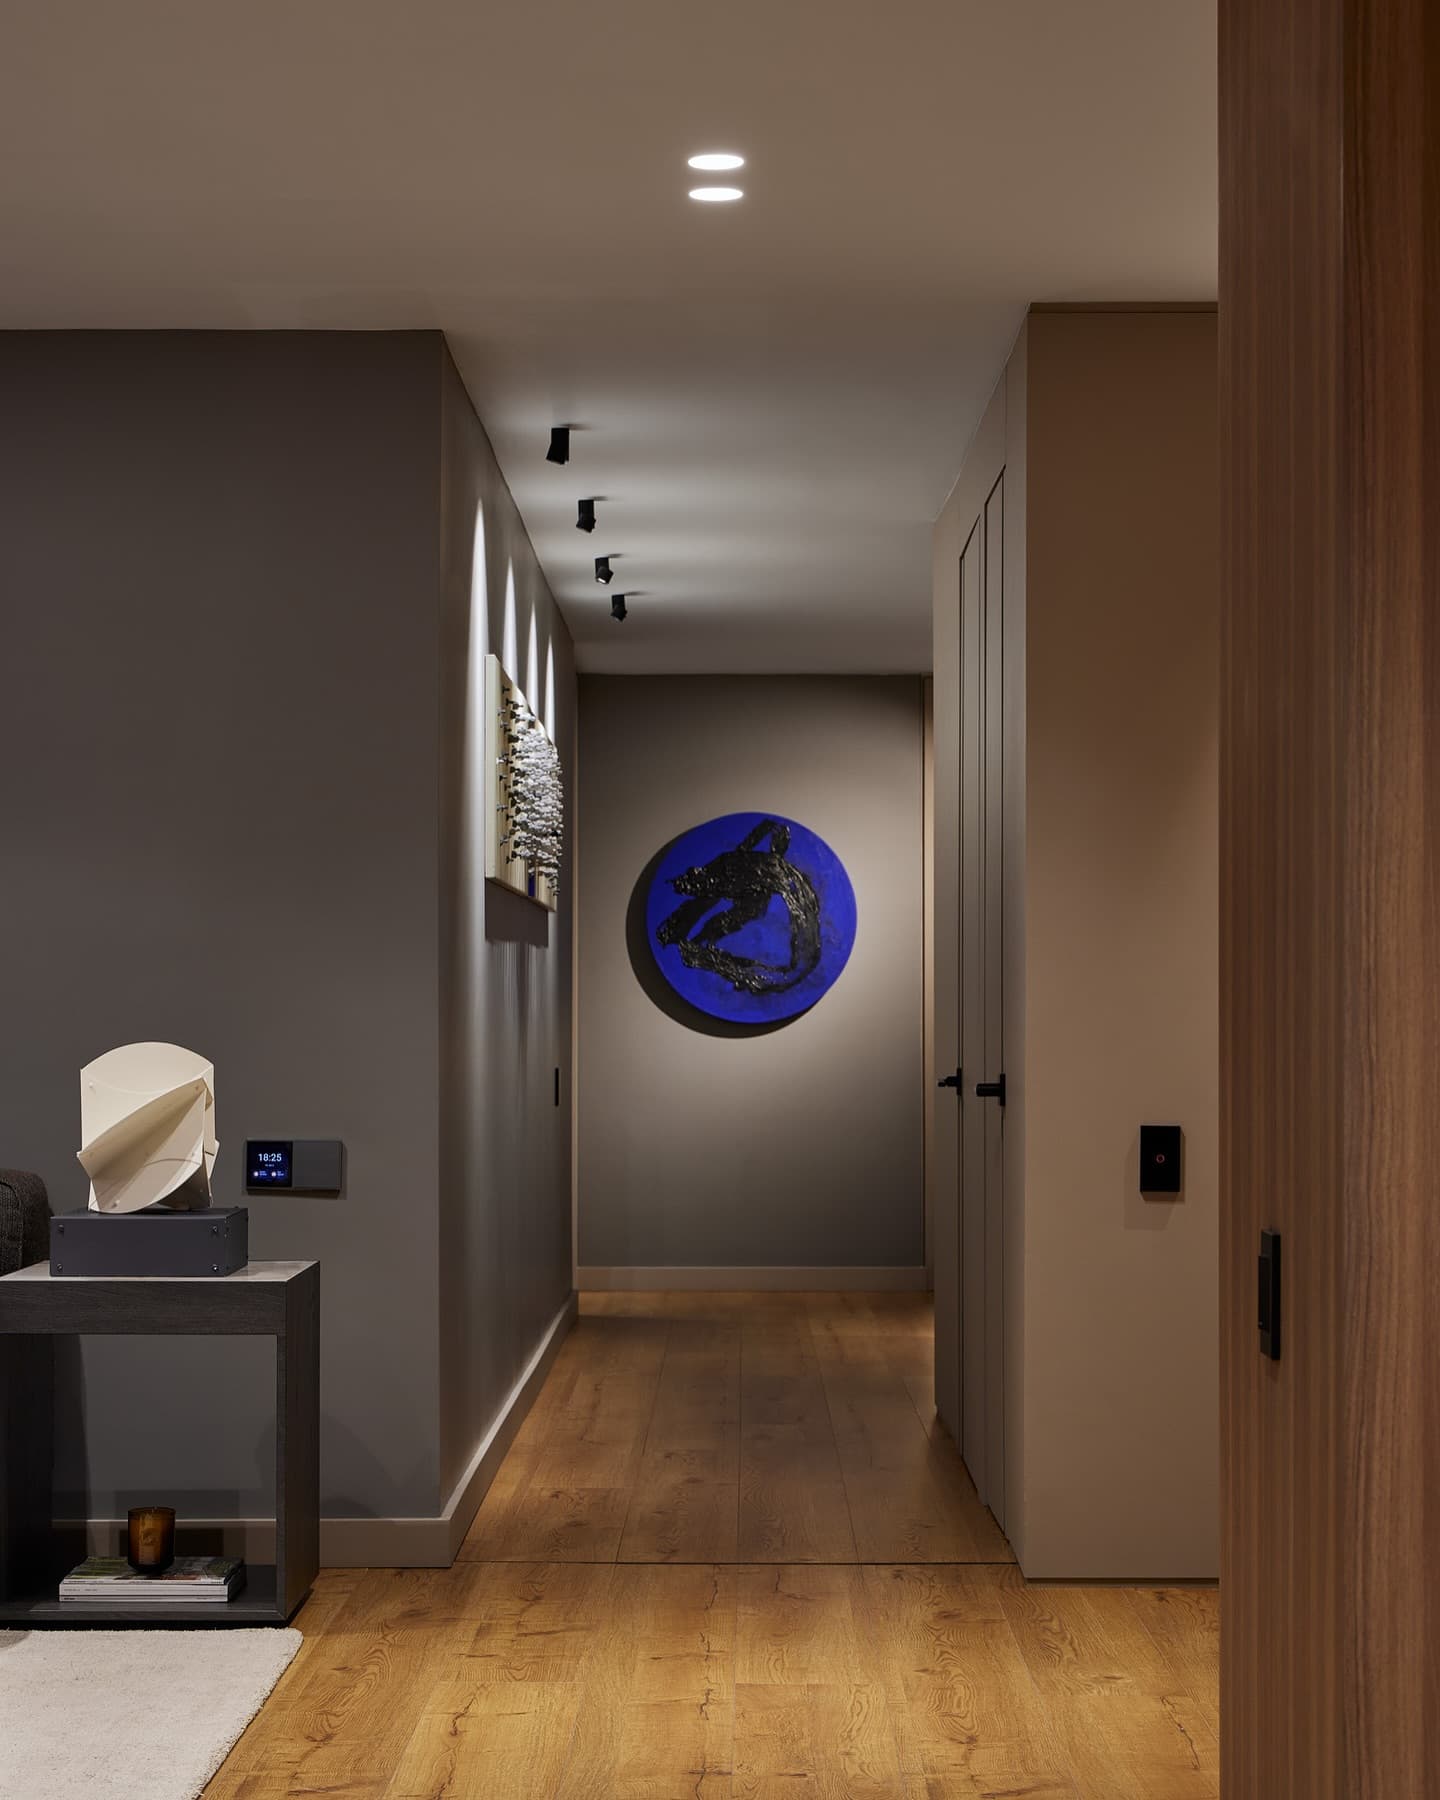
Shutter speed is how long your camera’s eye stays open. Get this wrong, and your photos will be blurrier than your vision after spinning in a chair twelve times. For steady, sharp interior shots, use a tripod and pick a slow shutter speed—usually in the range of 1/4 to 1/60 of a second.
If you shoot handheld, keep your shutter at at least 1/60 second to avoid shaky photos that even coffee jitters can’t explain. Shooting with natural light? Slow it down (thanks tripod!), but don’t push it if people or pets may suddenly photobomb.
Cheat Sheet Table
| Situation | Shutter Speed |
|---|---|
| Tripod Used | 1/4 to 1/60 second |
| Handheld | 1/60 second or faster |
| Moving Subjects | 1/125 second or faster |
ISO for Interior Photography
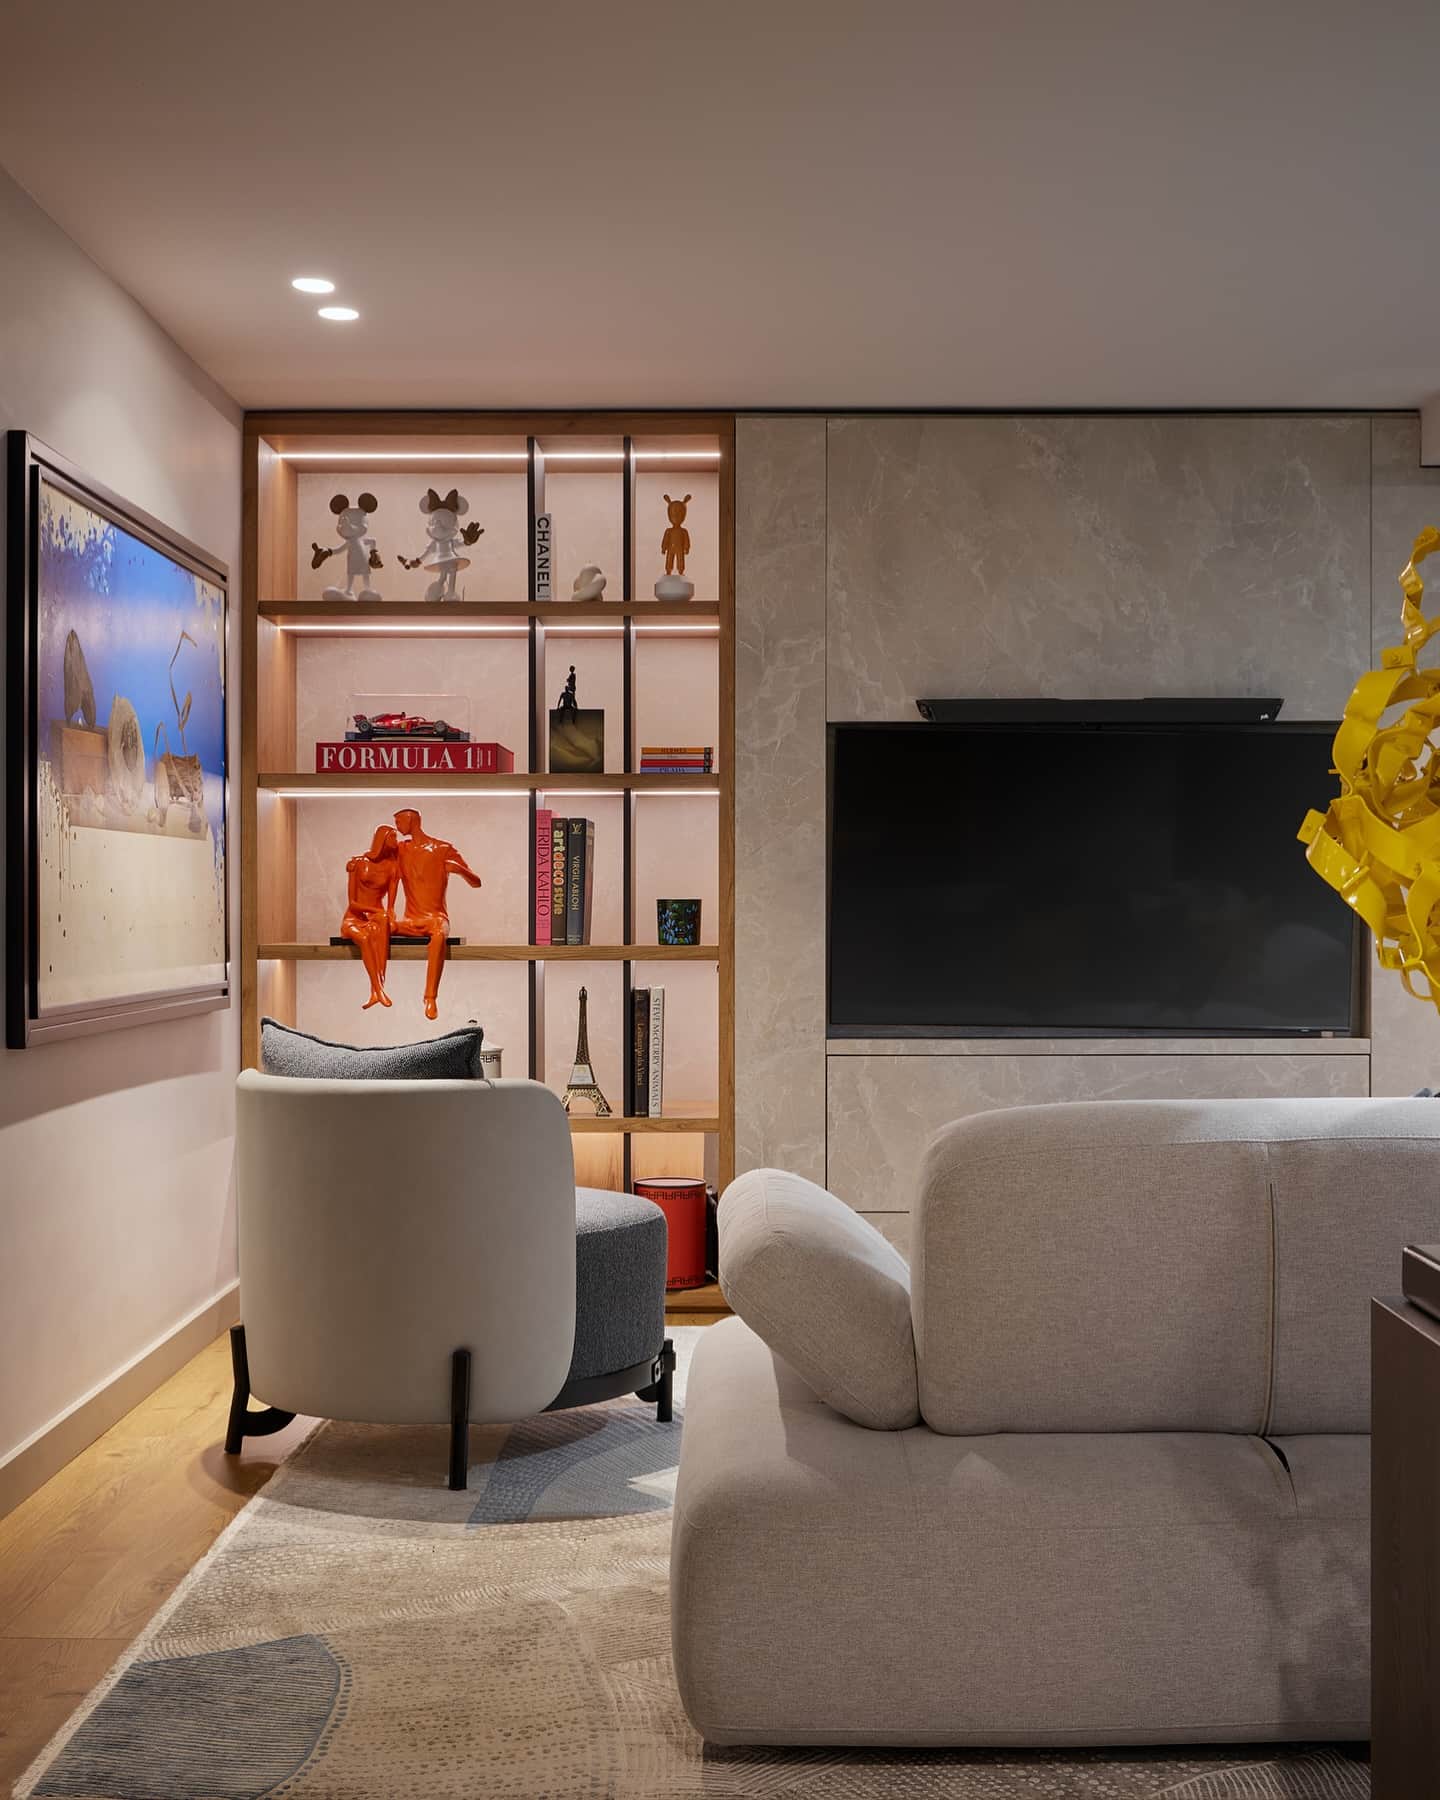
ISO is your camera’s way of getting better vision in dark rooms. But crank the ISO too high, and things will get grainy with more “static” than retro TV. For most interiors, you want an ISO between 100 and 800.
On a tripod? Stick to the lowest ISO possible (100 or 200) for the cleanest, sharpest images. If you’re shooting handheld and the light is dimmer than your motivation after a Monday, bump the ISO up—but know your camera’s limits. Some modern cameras can handle ISO 1600 or even 3200 without looking like they were taken in a sandstorm.
If you start seeing ugly noise, lower the ISO and work with a slower shutter speed—your tripod is your friend here. Long story short: higher ISO equals more grain. Lower ISO equals cleaner shots.
White Balance Wizardry
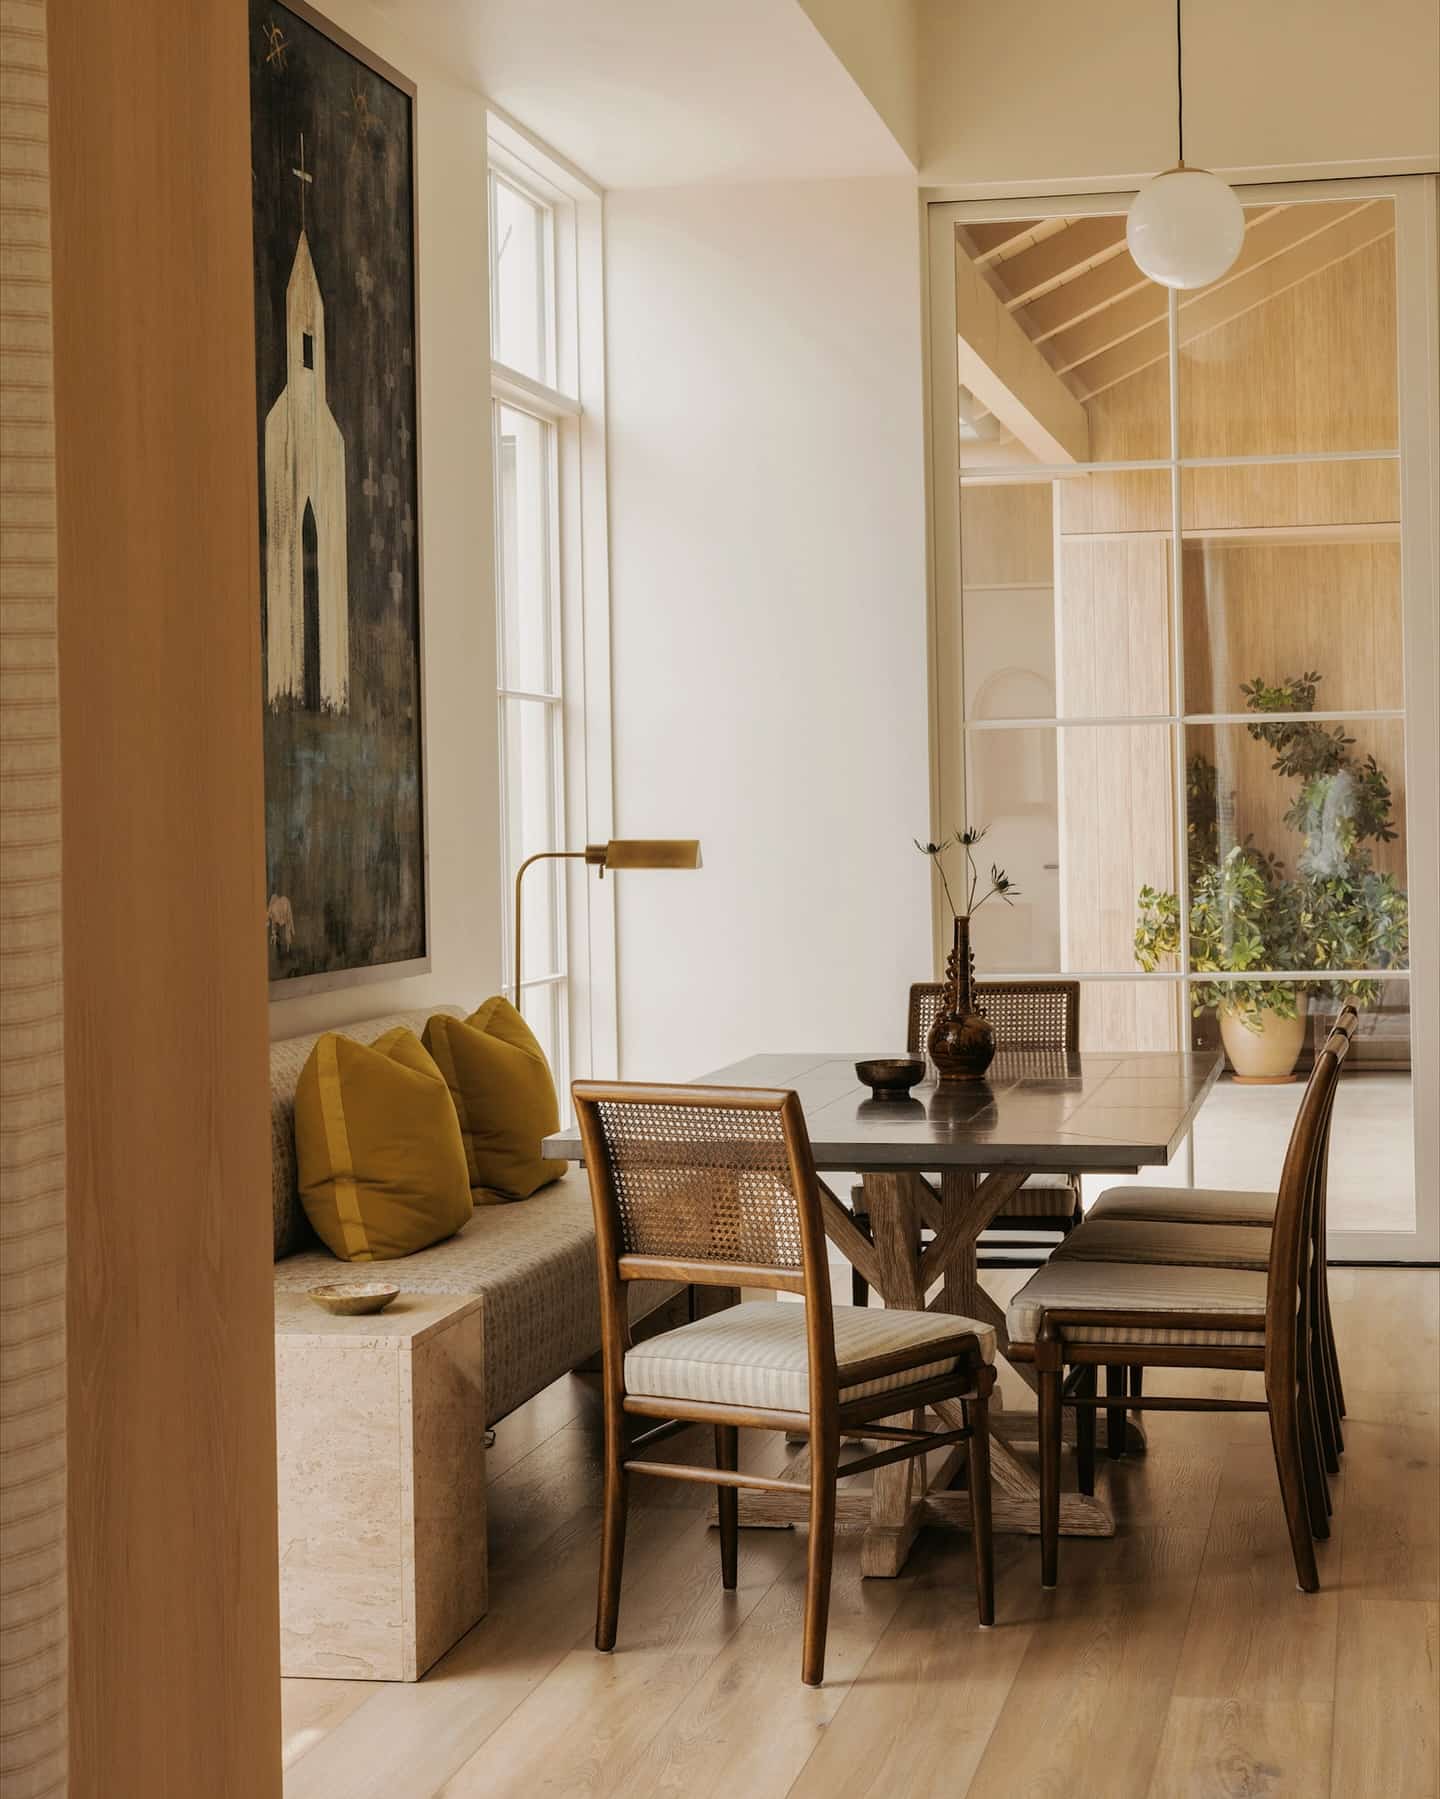
White balance stops your walls from looking like they belong in a circus. If you’ve ever taken a photo and thought, “Why do my white curtains look like they’ve been dipped in pumpkin soup?”—blame white balance.
Set your camera’s white balance based on the light source. Shoot with daylight? Pick the “Daylight” or “Cloudy” preset. Working with lamps or indoor bulbs? Try “Tungsten” or “Incandescent” modes. Many cameras have a “Custom” mode—use a white card to set perfect balance, and your colors won’t look possessed.
If you shoot RAW, you can fix weird colors later, but life is easier when you don’t have to zap orange or blue out of every picture in editing. Feeling lazy? Auto white balance is better than it used to be, but check your screen after every shot—sometimes cameras have opinions no one asked for.
Composition Techniques to Wow Your Friends
Want to make your interior shots look professional, not like something your dog accidentally snapped on your phone? Focusing on frame placement, camera angle, and how subjects sit in your shot can make a big difference.
Framing for Architectural Photography
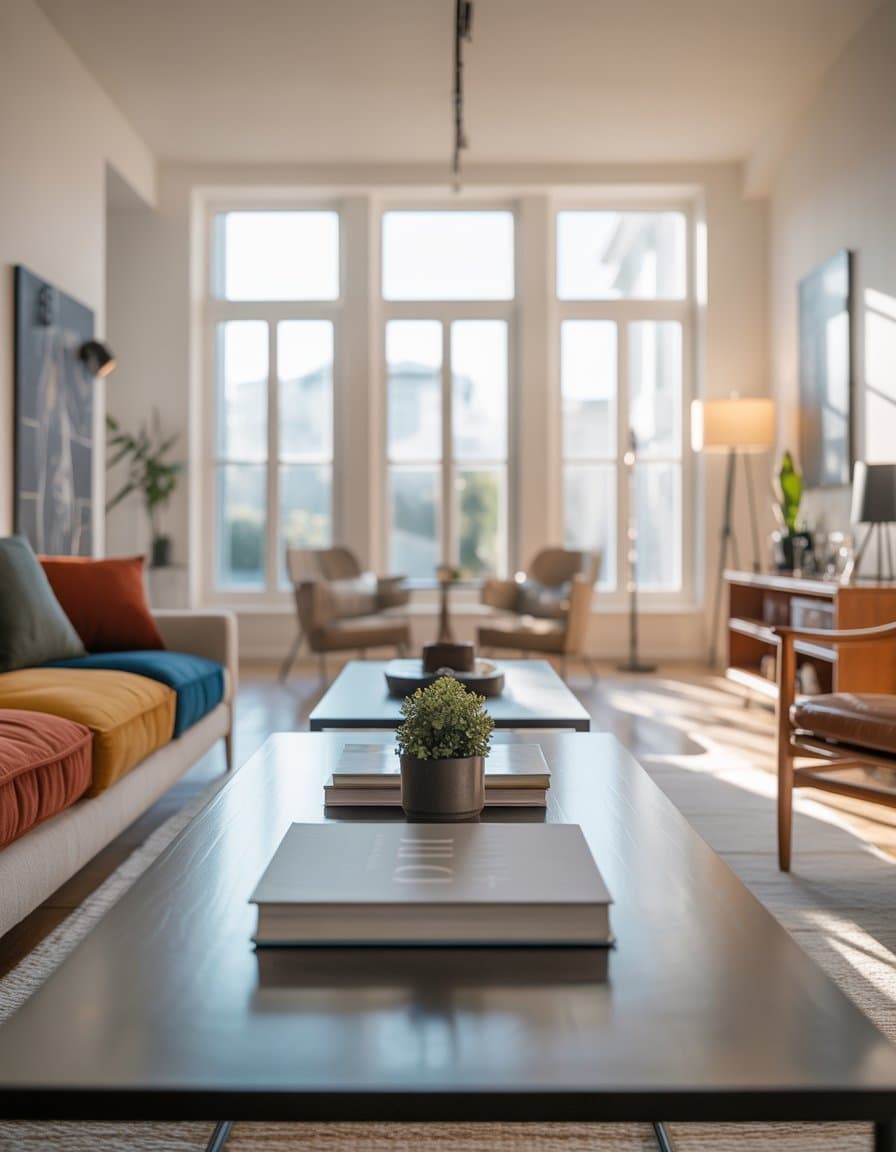
A good frame is like a good haircut—you won’t notice it if it’s done right, but if it’s off, everyone will stare.
Line up those walls and ceilings so they look clean and straight. Use doorways, windows, and beams to form natural borders around your picture. This draws people’s eyes right into the space you want to highlight.
Try taking a step back and including furniture, plants, or art objects near the edge of your photo. This adds context and gives your shots more depth. Don’t let weird objects poke in from the sides unless you want your living room to be known for the “mystery lamp.”
If your space has gorgeous details like arched entries or stylish trims, use them! They’re like free picture frames. And always check your edges before clicking—nothing ruins a pro vibe like chopping off half a chair.
Perspective Is Everything
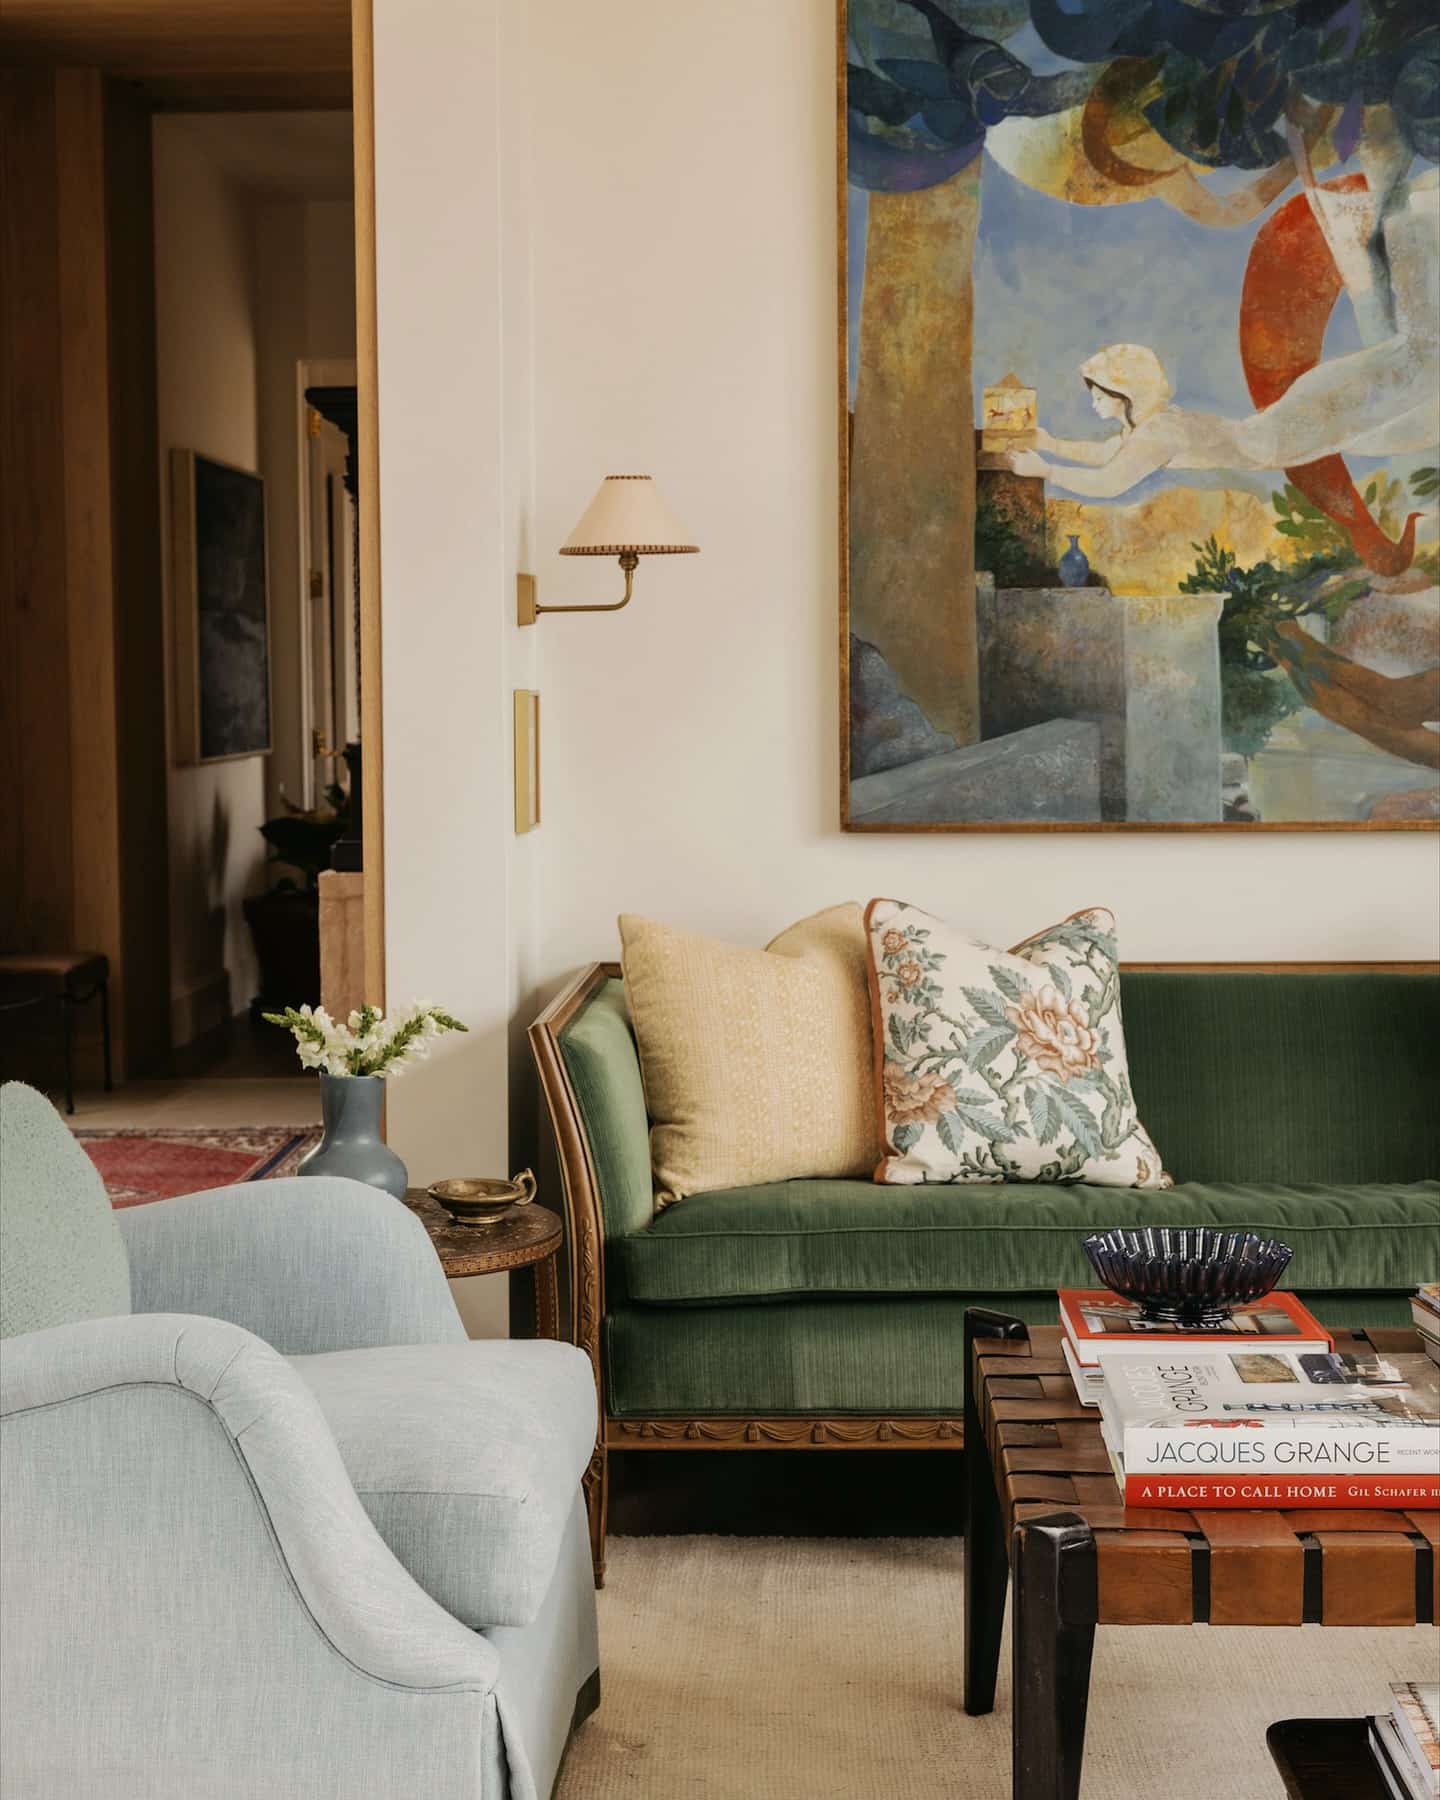
Changing your camera angle even a little can turn “meh” photos into wow-worthy shots. Eye level is usually dull for interior photography. Don’t be afraid to crouch, kneel, or even lie flat if it gives you a more interesting perspective.
Try shooting straight on to make a room look neat or go for a corner angle to show off the whole space. Wide-angle lenses can also help, but don’t overdo it unless you want your kitchen to look like it belongs in a funhouse.
Keep an eye out for leading lines—hallways, counters, or rows of lights—that pull viewers into the photo. This simple trick can make your architectural photography far more polished.
Rule of Thirds (and Why It’s Not Just for Pies)
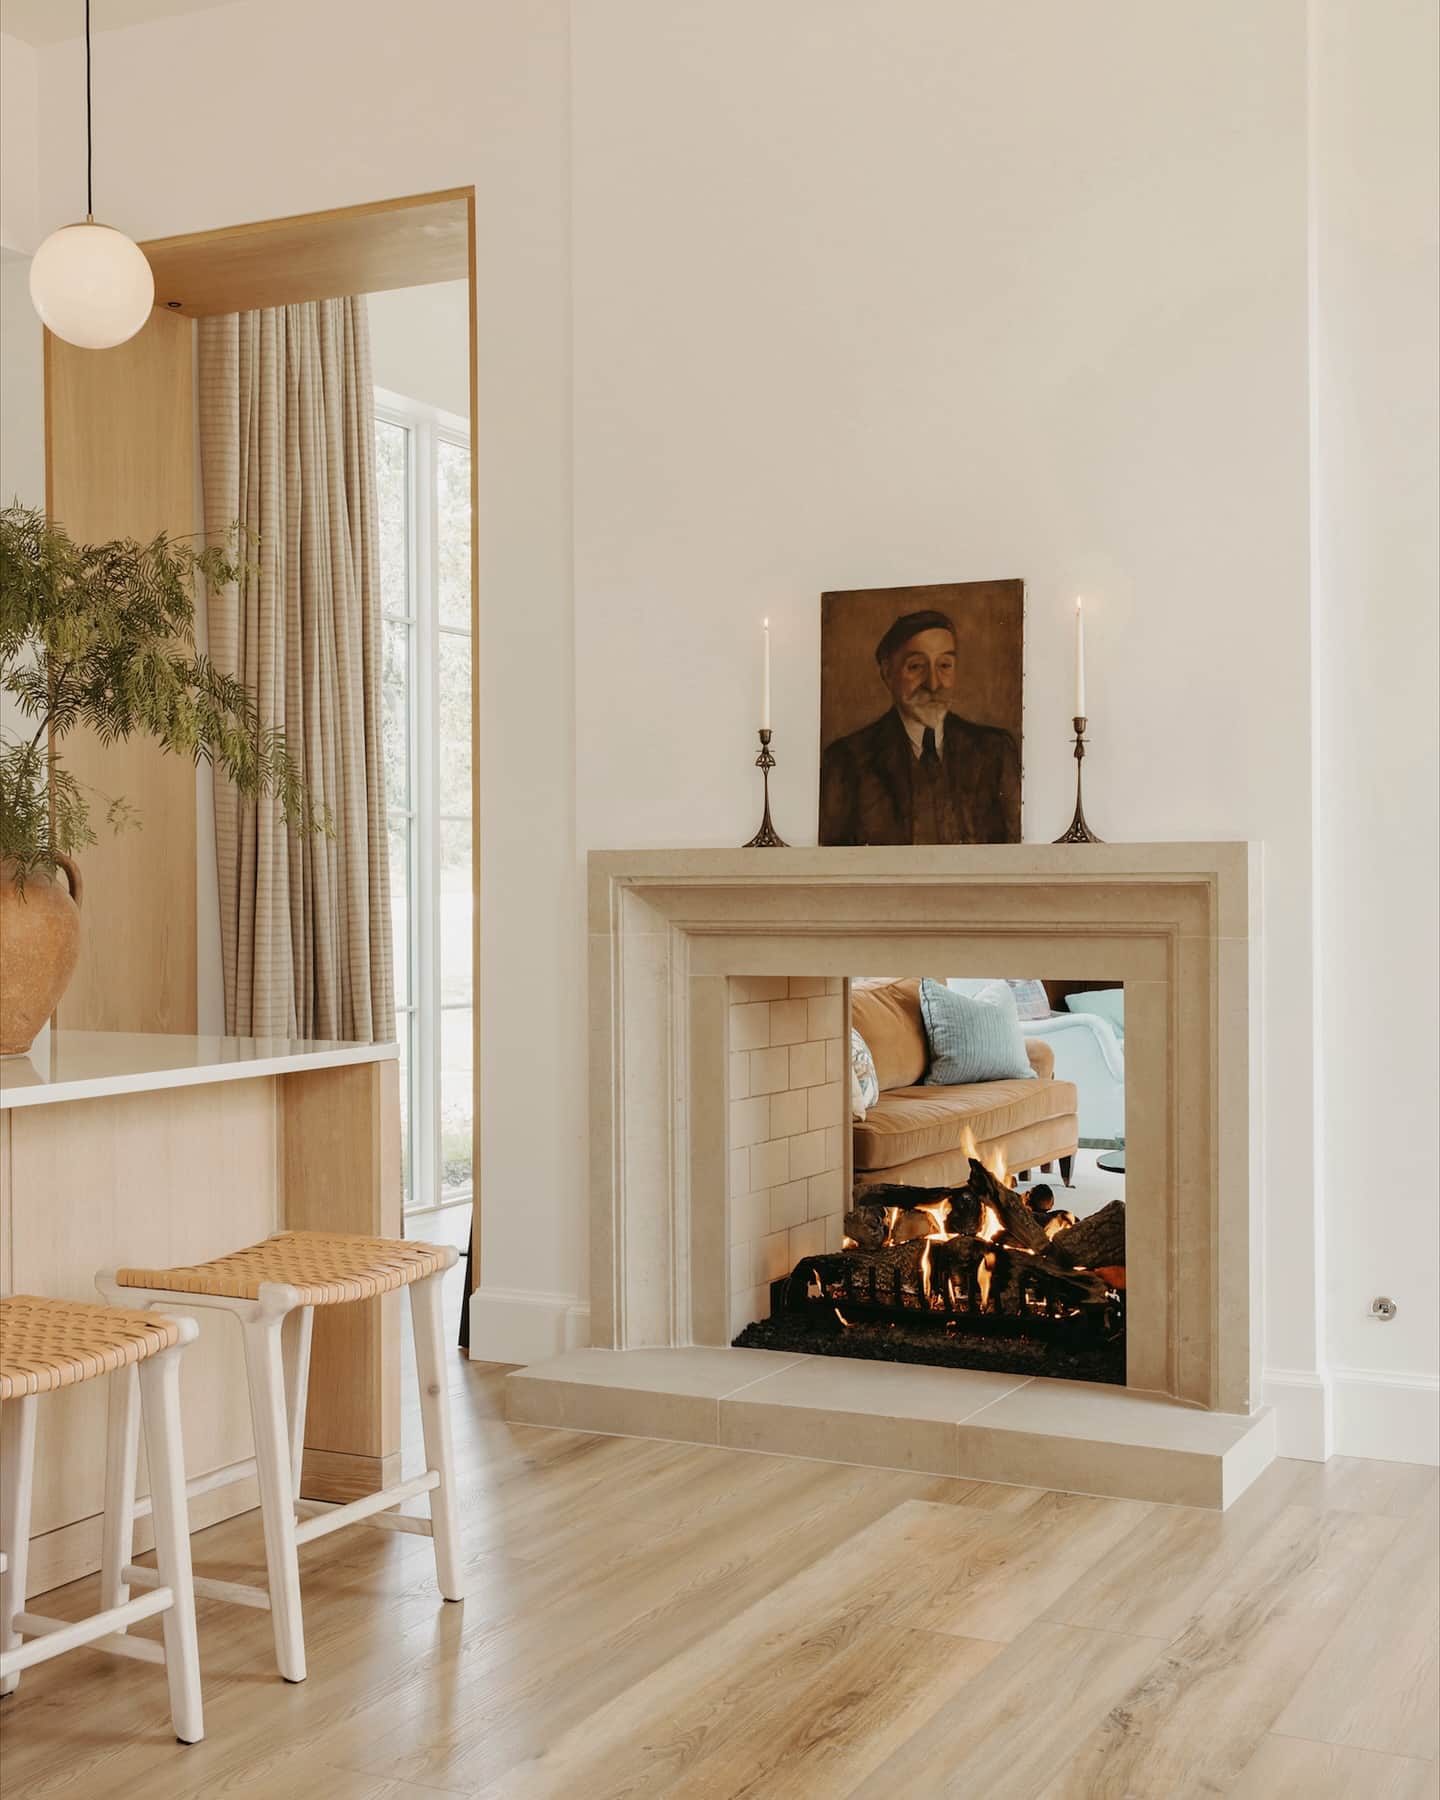
Pretend your image is cut into a tic-tac-toe board. The main action should sit near the lines or the points where they cross. If that favorite chair is always dead center, try sliding it to the left or right—your photos will instantly feel more balanced.
Use this rule for more than just furniture. Place a window, a plant, or a pop of color at those sweet spots. It stops your photos from looking stiff. For dramatic effect, let empty space fill one-third of your shot. It gives breathing room and makes your subject pop, not unlike a bold flavor in a boring soup.
Nailing Your Vantage Point
Choosing the best vantage point is like choosing a seat at a concert: where you plant yourself makes all the difference. A smarter perspective can turn an average interior shot into something that actually makes your mom say “Wow.”
Finding the Most Interesting Angles
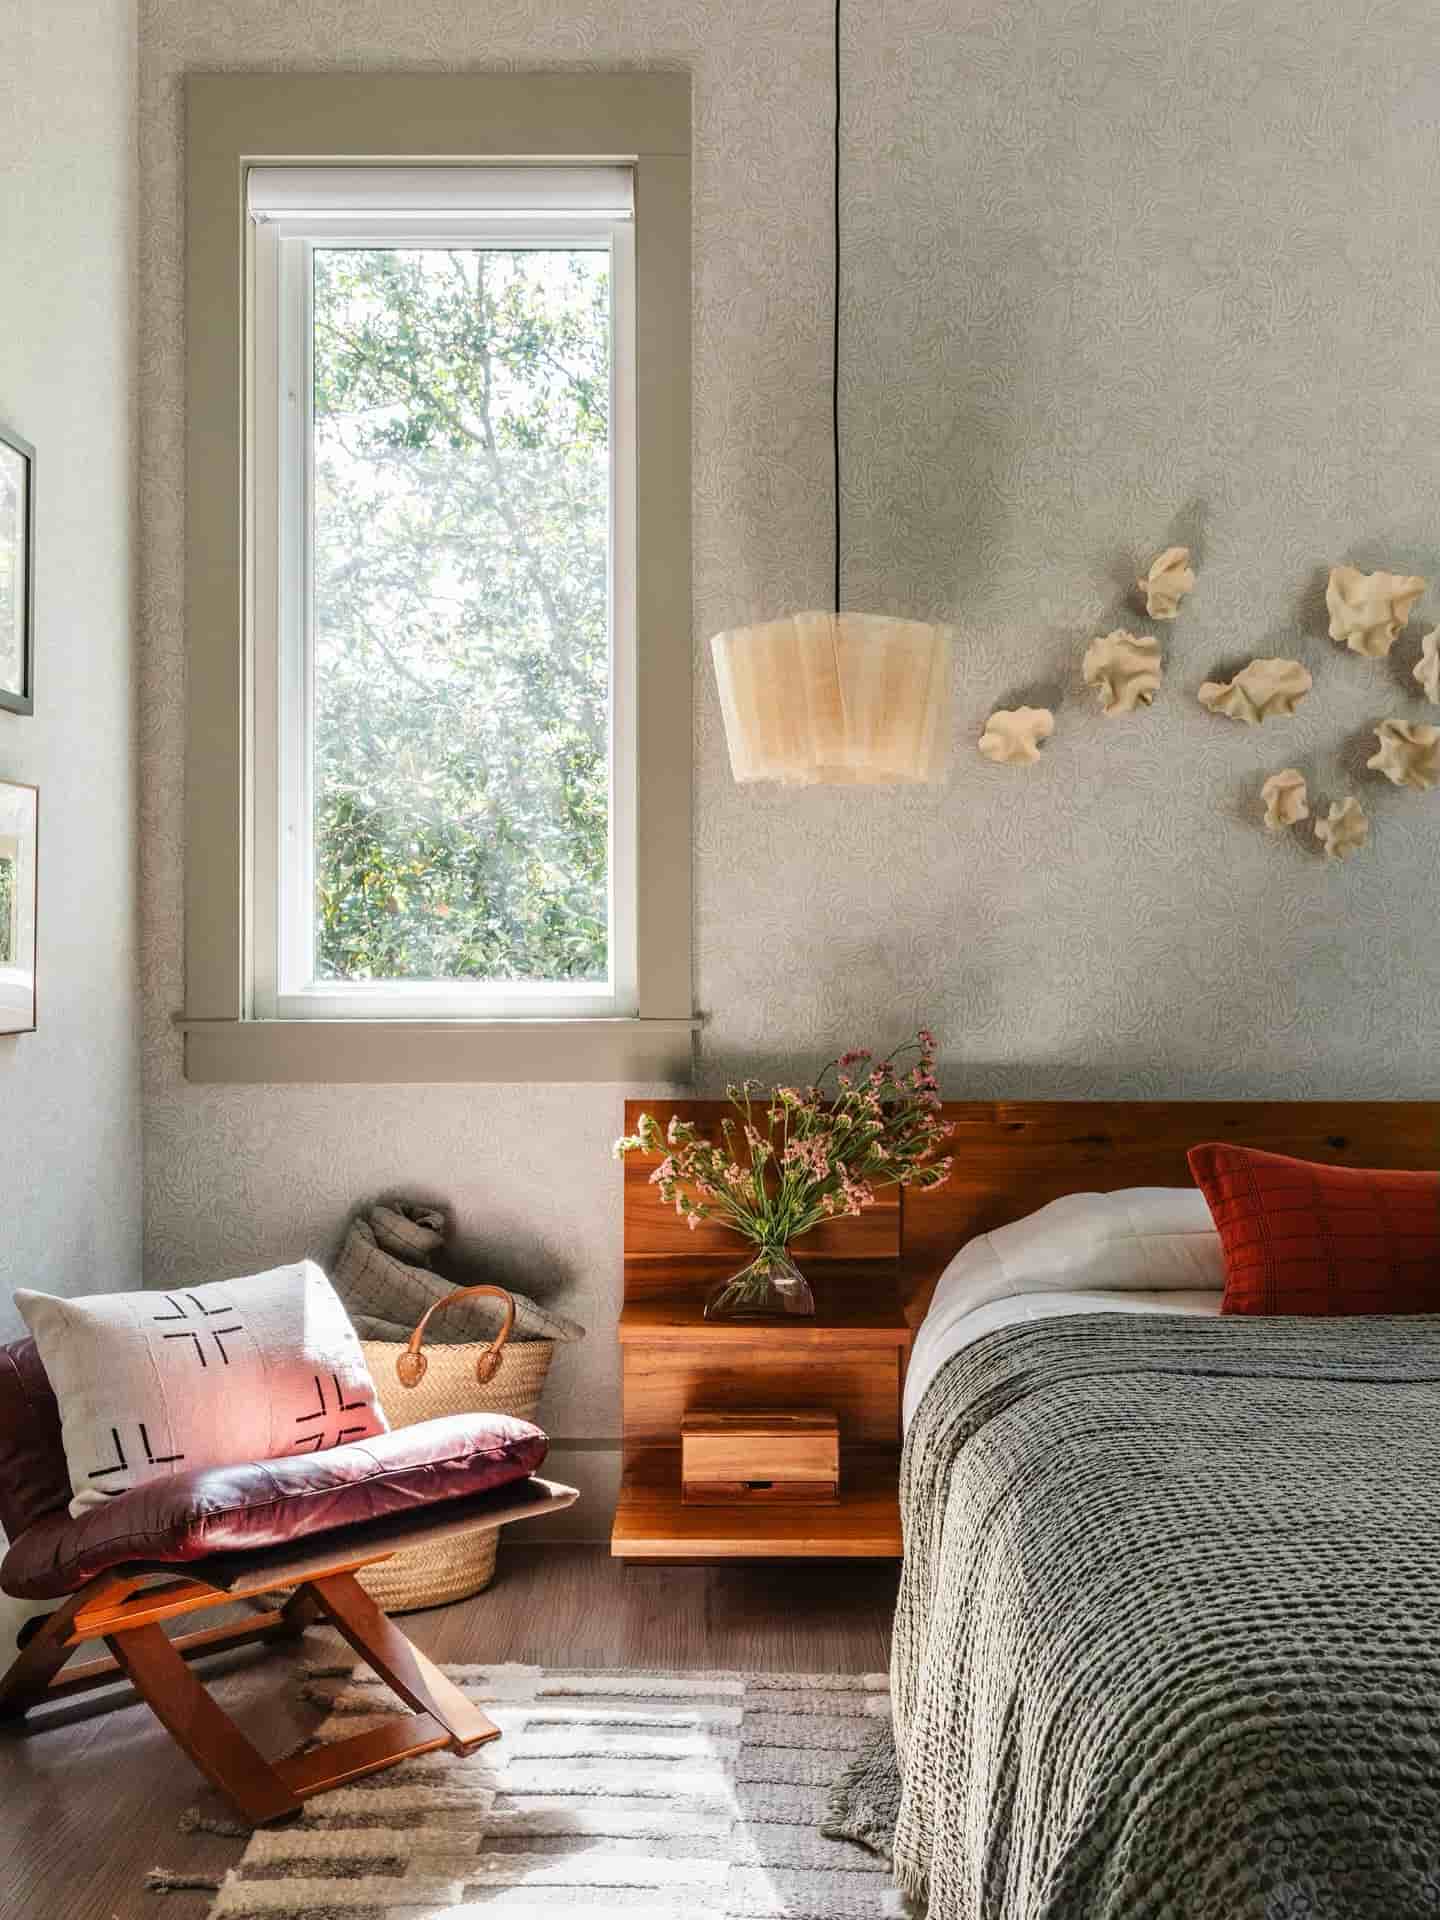
Don’t just stand in the doorway and snap a photo. That screams “I tried,” but you can do better. Walk around the room and look at it from different corners. Sometimes, that awkward angle you discover behind the couch brings the space to life.
Try these ideas:
- Stand where two walls meet for strong leading lines.
- Snap from just inside a door to frame the shot naturally.
- Get by a window, but avoid blinding sunlight (nobody looks good when they’re squinting) [shooting interiors like a pro].
Changing your perspective highlights cool architectural features or a super funky rug—because let’s be honest, you paid too much for that rug to let it blend in. If you’re photographing for design, show off the best bits, not the pile of laundry you forgot to move.
Height Matters: Low vs. Eye-Level Shots
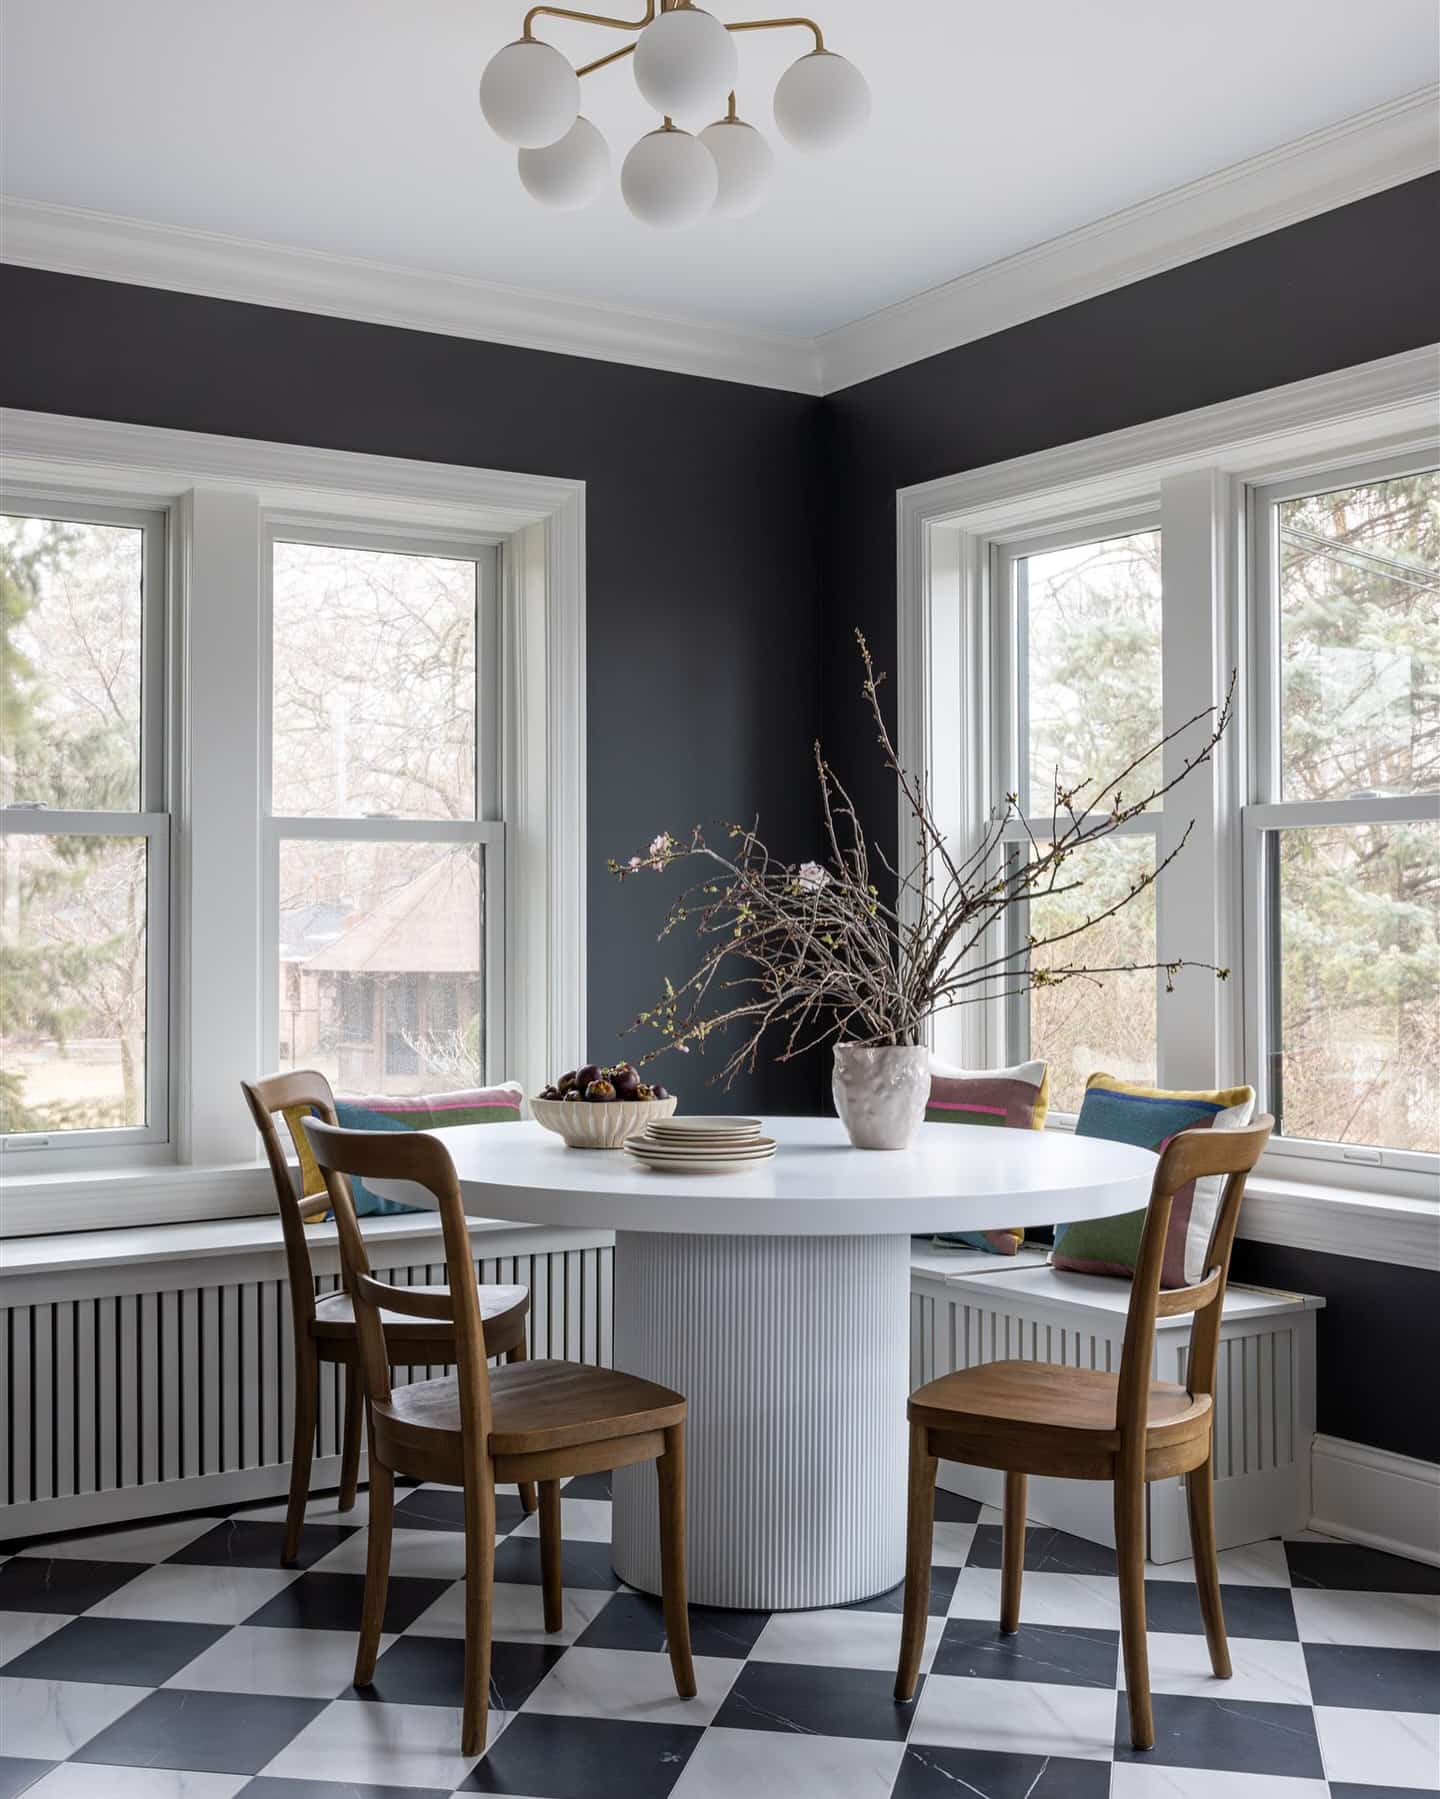
The height of your camera changes everything. Shooting from eye level can feel boring, like a school portrait for your furniture. Mix it up! Bring your camera lower, even down to seat level, especially for shots of couches or coffee tables. This angle gives a cozier, more inviting vibe [interior photography guide].
Sometimes, you want to go higher—think countertop height for kitchens. Use a sturdy tripod so you don’t end up with shaky hands and last night’s pizza in your shot. Don’t go too extreme though. No one wants a picture from the ceiling (unless you’re a spider). Switch heights for different rooms and find what flatters the space.
How to Photograph Interiors Like a Pro (Step by Step)
Interior photography is a mix of art, detail, and a little bit of patience—plus a dash of moving furniture back and forth. From tidying up to snapping that Pinterest-worthy shot, you’ll want to follow a process that keeps your photos sharp and your sanity intact.
Prepping the Room for Shooting
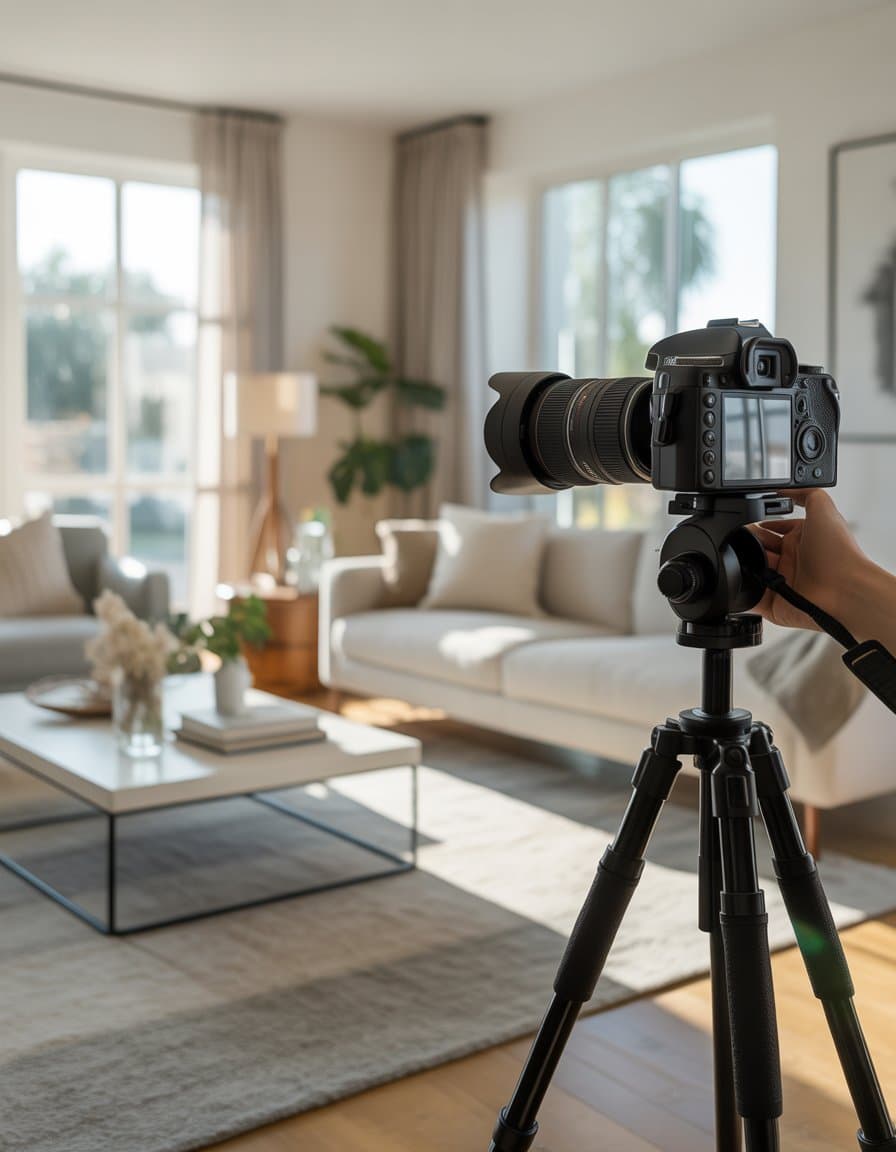
The first rule: clutter is not cute in photos, unless your style is “lived-in storage closet.” Clear off messy surfaces, fluff pillows, and hide wires like your reputation depends on it.
Move props or furniture as needed to create an inviting layout. Straighten any rugs, cushions, or chairs that look askew. If the light is harsh or uneven, use sheer curtains to soften it, or turn off strong overheads that cast shadows in weird places. The goal is a clean, natural-looking scene.
Capturing the Main Interior Shots
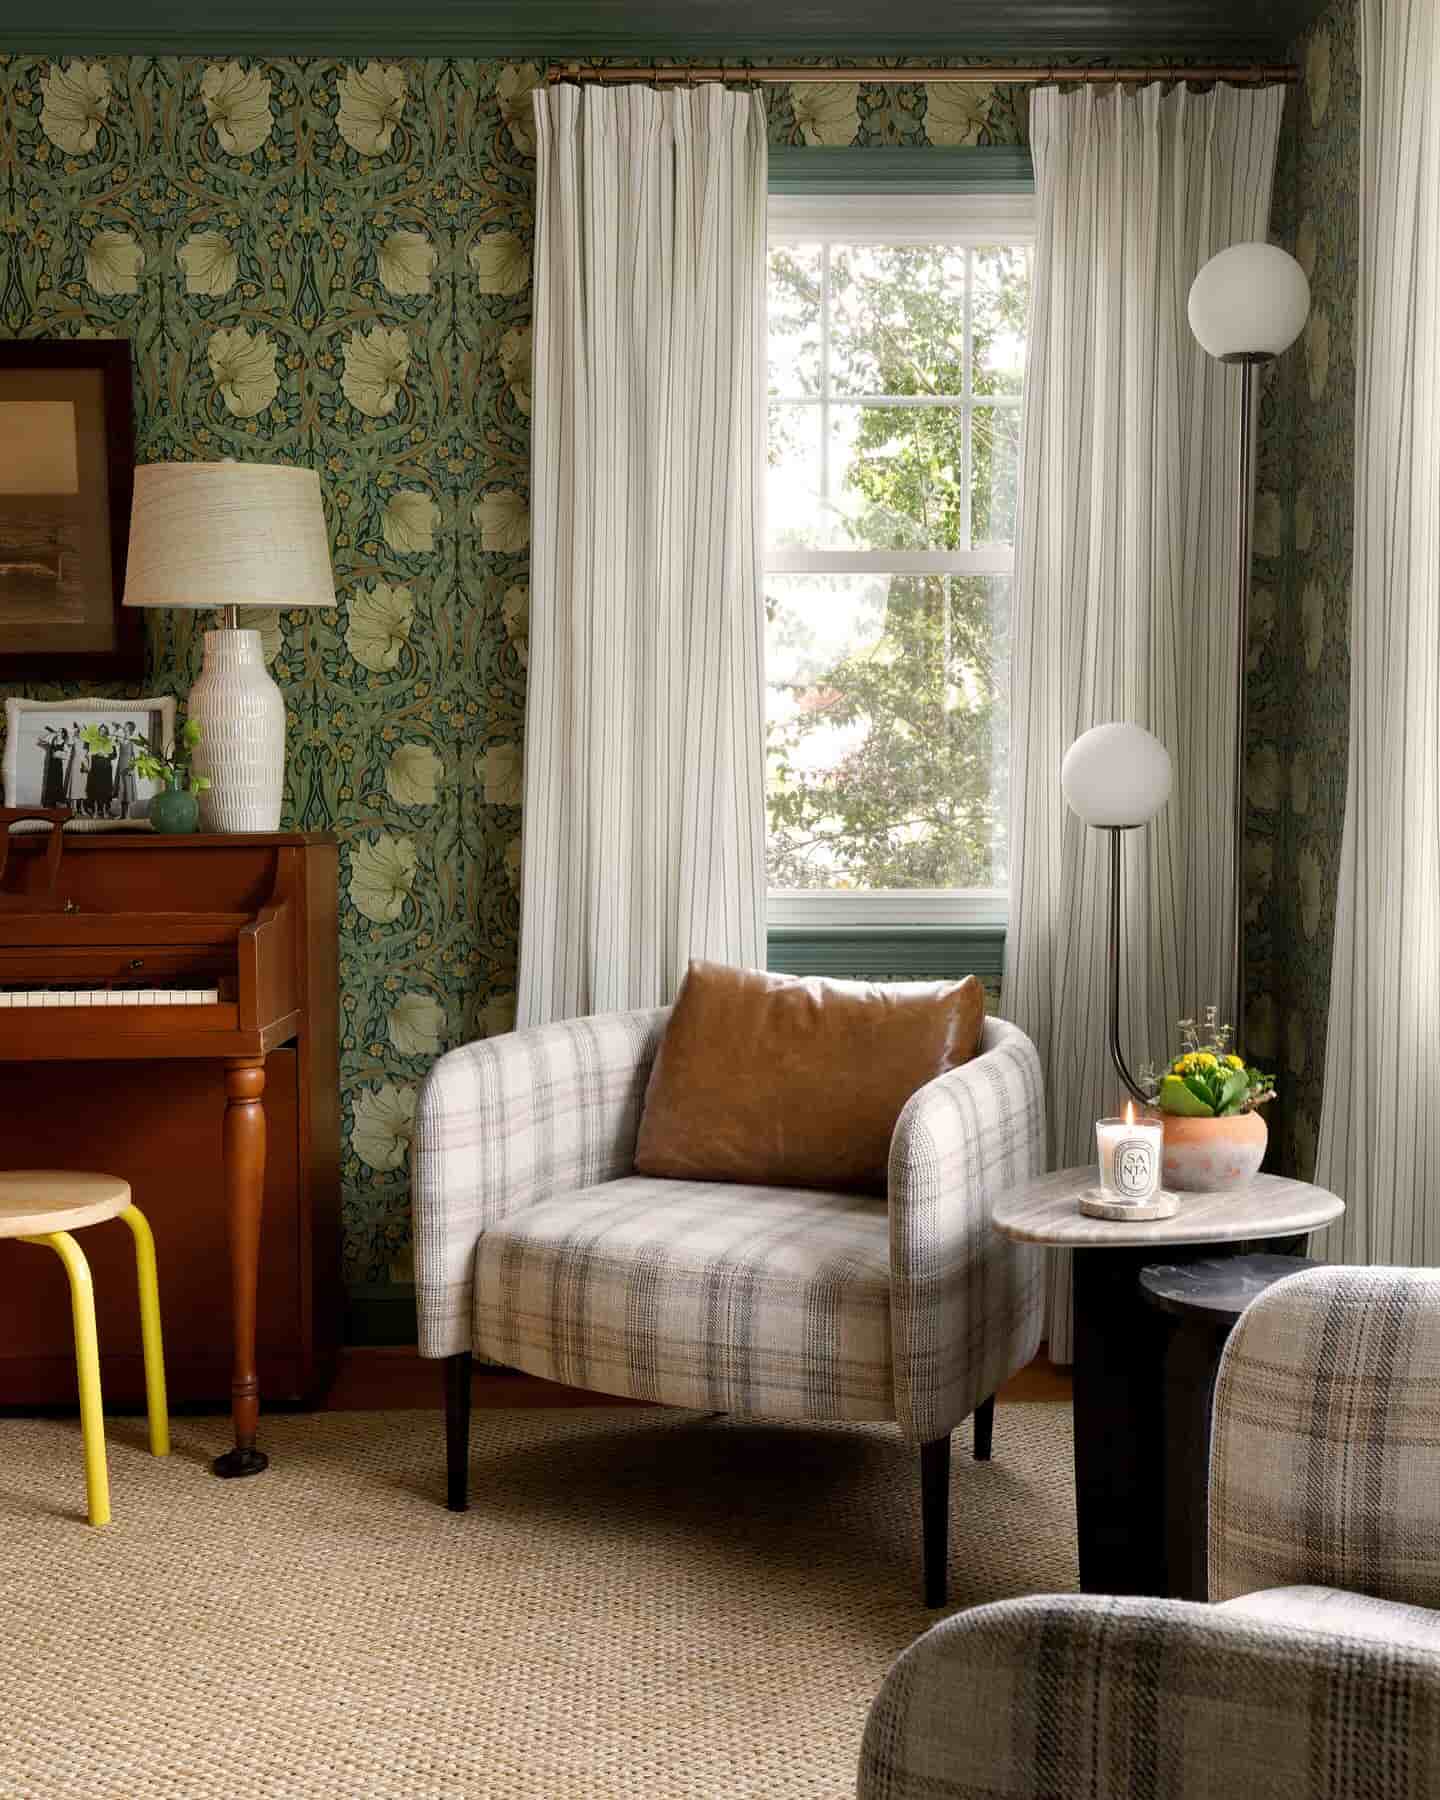
Always use a tripod. Wobbly photos are only cute if you’re photographing Bigfoot.
Shooting from chest height or a bit lower usually gives the most balanced perspective, so keep your camera or phone steady at about eye-level.
Natural light is your best friend here. Turn off interior lights to avoid color mixing, and set your camera to manual mode to control the scene.
A wide-angle lens (around 16-24mm for DSLR users) lets you fit more of the room in the frame—without making the place look like a funhouse mirror.
Focus on straight lines. Walls should be vertical in your viewfinder to avoid the tilt-everything effect.
Check the corners and floor for odd shadows, sneakers, rogue candy wrappers, or anything else that photobombs your masterpiece.
For more tips on sharp, professional-looking interior shots, see these 10 tips for professional interior photos.
Advanced Tips for Challenging Spaces
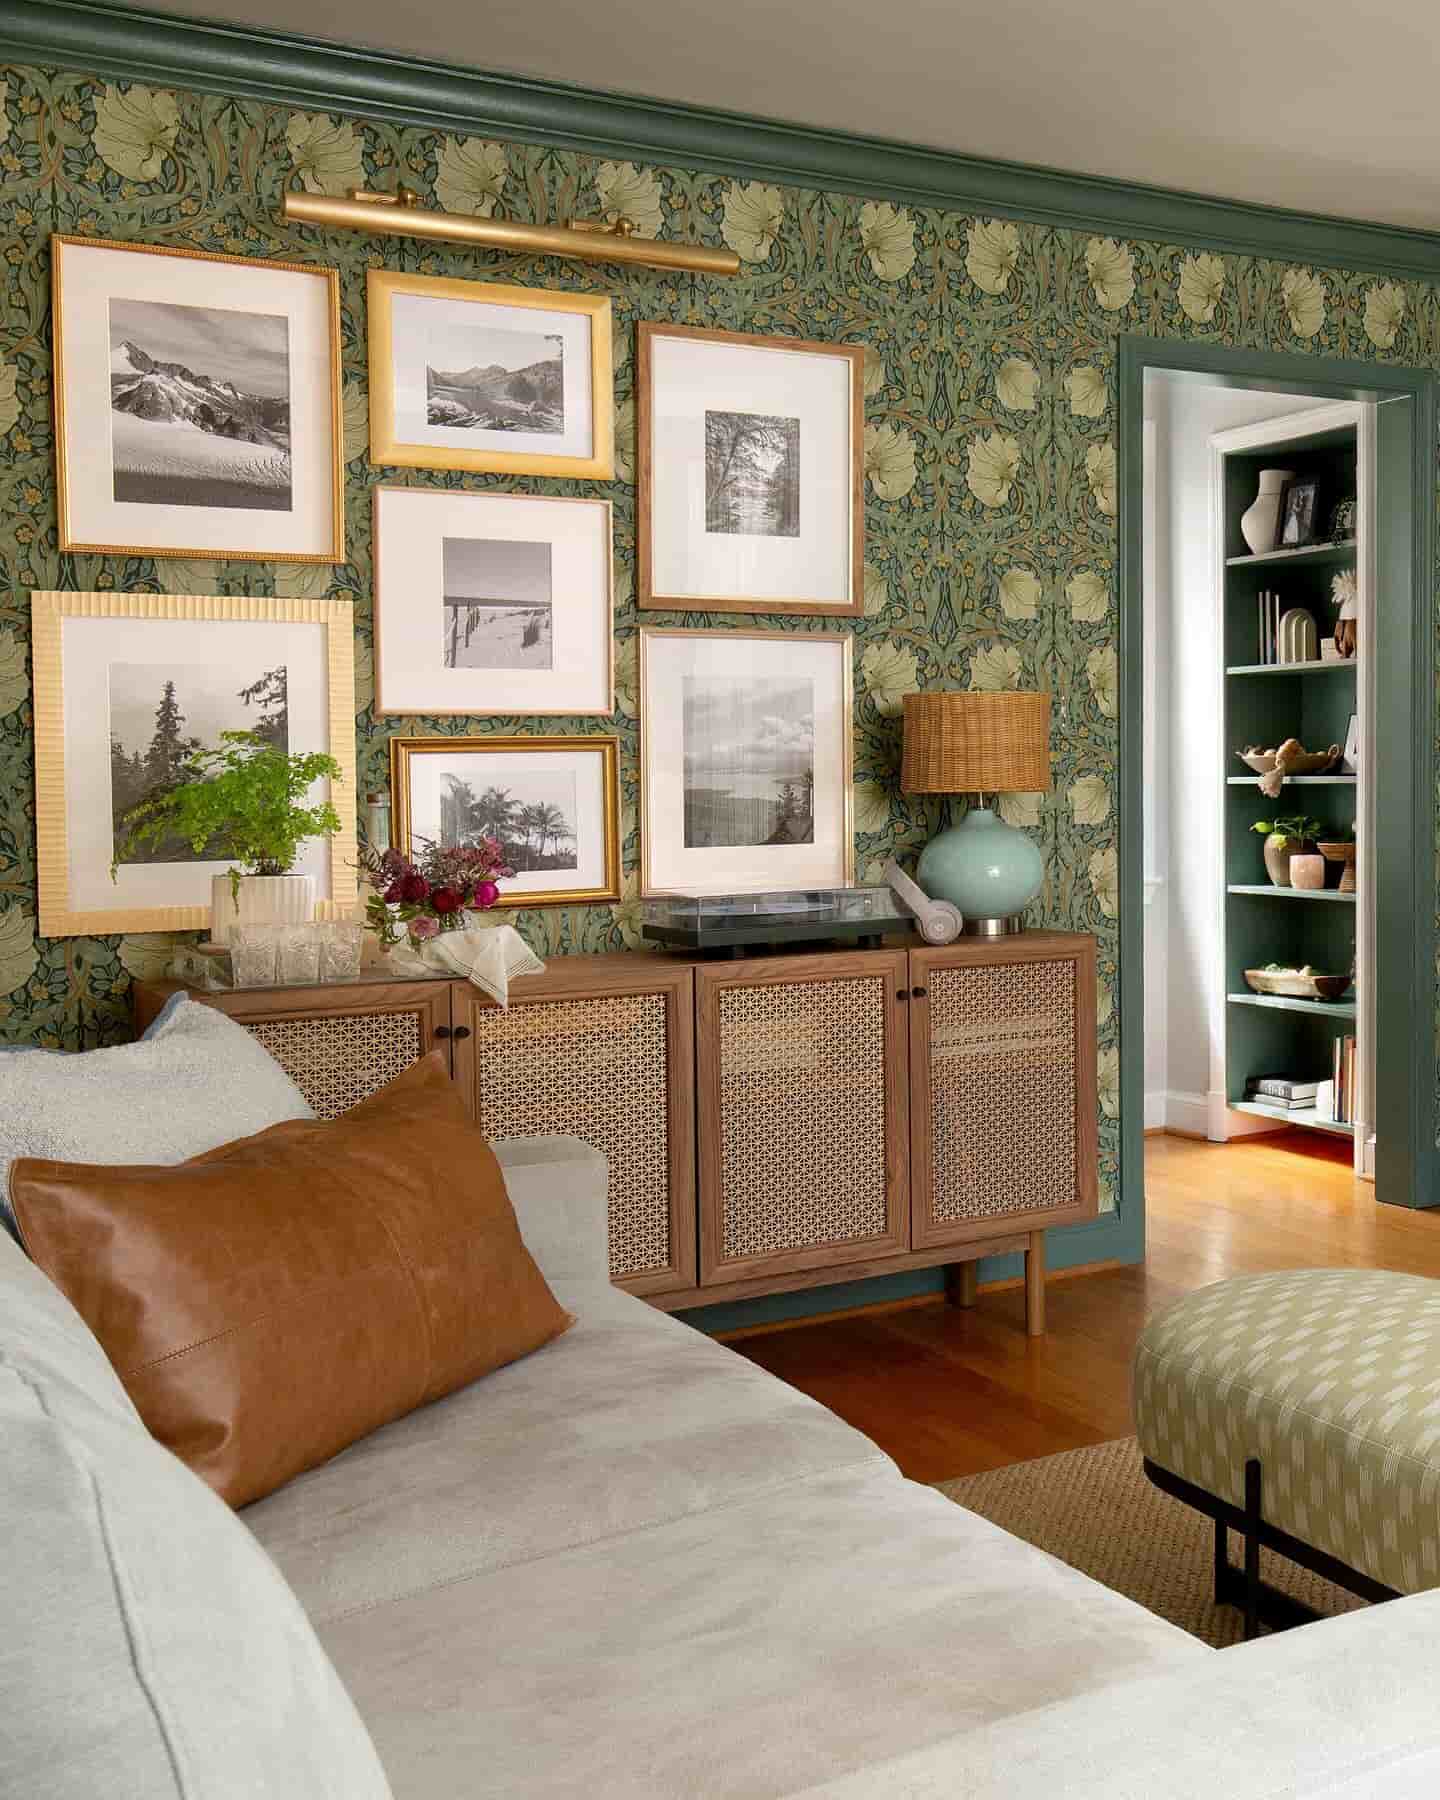
Tiny rooms, dark corners, and spaces with a million mirrors need some extra tricks.
First, if the room’s small, shoot from the doorway or corners to make it look more open. Try stitching two or more shots together later if you can’t fit it all in one go.
If you’re dealing with tough lighting, a portable light or bounce card can help brighten shadows without turning the room into a photo studio.
For rooms with mirrors, pay attention to reflections—nobody wants to see you in your pajamas holding a camera.
Overcoming Common Interior Photography Challenges
Messy rooms and weird angles can turn a dream photo shoot into a test of patience. Tackling clutter and distortion is key if you want your interior shots to look professional, not like accident scenes.
Dealing With Clutter
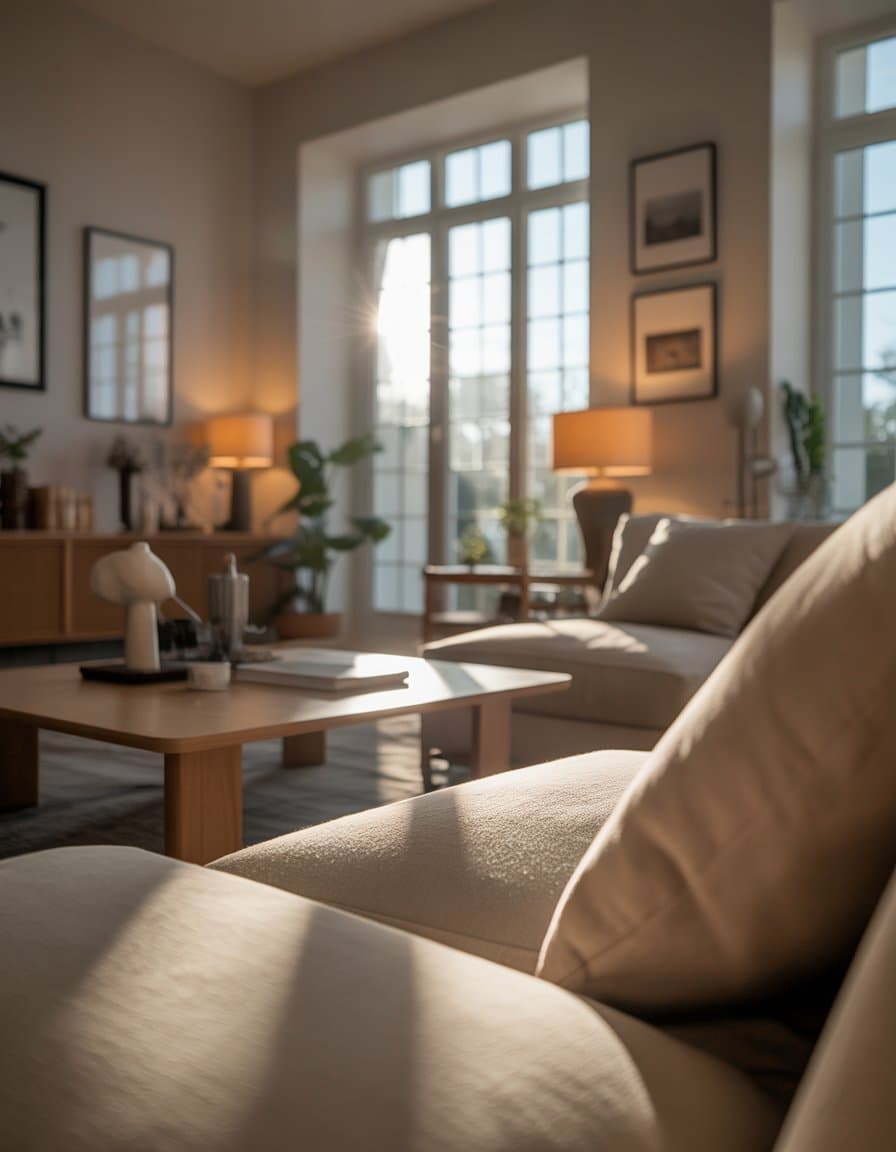
Clutter is to interior photography what spinach is to your teeth: easy to miss, but painfully obvious in photos.
Start by asking if that pile of laundry or the three remotes on the coffee table are essential to the story. If not, whisk them away. Less visual noise helps the viewer focus on what matters—like that fancy wide-angle lens you finally splurged on.
Lists are your friend for fighting chaos:
- Tidy bookshelves and countertops.
- Hide wires and personal items (no one needs to see three chargers and a sock).
- Fluff pillows and straighten curtains; neat lines stand out.
If you can, talk to whoever uses the space before you arrive. Setting expectations makes decluttering smoother for everyone involved. As a bonus, you might avoid stepping on Legos before your shoot begins, which is a win for your feet. For more decluttering secrets, check out these pro tips for photographing interiors.
Minimizing Distortion in Tight Spaces
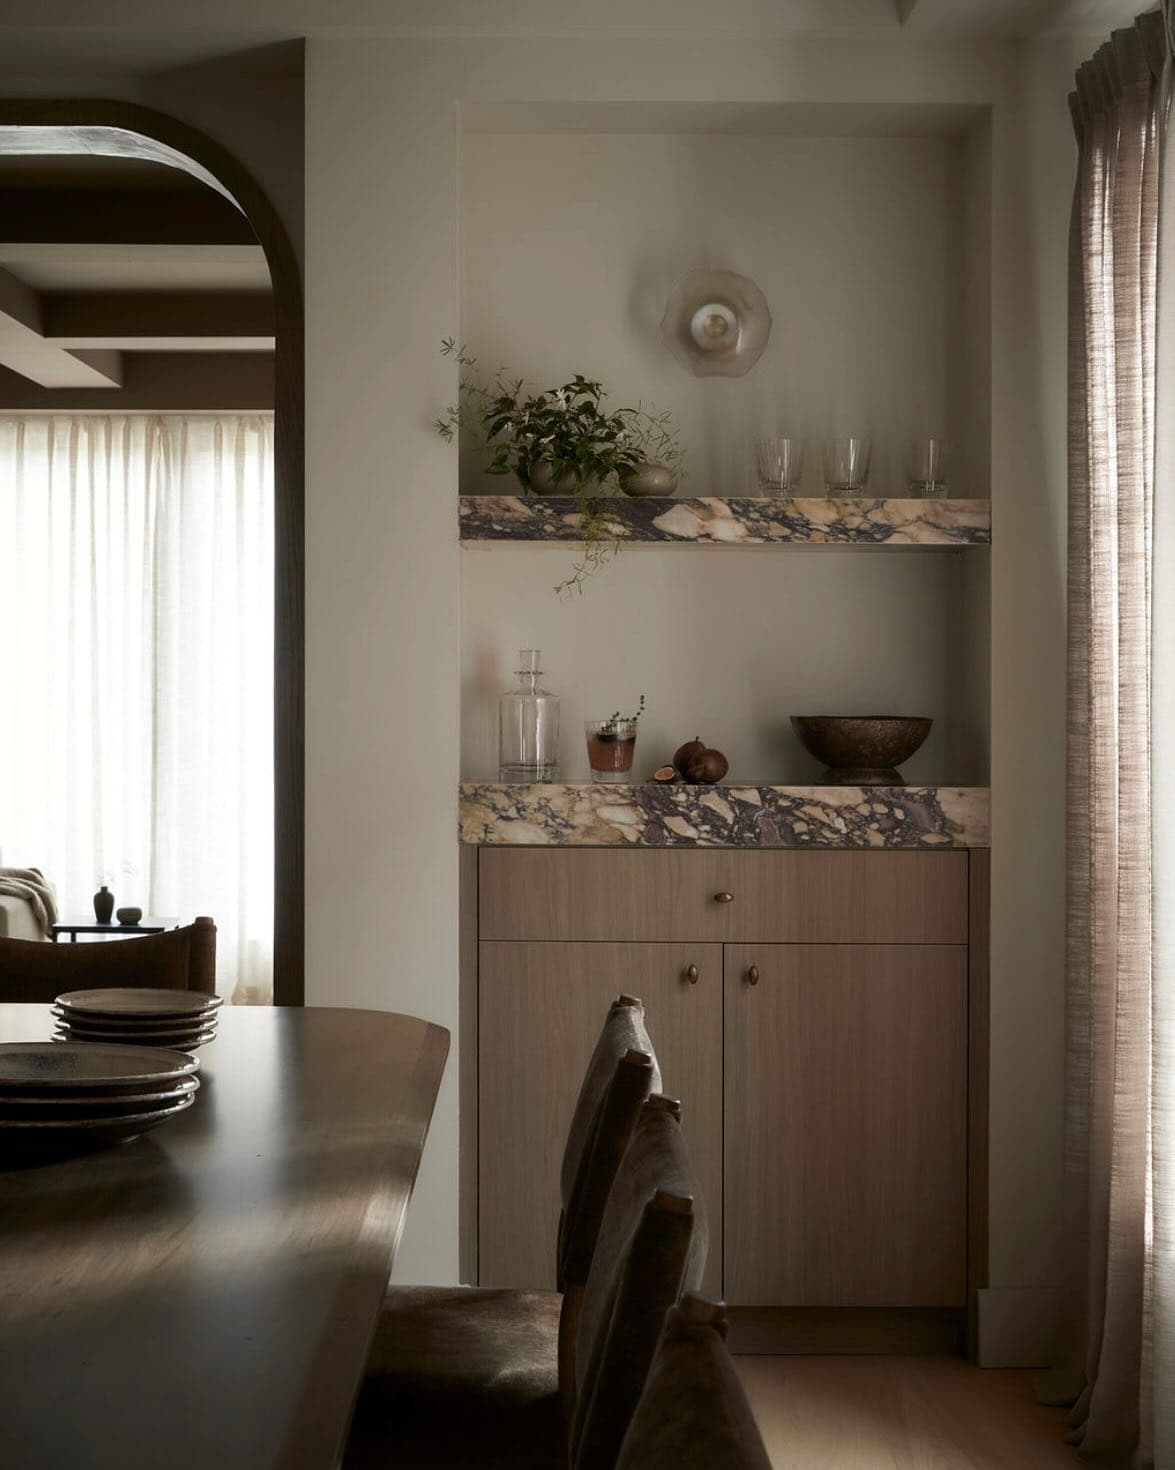
Small rooms have a way of bending straight lines and making you wonder if doors are supposed to look like funhouse mirrors. This is especially true when using a wide-angle lens, which can be both a blessing and a curse.
To tame distortion, try these steps:
- Keep your camera level. Tilting it up or down exaggerates warped lines.
- Use a tilt-shift lens if you want to get serious. It lets you control perspective and keeps those walls looking straight (and not like melted cheese).
- Stand back, even just a foot more, if possible. Sometimes, stepping into the hallway is the only way.
- Fix minor issues in editing, but remember: big fixes in software can look unnatural.
Taking the time to set up your shot carefully will help your rooms look like rooms—not Salvador Dalí paintings. Dive deeper into handling space and angles with guidance from these expert tips for interior architectural photography.
Post-Processing Like You Own Photoshop (Or Photomatix)
You’ve snapped your shots, but they’re looking a little dull, crooked, or washed out. Now is your time to shine in the editing room and show those pixels who’s boss.
Basic Adjustments for Polished Images
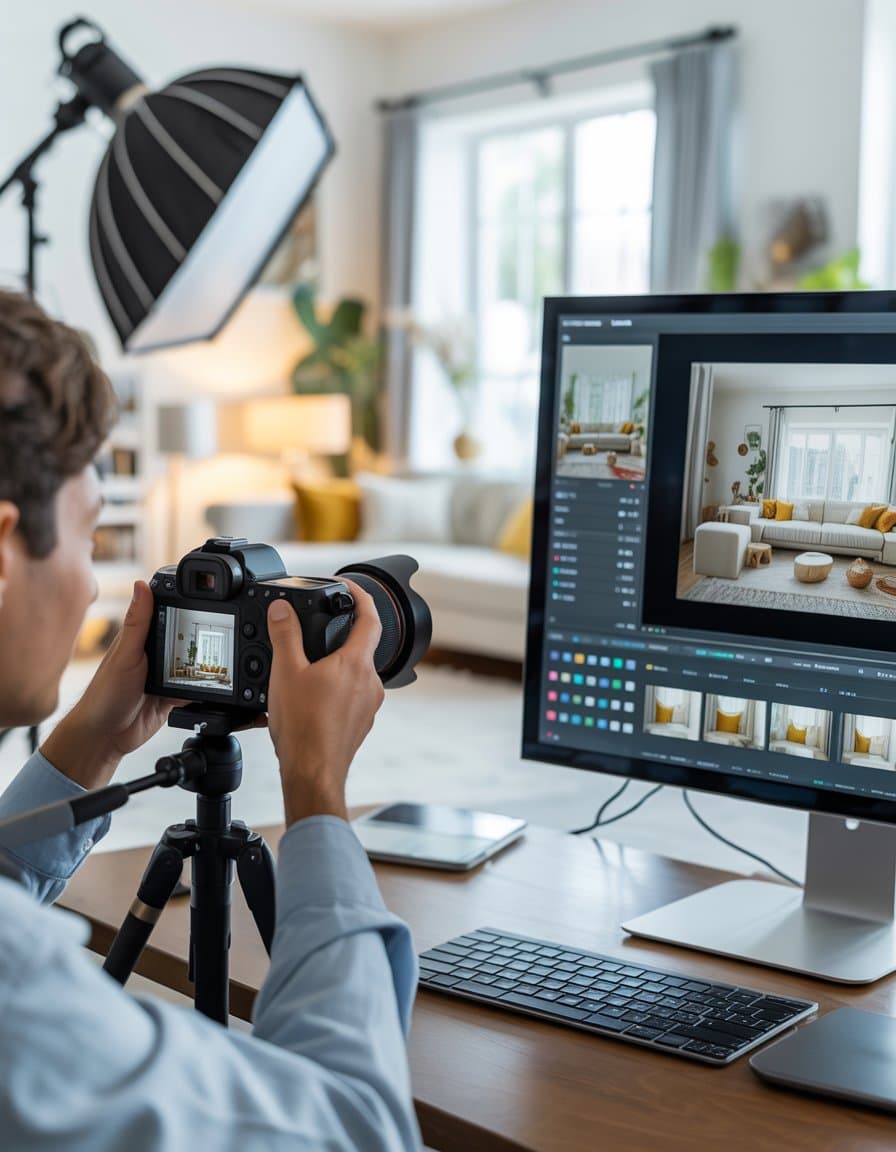
Your first job is to fix the tiny disasters that even the best camera can’t avoid. Open your favorite editing tool—Photoshop, Lightroom, or even a free app—and start with these key steps:
- Straighten lines: Nobody likes a photo where the walls lean like the Tower of Pisa. Use the crop and straighten tools.
- Fix exposure: Adjust brightness and contrast so your photos pop, but don’t blind anyone.
- White balance: Fix that blue or yellow tint so whites actually look white, not like a bad spray tan.
- Sharpen up: Bring out details, but stop if your kitchen starts looking like it’s made of Legos.
- Remove distractions: Crop out the power outlets, pet toys, or that weird smudge on the wall.
A few tweaks can turn “meh” into “move-in ready!” Don’t overdo it, though—if you can see the changes from space, you’ve gone too far.
HDR Techniques to Wow (Not Blind) Viewers
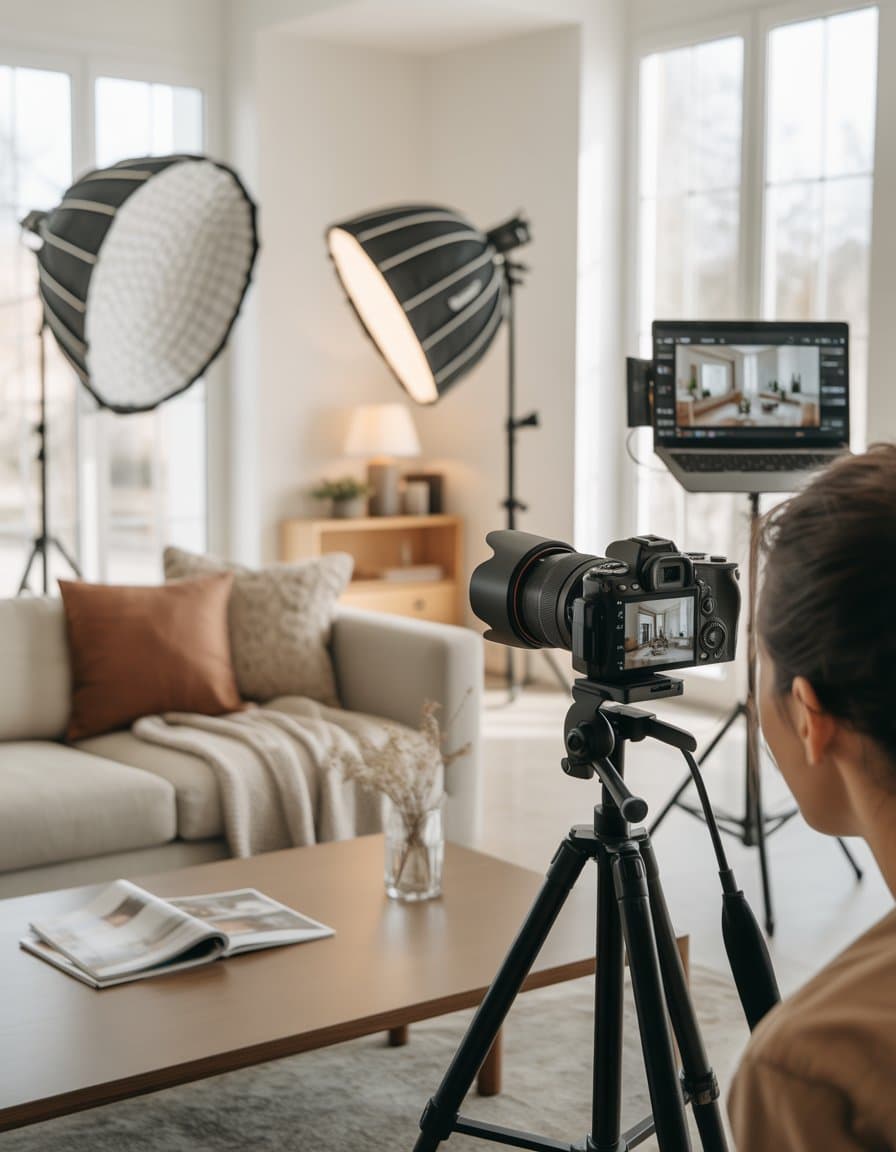
If you want window views AND cozy couch vibes in one shot, HDR is your secret weapon. Both Photoshop and Photomatix let you blend different exposures so you don’t have to pick between a blinding window and a shadowy corner.
Here’s how to do it without giving your viewers a headache:
- Take at least three shots: One dark, one normal, one bright.
- Use batch processing: Speed things up and save yourself hours by letting Photomatix do the heavy lifting.
- Aim for natural look: Don’t crank the settings so high that your living room looks radioactive.
- Fine tune manually: Even after an HDR merge, adjust highlights and shadows as needed.
If your photo makes people squint, dial it back. The goal is a balanced, bright room that invites people in—not a science fiction scene.
Final Thoughts on Becoming an Interior Photo Superstar
You’ve made it this far, which means you’re either truly dedicated—or you just really like staring at couches through a lens.
Here’s your secret superhero checklist:
- Straighten those lines. Walls shouldn’t look like they’re auditioning for a funhouse.
- Lift those shadows and bump up the exposure—even small spaces deserve their moment in the spotlight.
- Take more than one shot. Yes, that means you’ll have to sort through them later, but your future self will thank you.
When in doubt, channel your inner interior designer. Ask yourself, “Would I want to live here?” If the answer is “yes,” you’re probably on the right track—or at least not completely lost.