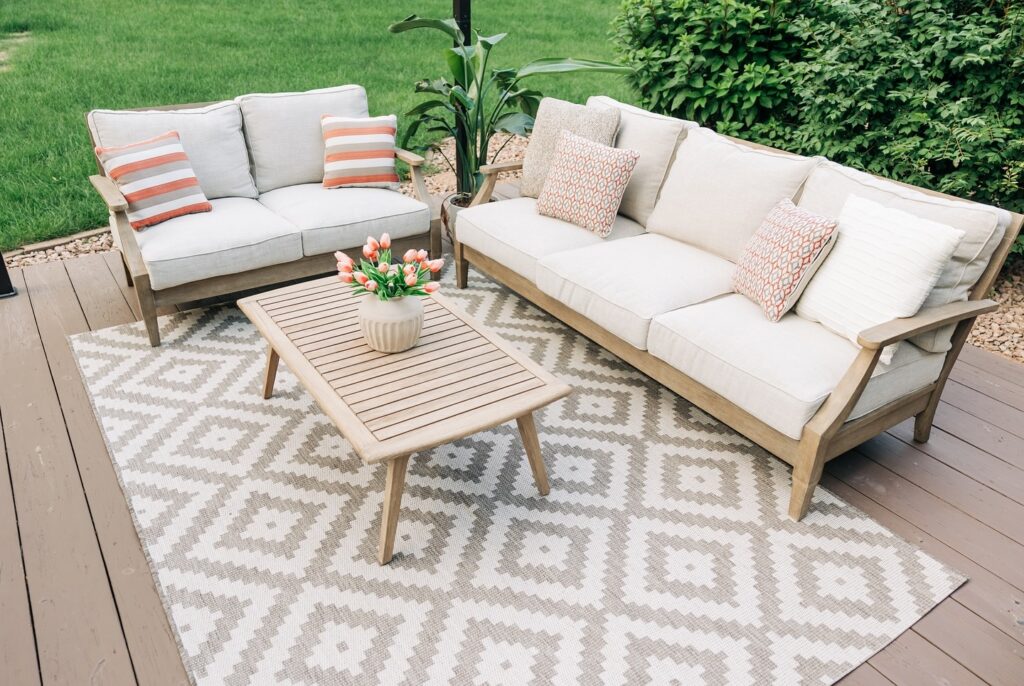
To get your wood furniture looking fresh, you need to know what you’re dealing with.
Not all wooden furniture is the same—different finishes and surfaces can make a big difference in how you clean and care for it.
Wood finishes are like fashion choices for your table—they give personality but also need the right care.
The three most common types are wax, oil, and lacquer/varnish. Wax finishes have a soft sheen but can get dull fast and don’t love water.
Oil finishes soak into the wood, making things look rich but needing reapplication if your coffee table starts whining for attention.
Lacquer and varnish? These are the superheroes of the group—tough, shiny, and always ready for a quick wipe down.
Pre-Cleaning Inspection Tips

Start by giving your furniture a good, judgmental look. Stains will try to blend in, but look for dark rings, sticky spots, or mysterious marks left by someone who “never put a mug down without a coaster.”
Check for scratches, dents, and places where the finish is worn. Take note of sticky residue, because you’ll need to use a gentle cleaner like a mild soap and a soft cloth to avoid causing more damage.
If you see any deep scratches or gouges, resist the urge to poke them—they’re usually best left until after cleaning.
Write down trouble zones or snap a photo, so you don’t forget where to focus.
Dusting Strategies for a Fresh Start
For wood furniture, grab a microfiber cloth. These little wonders pick up dust instead of spreading it around like confetti at a parade.
A dry microfiber cloth works best for regular dusting. If the dust has reached “ancient ruins” status, lightly dampen the cloth.
Avoid paper towels—these can actually scratch the surface. For stubborn dirt, mix a few drops of dish soap into water, dip the cloth, and wring it out until it’s just barely damp.
Handling Delicate Surfaces

Some wood finishes have the emotional strength of a soap bubble. If your furniture is antiques or has a delicate polish, approach with care.
Never soak the surface—too much moisture can warp or stain it.
Use a very soft, clean microfiber cloth for dusting. No scrubbing. Gently wipe in the direction of the grain.
This prevents small scratches and helps maintain that smooth feel. If there’s stubborn dirt, lightly mist your cloth with water instead of spraying the furniture directly.
Gentle Cleaning Methods That Actually Work
Want your wood furniture to look less like ancient relics and more like something you actually want in your home?
Good news. You likely have everything you need right under your kitchen sink. Grab your softest cloth and let’s start with the gentlest, most tried-and-true tricks to wake up dull wood and wipe away years of neglect (and maybe some mysterious sticky spots).
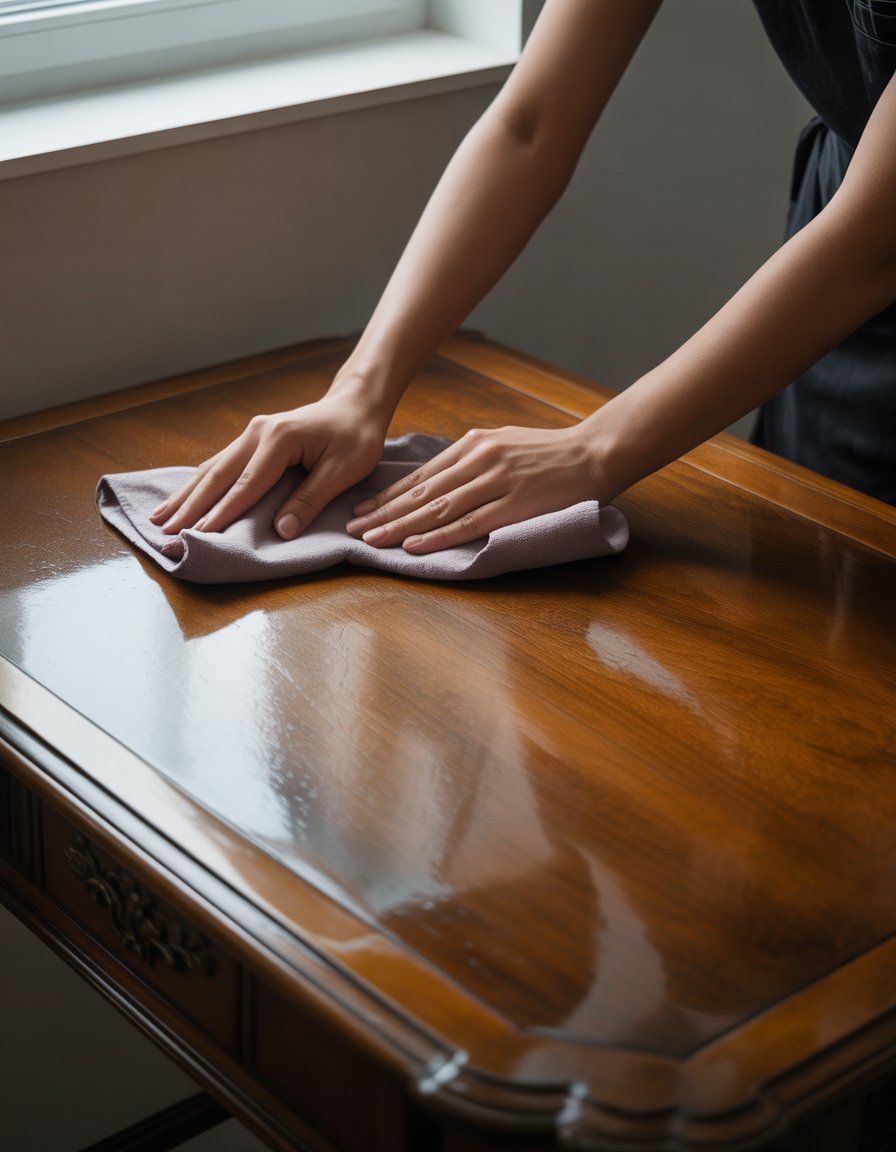
Soap and Water: The Classic Duo

No need to be fancy. A little water and mild dish soap work wonders on most wood furniture.
Mix about a few drops of dish soap in a bowl of warm water—think of it as giving your favorite chair a bubble bath, but without the rubber duck.
Dip a soft, clean microfiber cloth in the soapy water and wring it out so it’s just damp, not dripping.
You don’t want to drown the wood—wood is picky about too much moisture. Wipe down the furniture, following the grain if you want extra style points.
This simple combo is gentle, removes most dirt, and leaves a subtle shine. For stubborn grime, rub gently in circles.
Dry the surface right away with another clean, dry cloth so your wood doesn’t throw a fit.
For more details on this classic approach, see tips from Martha Stewart. It’s quick, it’s safe, and it does a lot more than just move dust around.
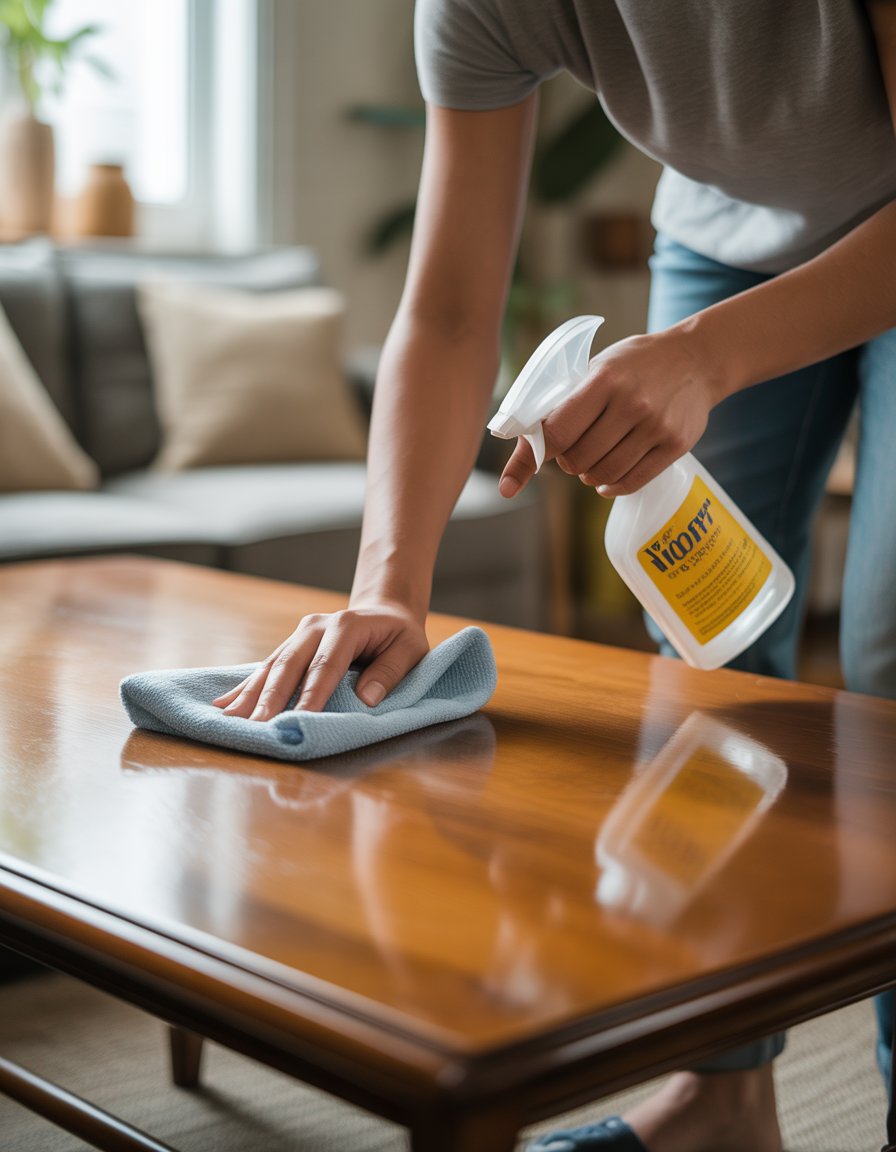
Mixing in White Vinegar for Extra Shine

Got a piece that’s looking extra sad? Time for the not-so-secret weapon: white vinegar.
This isn’t just for your fries or your volcano science projects. Mix equal parts of white vinegar and water for a gentle solution.
Go easy though—undiluted vinegar can boss around your furniture’s finish and not in a good way.
Dip your cloth in the mix, wring it well, and test on a small hidden spot first. If it likes it, you can clean the rest.
Your wood will be free of sticky residue, fingerprints, and anything weird that only kids and pets can seem to leave behind. White vinegar adds extra shine but doesn’t leave your nostrils crying.
Avoid using vinegar on wood with a delicate finish or if the wood already looks worn since vinegar is acidic and might make things worse over time.
For more on the chemistry and when to skip the vinegar, check this in-depth guide.
Advanced Spot Removal
Stubborn stains on your wood furniture can feel like the universe wants you to have a spotty table forever.
Using Baking Soda on Tough Marks

Have a mystery spot that refuses to leave? Enter baking soda, your new sidekick. Baking soda is gentle yet gritty and can help lift away stains without scratching the wood.
Start by making a paste: mix 1 tablespoon of baking soda with a few drops of water until it’s thick, like toothpaste (but much less minty).
Dab the paste right on the stain and gently rub in small circles with a soft, damp cloth. Don’t go wild—light pressure is best.
After a minute or two, wipe it away with a clean, damp cloth. If your table is still pouting with a stain, you can try again, but avoid scrubbing hard or you might damage the finish.
Use this trick for water stains, marker scribbles, and mystery goo left behind by kids, pets, or absent-minded adults.
How Toothpaste Can Save the Day

Toothpaste isn’t just for keeping your pearly whites sparkling. It can also help remove surprise marks from your furniture, especially those weird white rings from mugs or hot pizza boxes.
Use plain, white toothpaste—nothing with “whitening crystals,” gel, or sparkles. Put a small dab directly on the mark.
With your finger or a soft cloth, rub in gentle circles for about 30 seconds. You’re not scrubbing grout, so keep the pressure light.
Wipe away the toothpaste with a clean, damp cloth, and check your results. The white ring should be lighter or even gone, and your wood will smell minty fresh for a little while.
If you’re dealing with extra stubborn spots, you can repeat the process, but don’t overdo it or you could take off some of the finish.
Polishing and Reviving Surface Beauty
The right polish doesn’t just make things glow; it helps protect your furniture from drying out and looking dull. Using household oils is simple, budget-friendly, and can make a big difference.
Linseed Oil: Old School But Gold
If your grandma could see your wood furniture, she’d probably ask, “Have you tried linseed oil?”
Once you get past the retro smell, you’ll see why. Linseed oil seeps deep into wood, making it look rich and healthy.
It’s especially popular for old wooden pieces, like that rocking chair no one knows where came from.
To bring wood back to life, apply raw linseed oil with a clean cloth. Rub it in the direction of the wood grain.
Let it soak for about 30 minutes, then wipe off any extra. For best results, repeat this process every few months.
Olive Oil for a Glossy Finish
Out of fancy polish? No problem. Go to your kitchen and grab the olive oil. Yes, the same stuff you use for salads can also bring out a glossy finish on wood furniture.
Mix equal parts olive oil and lemon juice for a homemade polish that smells good too.
Apply the mixture using a soft cloth. Rub gently in small circles until the wood feels smooth.
Buff the surface with a clean, dry cloth for an extra shiny finish. Olive oil adds moisture to the wood and makes it gleam, just like in those cleaning guides.
Quick Tips:
- Don’t pour olive oil straight on the wood—always use a cloth.
- Avoid using it on unfinished or raw wood, because it can soak in too much.
- Enjoy your furniture’s new glow, but don’t eat your dinner off it (trust us, it’s not that clean).
Dealing With Scratches and Water Rings
That beautiful wood table looked flawless—until life happened. Fortunately, plenty of simple tricks can erase those marks, but sometimes you’ll face a scratch or stain that only a pro should tackle.
DIY Fixes for Minor Blemishes

If a scratch appears, don’t panic and throw a tablecloth over everything for the next decade.
Small scratches on wood can often be fixed at home with things you already have in your kitchen or bathroom.
For light scratches, rub a walnut (the kind you eat, not a distant cousin at family gatherings) along the scratch.
The natural oils help hide the mark. You can also use a crayon that matches your wood and fill in the scratch, then buff gently.
Water rings—those classic marks left after someone ignores your frantic “use a coaster!”—can sometimes be lifted with white toothpaste or mayonnaise.
Rub a small amount on a soft cloth and gently work it into the spot.
If that doesn’t do the trick, place a dry cloth over the ring, grab your clothes iron (yes, really), and hover it for a few seconds.
Just don’t burn the table—or your fingers. If you want to see this method in action, check out this guide to removing heat and water marks from wood.
If you hate walnuts but love sandpaper, use a fine sanding sponge, and always sand with the grain—never against it, unless your goal is “distressed chic.”
Handy Supplies:
- Walnuts
- White toothpaste or mayonnaise
- Soft cloth
- Clothes iron (clean, not covered in melted cheese)
- Sanding sponge
Protecting Furniture From Future Messes
Your beautiful wood furniture can handle a lot, but a little care now can stop future messes from giving you grief.
With a few smart moves, you can dodge the things that turn your table from “wow” to “why is it sticky and faded?”
Keeping Away From Direct Sunlight

If your furniture could talk, it would probably ask for sunscreen. Direct sunlight doesn’t just brighten a room—it also fades wood color and dries out finishes faster than you can say “antique roadshow.”
It’s best to park furniture out of direct sunlight whenever possible. Don’t have total sun-blocking superpowers? Try these tricks:
- Use curtains or blinds during strong daylight hours.
- Rotate your furniture every few months.
- Choose window films that filter UV rays.
Even a few hours of afternoon sun can leave wood looking aged way before its time. It’s basically like a sunburn, but your coffee table can’t complain or wear a hat.
Best Practices for Placement and Use
Positioning your furniture wisely is half the battle. Avoid placing it near heaters, radiators, or vents—unless you want your table to age faster than a bad joke.
Dry heat can warp or crack wood.
When using your furniture, slip on coasters, placemats, or tablecloths faster than a magician at a kid’s party.
This helps prevent spills, water rings, and the dreaded heat marks from hot dishes.
Keep heavier objects off delicate surfaces. Spread out decorations or books so weight is balanced.
If you’re moving pieces, lift—don’t drag—or you risk scratching the feet or gouging the floor.
Check for wobbly legs or loose screws once in a while and tighten them up. If you stay ahead of problems and treat your furniture gently, it will last so long your grandkids will be bored hearing about it.
For more tips on furniture care, visit this helpful guide on wood furniture care.
Regular Maintenance Habits
A few simple routines each week and some extra love a few times a year will help your furniture stay clean, polished, and not covered in mysterious sticky messes.
Weekly and Monthly To-Do List

First, grab a soft, lint-free cloth or feather duster and wipe surfaces—dust can build up fast!
You should dust at least once a week, which is just often enough to make your neighbors wonder if you secretly have a cleaning obsession.
For fingers smudges, paw prints, or weird sticky spots, mix a little dish soap with water. Dampen a cloth (not dripping!) and wipe gently.
Use a dry cloth right after to avoid water rings—wood hates those as much as cats hate baths.
If you’re feeling extra fancy, buff in a small amount of furniture polish, but avoid silicone-based sprays.
They might seem helpful until they leave a film you’ll spend next weekend scrubbing off.
Putting coasters everywhere and using placemats can also help you avoid new stains and rings, so you don’t end up inventing cool designs you never asked for.
Seasonal Deep Cleaning
At the change of each season, give your furniture a little spa day. Deep cleaning doesn’t mean taking out a sandblaster—just use a mix of mild soap and water for surfaces with a varnish, lacquer, or shellac finish.
Rub gently and dry immediately afterward. If you’re dealing with stubborn grime, try a simple home recipe using equal parts olive oil, denatured alcohol, gum turpentine, and strained lemon juice.
This will help revive tired or dull wood without making your whole house smell like a salad bar.
Common Mistakes to Avoid When Cleaning Wood
Dropping a splash of bleach or ammonia on your wooden furniture will do about as much good as inviting termites to dinner.
Strong chemicals can break down finishes, strip away the lovely shine, and make your table look like it survived a tornado—and lost.
Too much water can soak in and leave the wood sad and swollen. If you want to get fancy, a good furniture polish or a DIY mix like equal parts olive oil and lemon juice can revive the look without attack-dog chemicals (see how the pros recommend it).
Never use that all-purpose spray from the bathroom shelf. Your furniture is not a toilet seat.
List of cleaner no-no’s:
- Bleach
- Ammonia
- Strong solvents
- All-purpose bathroom cleaners