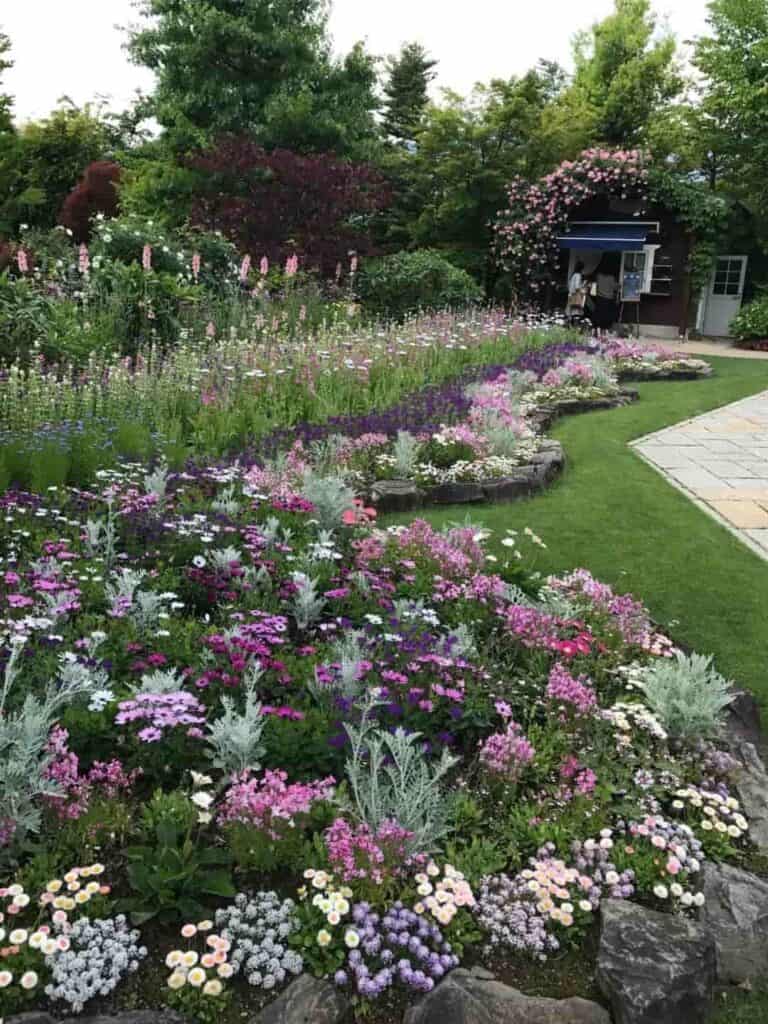
Hello, fellow plant people! Let’s talk about raised bed gardening. It’s the darling of the horticultural world, the go-to method for urban farmers, backyard enthusiasts, and anyone who wants to grow a tomato without fighting a literal turf war with their lawn.
As I type this, I’m staring out my window at 15 of them, neatly arranged in my front yard where a boring old lawn used to be. My neighbors probably think I’m running a highly organized, low-yield farm for pixies, but I prefer to think of it as a testament to my obsession with homegrown food.
But here’s the thing nobody tells you when you’re buying your first bag of potting mix: it’s incredibly easy to make mistakes that don’t just set you back a week, but can cripple an entire growing season. I know this because I’ve made them all.
The consequences of these mistakes aren’t always immediate. Your plants won’t wither and die the day you plant them (probably). Instead, the issues creep in over weeks and months, slowly stealing your potential harvest. It’s a slow-motion garden heist, and the thief is often… you. But not anymore!
So, grab a cup of coffee, and let’s get into it.
Mistake #1 – Orienting Your Garden Incorrectly (A Sun-Tanning Fail)
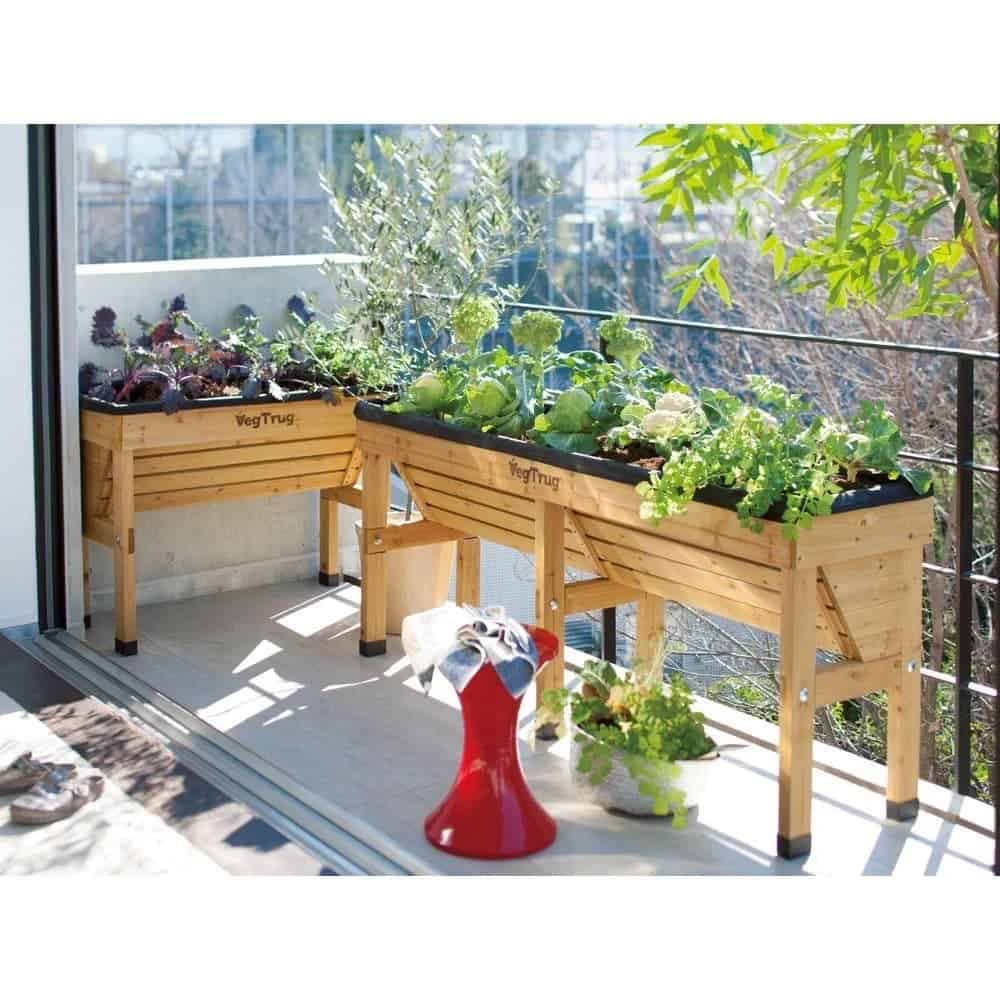
Let’s get one thing straight: your plants are basically tiny, stationary sunbathers.
They can’t get up and move their lounge chair when a shadow falls over them. They are utterly dependent on you to put them in the sunniest spot possible.
This is garden orientation, and it’s the single most important decision you’ll make.
When I set up my front yard urban garden, the first thing I did was figure out where south was.
In the Northern Hemisphere, the sun arcs across the southern sky. This means a south-facing exposure will get you the gold standard: 6-8 hours of direct, glorious sunlight.
This is what we call “full sun,” and it’s non-negotiable for the rockstars of the vegetable world like tomatoes, peppers, eggplants, and cucumbers.
The most common, soul-crushing mistake I see is someone placing their beautiful, expensive new raised bed on the north side of their house, or tucked right up against a tall fence.
They’ve essentially created a shade garden, which is lovely for ferns and hostas, but a tragedy for a sun-worshipping beefsteak tomato.
The consequence is simple: you severely limit what you can grow. That dream of a salsa garden? It becomes a dream of a small, sad lettuce patch.
The Solution: Be a sun stalker. Before you even buy lumber, watch your potential garden spot like a hawk.
Monitor it throughout a sunny day. Does that beautiful oak tree to the east cast a massive shadow at 2 PM? Does your house itself block the sun in the afternoon? There are fantastic, free tools like suncalc.net that can help you map the sun’s path at your specific location for any time of year.
Do this homework. It’s the one mistake that, once the bed is filled and planted, is almost impossible to fix without a crane, a crew of strong friends, and a complete nervous breakdown.
Mistake #2 – Not Planning for Irrigation (Hosing Yourself)
Water is life. It seems obvious, right?
Yet, so many people build their beds, fill them with soil, plant their precious seedlings, and then say, “Huh. How am I gonna water all this?”
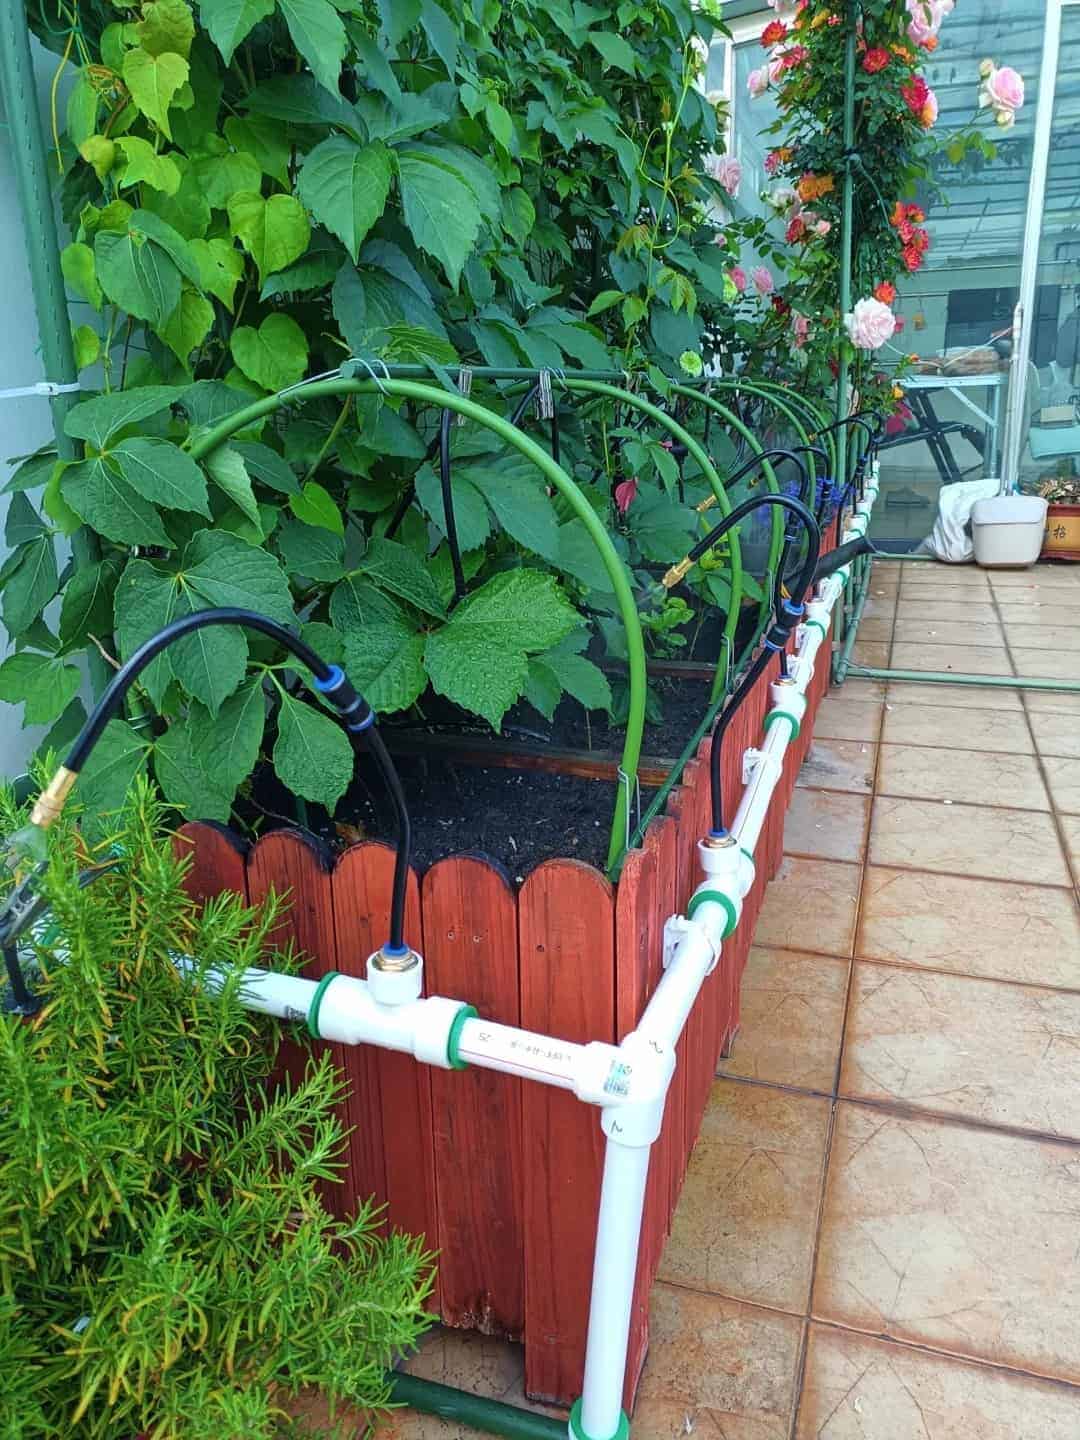
I have a drip irrigation system on a timer for my 15 beds, which I’ll detail in another post, because it’s a game-changer.
But maybe you’re the type who finds zen in the morning ritual of hand-watering with a coffee in hand.
That’s fantastic! The key isn’t which method you choose; it’s that you choose one early and design around it.
Trying to retrofit a drip system after your beds are bursting with established plants is like trying to perform open-heart surgery through a mail slot.
It’s a tangled, frustrating, and root-disrupting nightmare. You’ll be crawling on your hands and knees, cursing the day you ever heard the word “compost.”
The Solution: Decide now. Are you going automated?
Plan your tubing paths and emitter placements before a single seed goes in. Are you a hand-waterer?
Make sure your hose can reach every bed comfortably, and maybe even install a dedicated hose bib nearby.
Mistake #3 – Using Poor-Quality Soil (The Maserati with a Camry Engine)
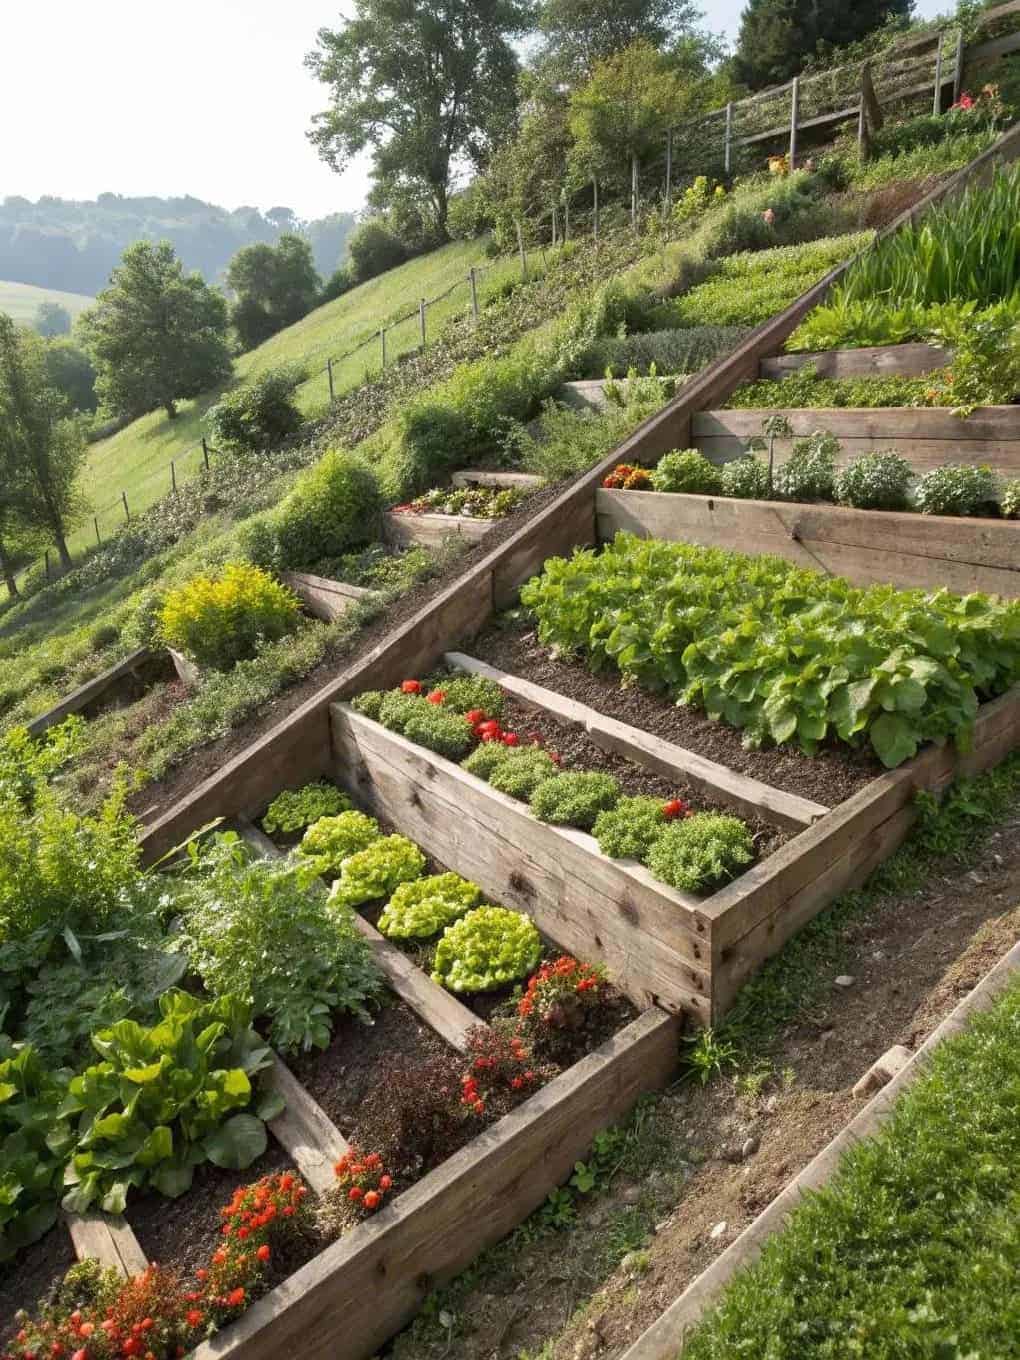
I confess. In my early days, I was cheap. I saw a deal for 3.5 cubic yards of “raised bed mix” and I pounced.
What arrived was, I’m convinced, 90% heavy clay topsoil with a light dusting of what a marketer dared to call “compost.” It was the horticultural equivalent of a brick.
And here’s the insidious part: it gave me one decent season. The plants grew, albeit with a certain reluctance.
But the following year, the truth was revealed. The soil had compacted into a dense, airless slab.
Roots couldn’t penetrate, water pooled on the surface, and my plants showed all the signs of nutrient deficiency, particularly nitrogen, as they turned a sad shade of yellow.
Here is the single most important principle in all of gardening: You are not feeding your plants. You are feeding your soil.
The soil is a living ecosystem of bacteria, fungi, worms, and other critters.
They are the ones who break down organic matter into food your plants can actually use. If you put your plants in dead, compacted dirt, you’re asking them to thrive in a barren wasteland.
It’s like buying a Maserati and then putting a Camry engine in it. It just doesn’t make sense.
The bed is the beautiful, expensive frame, but the soil is the engine. Don’t cheap out on the engine.
The Solution – How to Build Good Soil: I’ve done a whole deep-dive on filling tall raised beds affordably, but the gold-standard recipe for a fantastic raised bed mix is:
• 1/3 Compost: Use a blend of different sources if you can (e.g., mushroom compost, worm castings, poultry manure compost). This is the buffet for your soil life.
• 1/3 Aeration Material: Perlite, pumice, or lava rock. This creates crucial air pockets for roots to breathe and prevents compaction.
• 1/3 Water-Retentive Material: Peat moss or the more sustainable coconut coir. This acts like a sponge, holding onto moisture for the plants.
If that’s too pricey, a great alternative is to use half native soil from your yard, and mix it with 25% compost and 25% unfinished organic matter like grass clippings or shredded leaves, which will break down over time.
The goal is a mix that drains well but also holds nutrients and moisture.
Get this right, and you’ve won half the battle.
Mistake #4 – Neglecting to Mulch (Going Topless)

“Mulch” sounds like a technical, scary gardening term, but it’s just a fancy word for a blanket for your soil.
And so many beginners skip it! My herb bed, filled with African Blue Basil and lavender, is a testament to the power of the mulch.
I always leave about 2 inches of space at the top of my beds specifically for this purpose.
Mulch is a protective, buffer layer that does a phenomenal amount of work:
• Retains Moisture: It dramatically reduces evaporation, meaning you water far less often.
• Protects Soil Life: The microbes and worms in your soil are sun-shy. Mulch keeps them cool and happy.
• Regulates Temperature: It keeps the soil cooler in the summer and warmer in the winter.
• Reduces Erosion: It stops your precious topsoil from washing away in a heavy rain.
I will admit, a local skunk family has taken a liking to digging in one of my beds for grubs, which is a constant battle of refilling and reapplying mulch.
Even with that, it’s still 100% worth it.
The Solution: Get yourself some mulch! My go-to is shredded straw—it’s light, easy to spread, and breaks down nicely.
You can also use wood chips, but be cautious in vegetable beds; as they break down, they can temporarily tie up nitrogen from the soil. They’re better for pathways or perennial areas.
Just remember: bare soil is stressed soil. Cover it up!
Mistake #5 – Inadequate Spacing Between Beds (The Squeeze Play)
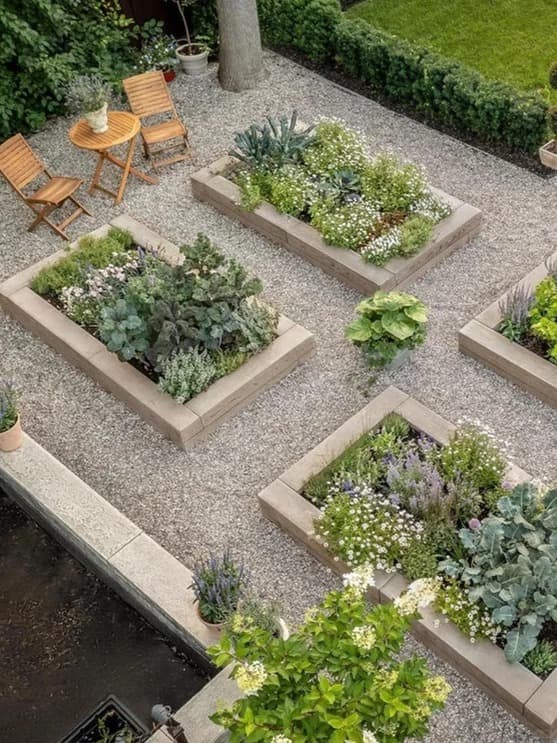
This one comes from a place of pure, unadulterated greed. For space.
When I laid out my front yard, I wanted to cram in as many beds as possible to demonstrate what you could do in a small area.
The result? I have about 1 foot of space between some of my beds.
Let me tell you, trying to weed, harvest, or prune a bed when you’re performing anatomical feats of contortionism is not fun.
The recommended, comfortable spacing is 2 feet (24 inches). This gives you enough room to kneel, turn around with a harvest basket, and generally perform maintenance without feeling like you’re in a gardening-themed obstacle course.
Tight spaces actively discourage you from doing the little jobs. That one weed you don’t feel like squeezing in to get?
It will go to seed and become fifty weeds. The ripe tomato you can’t quite reach? It will become a mushy, bird-pecked mess.
The Solution: Unless you are a contortionist with a very small yard, give yourself a generous 2-foot walkway.
It’s a quality-of-life investment that makes gardening a pleasure, not a pain.
Mistake #6 – Poor Plant Arrangement and Height Planning (The Shady Neighbor)
You’ve got your south-facing bed. You’re feeling great.
But then you plant your sun-loving plants willy-nilly, and suddenly your sweet little lettuce seedlings are living in the permanent shadow of your gargantuan tomato plant.
This is a classic blunder.
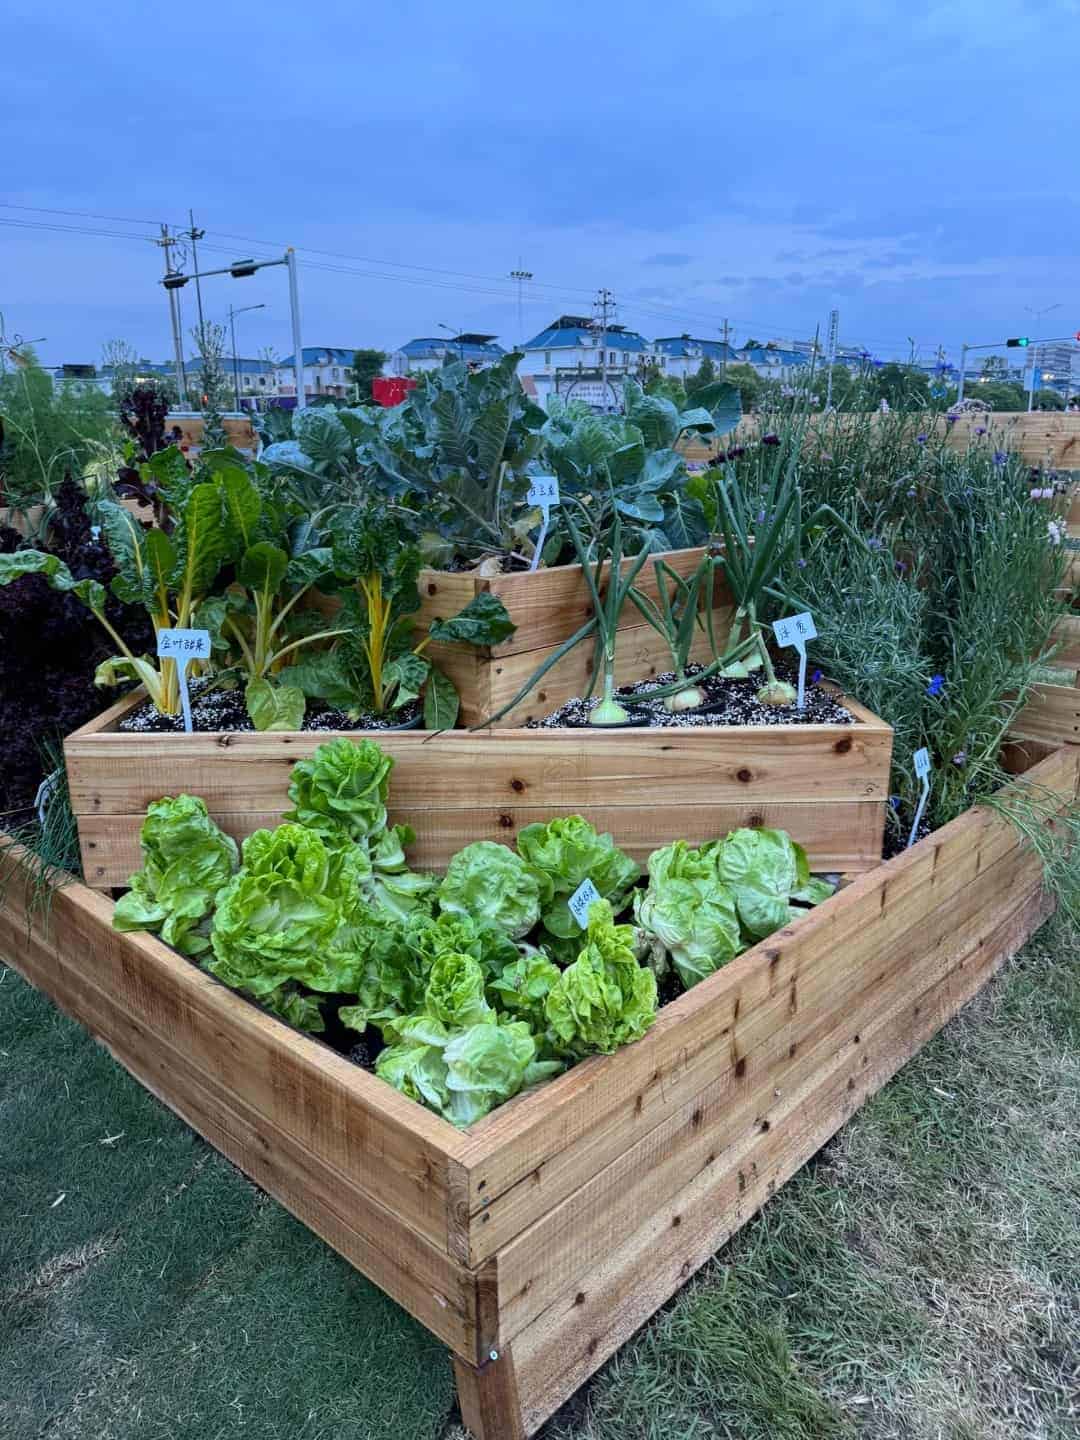
You must think like a stage director, planning your garden based on the final height of your plants.
The goal is to create a sun-loving staircase.
The Solution: In a south-facing bed, place your shortest plants (lettuce, radishes, carrots) at the front (south edge).
Put your mid-tier plants (bush beans, peppers, dwarfs) in the middle. And place your tallest crops (indeterminate tomatoes, pole peas, cucumbers on trellises) at the very back (north edge).
This way, every plant gets its time in the sun. In the summer, I have a bed where it goes from onions in the front, to peppers in the mid-level, to tomatoes trellised up the back.
It’s a beautiful, productive, sun-soaked wall of food. Random planting without considering height and light direction creates a jungle where only the strongest survive.
Mistake #7 – Poor Bed Preparation Between Seasons (The Lazy Fall)
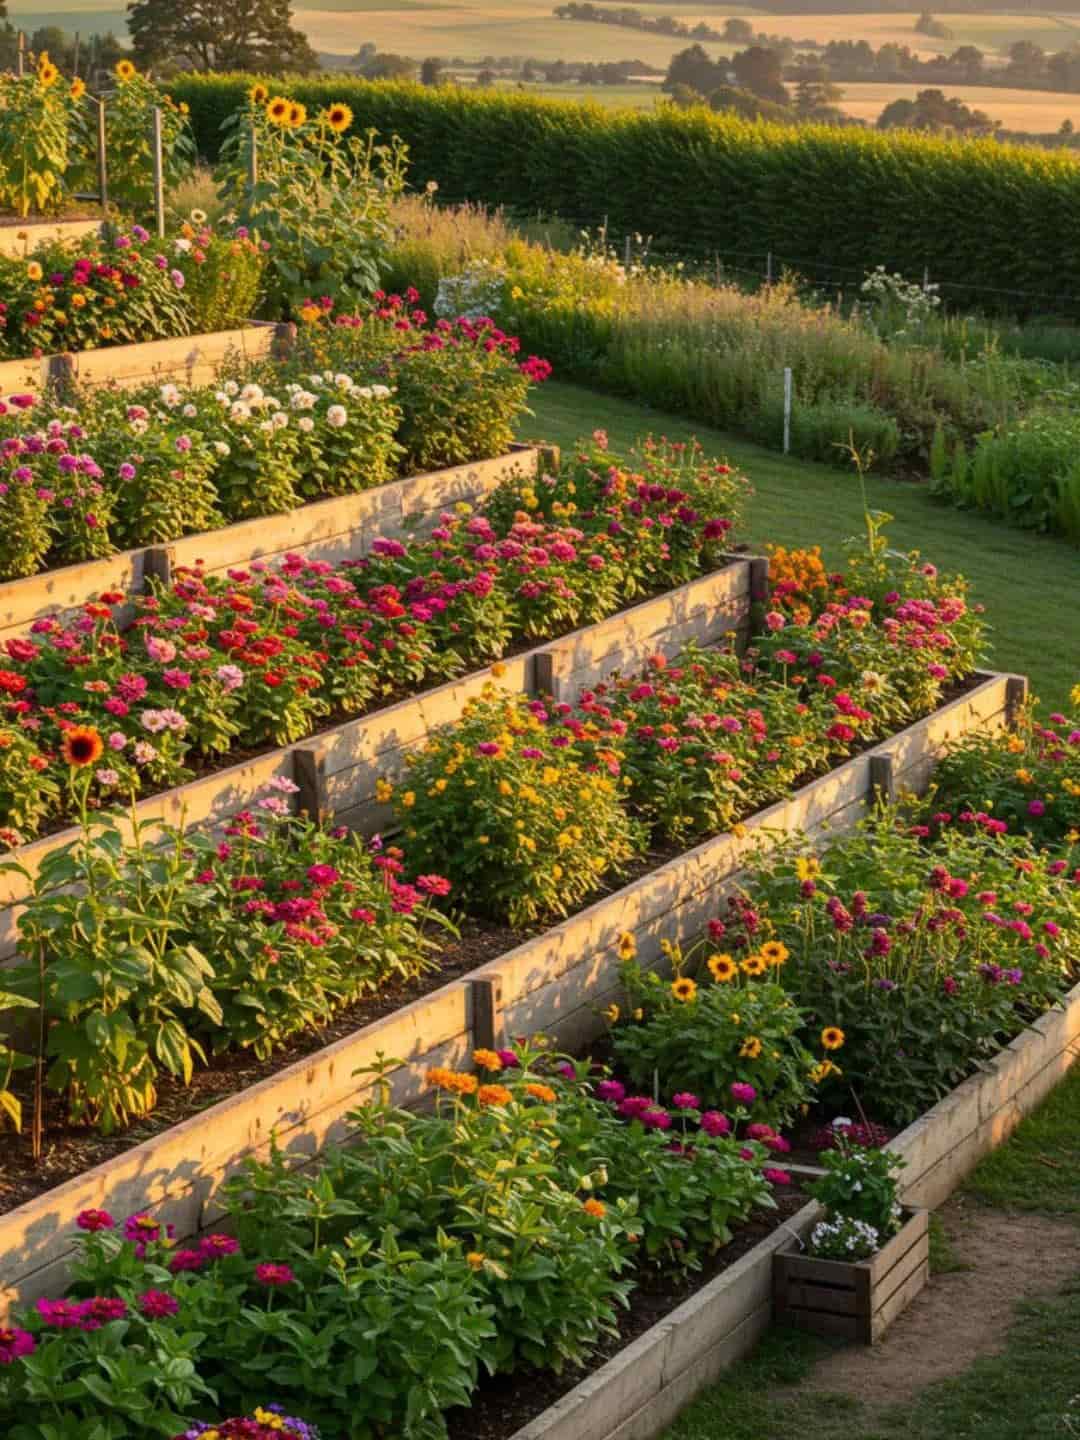
A garden’s work is never done, even after the last tomato is harvested.
One of the worst things you can do is leave your beds bare and naked over the fall and winter.
The winter rains will pound on the exposed soil, compacting it. The sun and wind will dry it out into a crusty, lifeless brick.
You’re essentially undoing all your hard work.
You need to tuck your soil in for its long winter’s nap.
The Solution: As soon as a crop is finished, you have a few great options:
1. Add a Few Inches of Mulch: Simple, effective protection.
2. Apply Compost on Top: This is the “no-dig” method popularized by Charles Dowding. Just spread a 1-2 inch layer of finished compost on top. The worms will incorporate it for you.
3. Plant a Cover Crop: Also known as “green manure,” this is my favorite method. Sow seeds like clover, winter rye, or vetch.
They grow to protect the soil, prevent erosion, and then you chop them down in spring and let them decompose, adding a ton of organic matter and nutrients back into the earth.
Come spring, your bed will be alive, fluffy, and ready to go with just a light amendment, instead of hard, sad, and needing a major intervention.
Mistake #8 – Not Labeling or Tracking Plants (The Great Forgettery)
You are not as smart as you think you are. I say this with love.
You will look at a seedling in three months and have absolutely no idea if it’s ‘Brandywine’ or ‘Black Krim’ tomato.
You will forget when you sowed your carrots, which means you won’t know when to expect a harvest. I speak from experience.
“What we measure, we manage.” This is as true in gardening as it is in business.
Being aware of what you planted, when, and where, leads to infinitely better care.
The Solution: Get a system, any system!
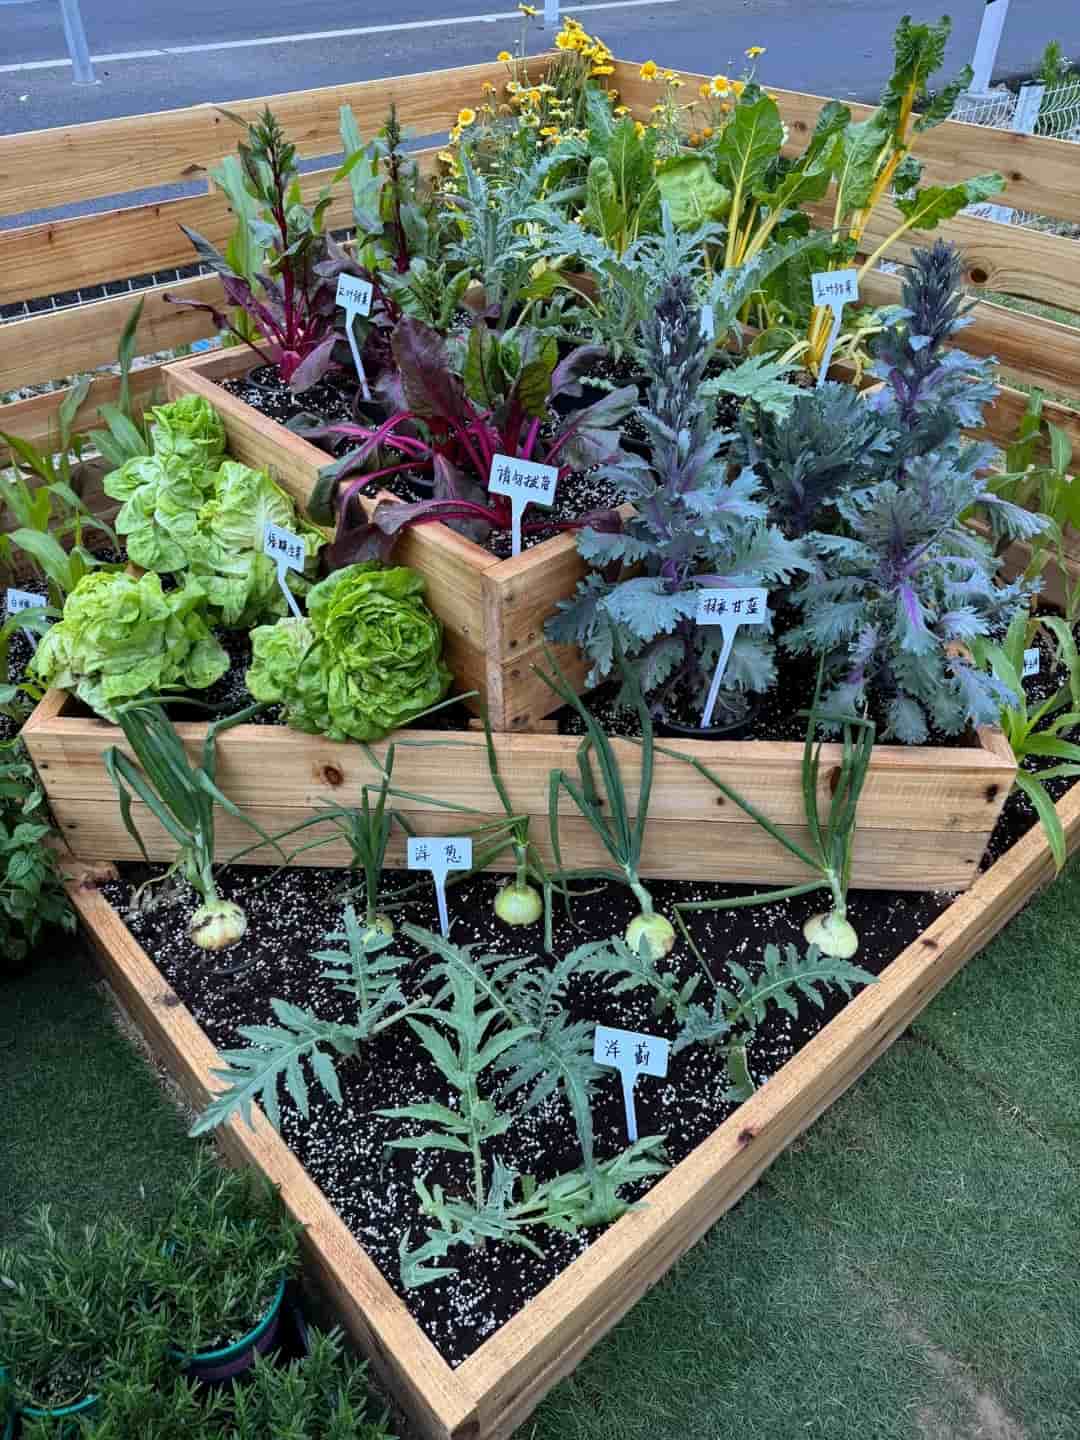
• The Simpleton: Use physical plant labels. I have little tags that say “Amazel Basil” stuck right in the soil. It’s foolproof.
• The Techie: Use a Google Sheets spreadsheet. Track the variety, sowing date, transplant date, and harvest date.
• The Artist: Use graph paper to draw a map of your garden each season.
Knowing your planting dates is crucial. It tells you when to start watching for pests, when to side-dress with fertilizer, and when to start salivating over your impending harvest.
An untracked garden quickly becomes an overwhelming, disorganized mess where plants get forgotten and lost in the shuffle.
Conclusion: You’ve Got This!
So, there you have it. The eight biggest raised bed blunders, straight from the school of hard knocks (and compacted soil).
The common thread? They’re all avoidable with a little bit of planning and awareness.
Raised bed gardening is one of the most rewarding things you can do, and I don’t want these common pitfalls to steal your joy or your harvest.
I’d love to hear from you—what mistakes have you made and learned from? Share your stories in the comments.
Thank you for letting me share my hard-earned lessons with you. Now get out there, plan well, and keep on growing