Is anyone else feeling that subtle shift in the air?
The birds are singing a slightly more optimistic tune, the days are stretching out like a cat in a sunbeam, and the local garden center has started its annual seductive display of flowering things.
Spring is peeking around the corner, and you know what that means: it’s time to whip our backyards into shape.
I don’t know about you, but my brain is already buzzing with visions of tomato plants heavy with fruit, the sound of friends laughing during outdoor gatherings, and me, blissfully soaking up sunshine without being visually assaulted by a jungle of weeds.
But before we get to the fun part—the planting and the partying—we have to do some groundwork.
Literally. And that, my friends, brings us to today’s main event: the proper laying of mulch.
I know, I know. It sounds about as exciting as watching paint dry. But stick with me.
Doing this right is the secret sauce to a low-maintenance, gorgeous yard.
Today, we’re going to cover what mulch even is, how much you need to buy so you don’t have to make a shameful second trip to the store, and my step-by-step process for laying it down so it actually works.
Let’s dig in!
What Is Mulch and Why Use It? (Besides Looking Fancy)
In the simplest terms, mulch is a protective blanket you tuck your soil into.
It’s a mix of organic (once-living) or inorganic (rock-ish) materials that you lay on top of the soil. Think of it as a spa treatment for your garden beds.
Why bother? Oh, just for a few miraculous reasons:
• It Locks in Moisture: Mulch acts like a bouncer for your water, telling the sun, “Nope, you can’t evaporate this party.” This means you water less, your water bill is happier, and your plants don’t throw a wilted tantrum in the afternoon heat.
• It Prevents Weed Growth: This is the big one for me. Weeds are the uninvited guests who eat all your chips and complain about the music. Mulch blocks sunlight from reaching weed seeds, so they never get a chance to sprout. It’s a non-violent, profoundly lazy way to win the war on weeds.
• It Protects Your Plants: Mulch is like a cozy sweater for your plant’s roots. It buffers them from extreme temperatures—keeping them cool during a summer scorcher and warm during a surprise spring frost.
In short, mulching is the single best thing you can do to maintain healthy soil and, by extension, vibrantly happy plants. It’s a simple step with a massive payoff.
The Mulch Match-Up: Organic vs. Inorganic

Before we start slinging bags into our carts, let’s talk about the two main camps of mulch.
It’s a classic showdown: the Nourisher vs. The Low-Maintenance Rockstar.
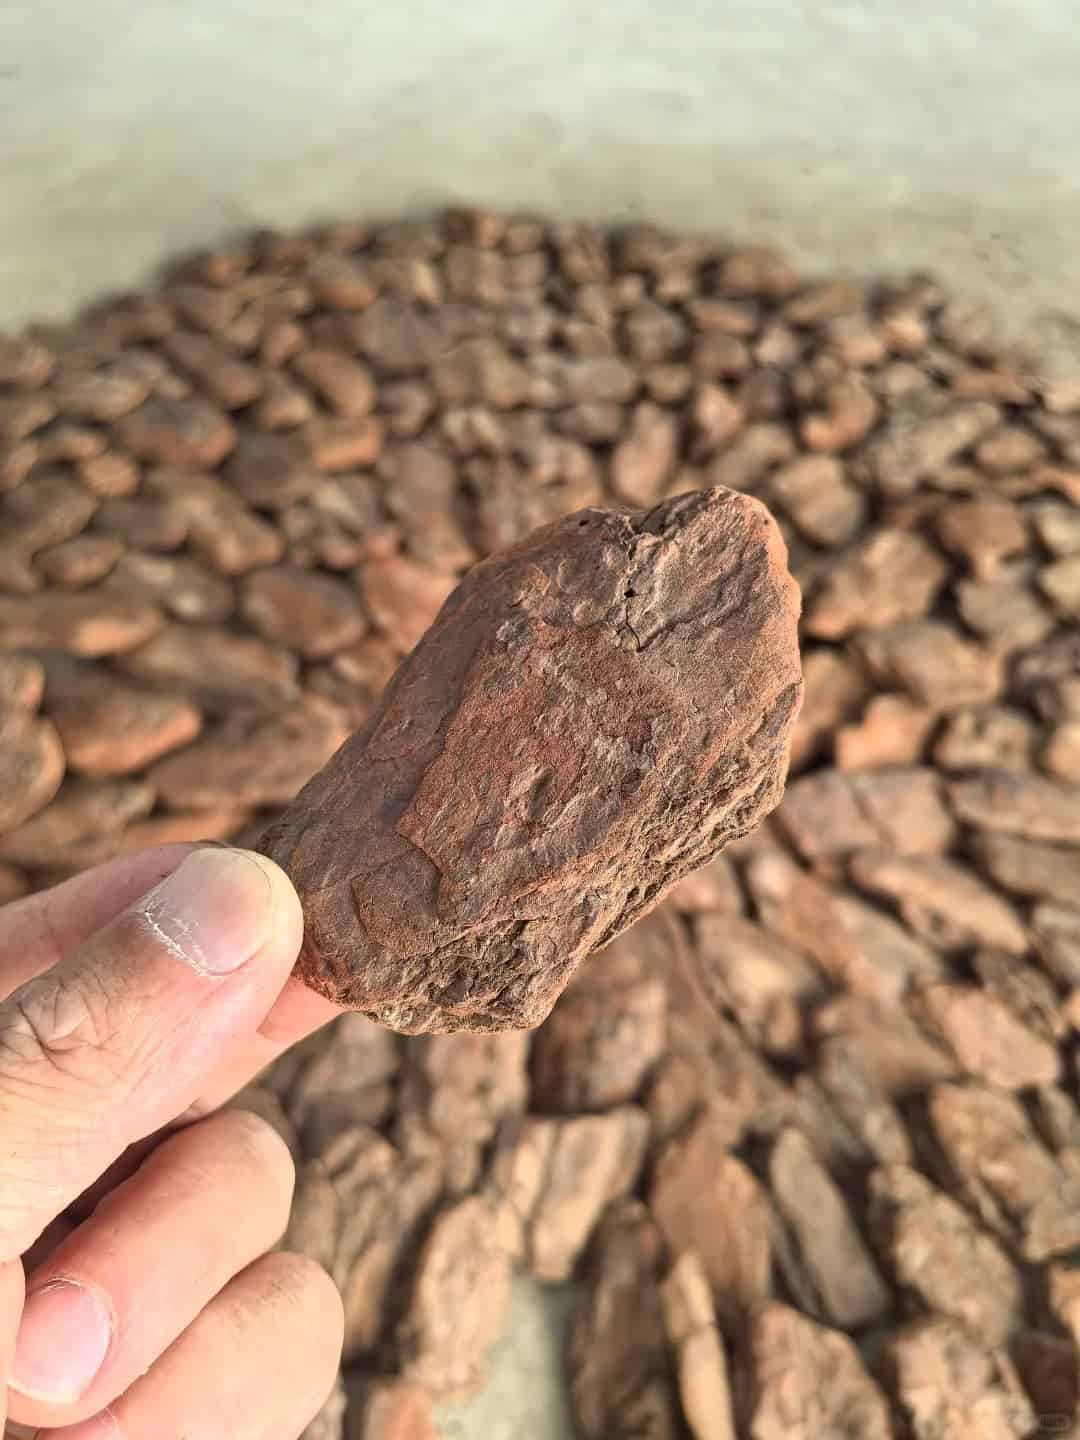
Organic Mulch: This is the stuff that came from something living. Think wood chips, shredded bark, pine straw, hay, or even those cute cocoa bean shells.
Its superpower is that it decomposes over time, slowly releasing nutrients back into the soil and improving its structure. It’s a slow-release meal for your garden. The downside? You have to top it off every year or two as it breaks down.
Inorganic Mulch: This is the non-living, more permanent crew. We’re talking river rock, pea gravel, lava rock, or even rubber mulch made from old tires.
It doesn’t feed your soil, but boy, is it low-maintenance. It won’t decompose, so you basically lay it once and forget about it (aside from the occasional leaf-blowing).
So, how do you choose? It boils down to the look you want, how much maintenance you’re willing to do, and whether you want to feed your soil or just cover it.
For this tutorial, I’m going with my personal favorite: organic shredded wood mulch. I love the natural look, and I’m a sucker for giving my plants that extra nutritional boost.
Preparing the Yard: Confronting the Wild Frontier

Now, let’s survey the battlefield—I mean, my backyard. It’s a tale of two cities.
On one side, there’s some old, sad, thin mulch from last year that’s basically given up on life.
On the other side, there’s bare soil, which in gardening terms is a welcome mat for every weed seed in the county.
The goal is simple: unite this divided nation under a fresh, new layer of mulch.

Step 1: Measure Up. This is a critical step unless you enjoy playing a high-stakes game of “Mulch Bag Roulette” at the garden center. I grab my tape measure and get the dimensions of both areas. My yard is L-shaped, so I measure them as two separate rectangles.
Step 2: Weed Warfare. Before we lay down anything nice, we have to deal with the current residents: the weeds. You can pull them by hand (my method of choice, for maximum satisfaction and minimal chemical use) or use a herbicide if you’re dealing with a full-scale invasion.
I strap on my gloves, put on a good podcast, and get to yanking. It’s surprisingly therapeutic. Think of it as evicting the troublemakers before the nice, clean mulch moves in.

Installing the Fabric Weed Barrier: The Ultimate Bouncer
With the weeds gone, we need to make sure they don’t get any bright ideas about coming back.
Enter the fabric weed barrier. This is our elite security system. It lets water and air through but blocks sunlight, preventing new weeds from sprouting.
Here’s how we install this bad boy:
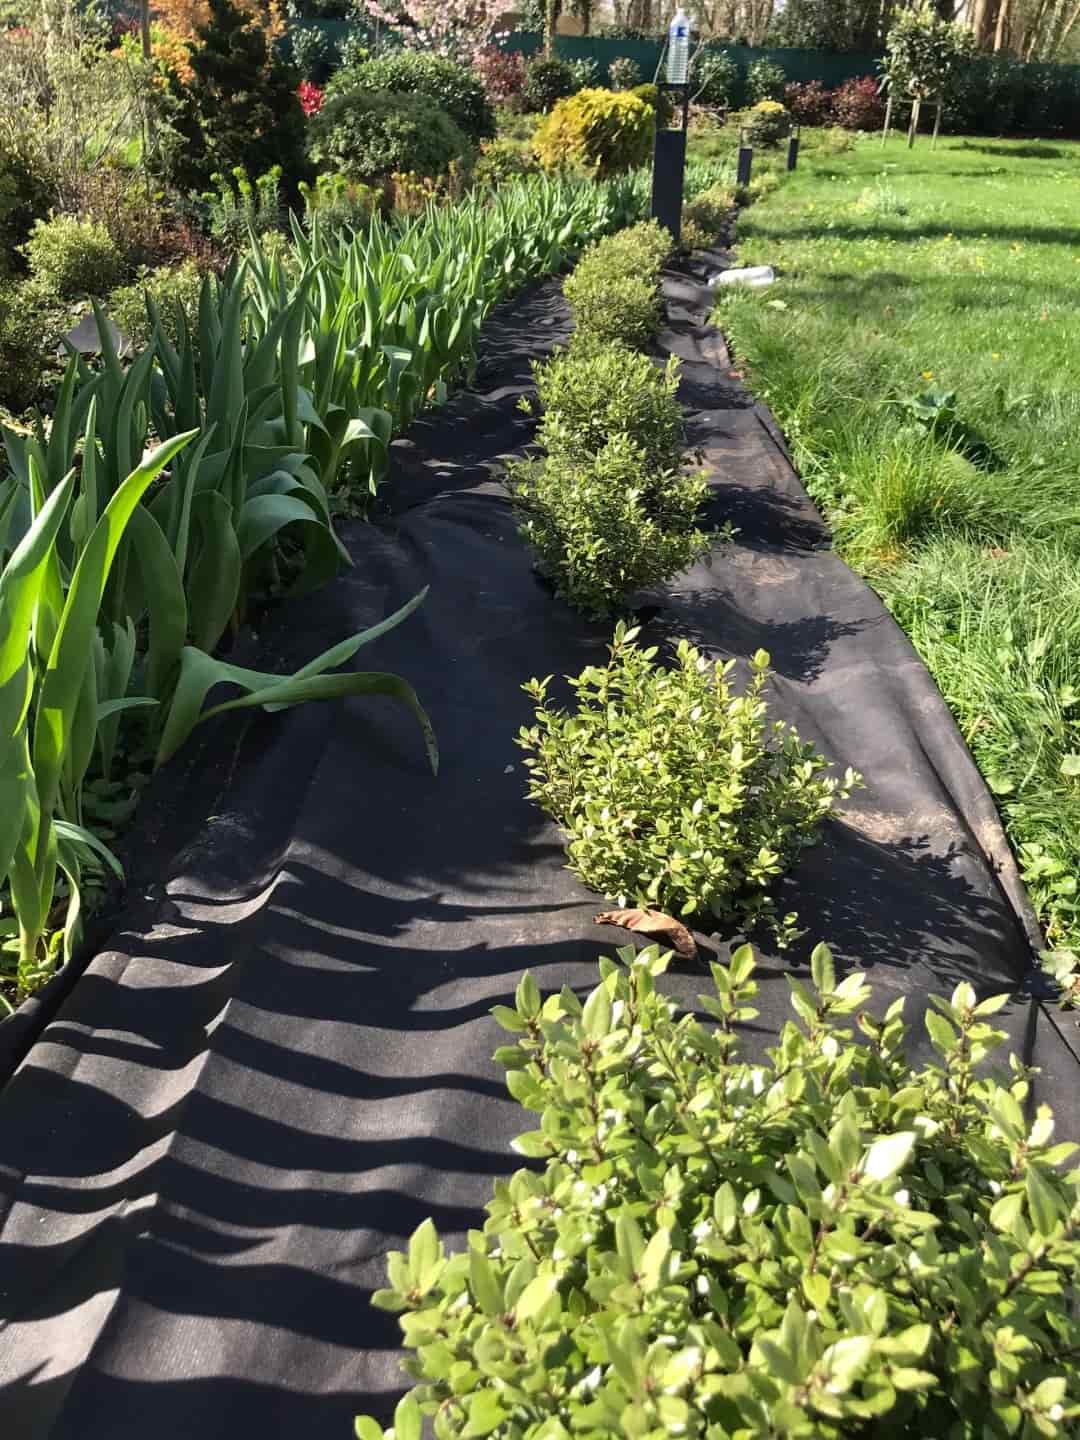
1. Roll it Out: I unroll the fabric over the cleared soil, cutting it to length with a utility knife or scissors. It’s like putting a giant, ugly blanket down. Don’t worry, we’re going to cover it up!
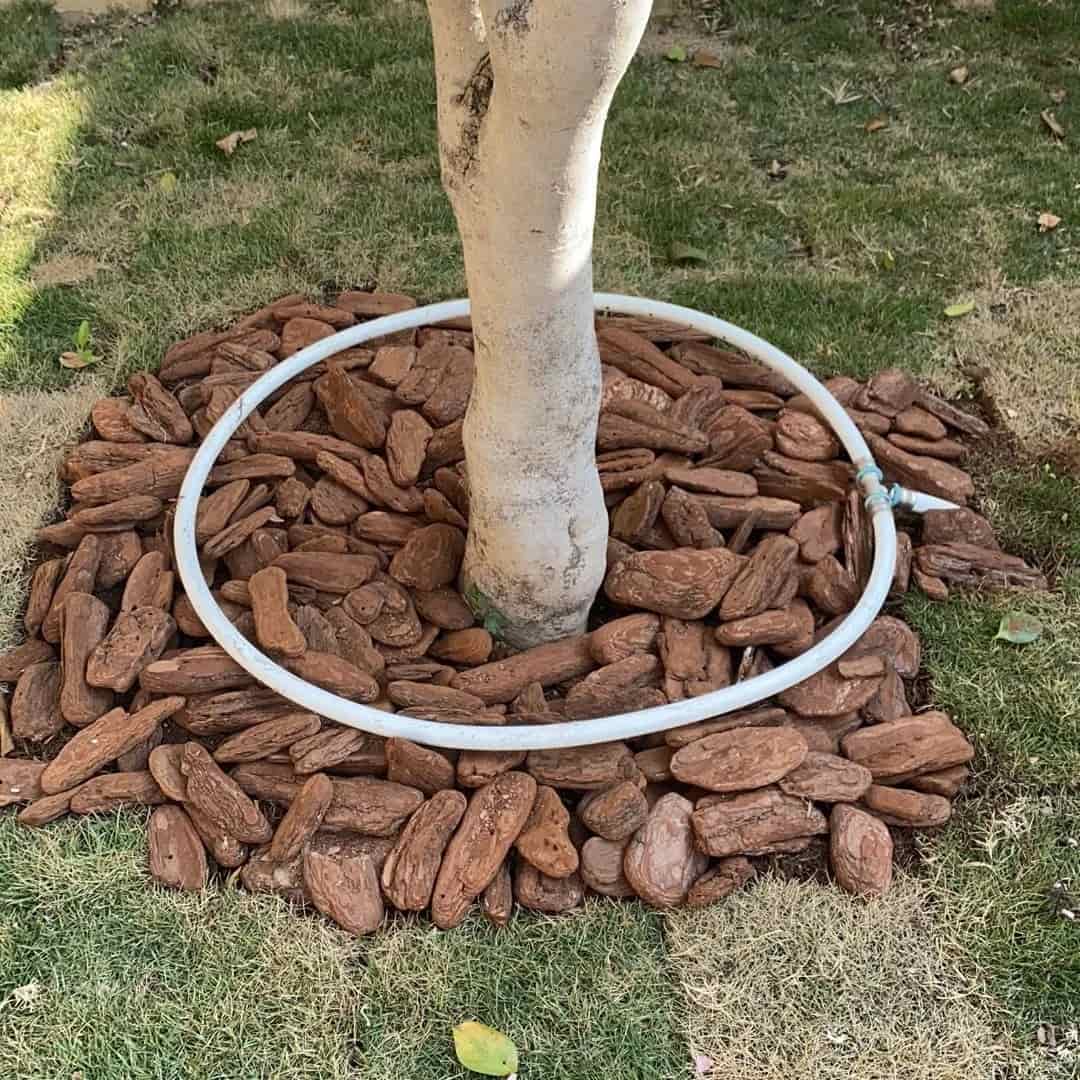
2. Tree-Hugger Protocol: This is crucial. When you get to a tree, you must cut a circle around the base. Do NOT wrap the fabric tightly around the trunk like a scarf. Trees need air circulation at their base, and trapping moisture there can lead to rot and disease.
We’re protecting the tree, not strangling it.
Once the fabric is down and all the trees are happily breathing, the yard looks weirdly futuristic and a bit sad, but we’re ready for the main event.
The Math Part: How Much Mulch Do I Actually Buy?

This is where most people either buy way too much or, tragically, way too little. I’m not about that guesswork life. Instead, I use my secret weapon: the Lowe’s Mulch and Soil Calculator. You can find it right on their website.
Here’s my process:
- I head to lowes.com and find the mulch and soil calculator tool.
- I input the dimensions for my two areas. Area 1 is 15 feet by 12 feet. Area 2 is 10 feet by 20 feet. The calculator lets me add both.
- I select my material: “Hardwood Mulch.”
- I input my desired depth. For weed suppression and moisture retention, you want about 1 to 3 inches. I’m going with a solid 1 inch for this refresh.
- I hit calculate.

The result? The oracle of Lowe’s tells me I need 16 bags of mulch (based on the standard 2 cubic foot bags). No guesswork, no shameful returns, no mid-project panic. It’s beautiful.
Laying Down the Mulch: The Transformation Begins

With my 16 bags of mulch proudly acquired, it’s time for the fun part. This is where the yard goes from “before” to “beautiful.”
Step 1: Strategic Placement. I don’t just dump one bag at a time. I carry the bags and place them a few feet apart all across the area I’m working on.
This saves my back from having to haul mulch from one central pile.
Step 2: The Grand Opening. Using my trusty utility knife, I slice open each bag. There’s a definite art to not slicing the bag in half or, worse, stabbing the fabric underneath.
Step 3: Spread the Love. Now I take my rake and start spreading the mulch evenly from each bag, working to achieve that perfect 1-inch depth.
The key here is to make it look natural and consistent, not like a series of mulch molehills.
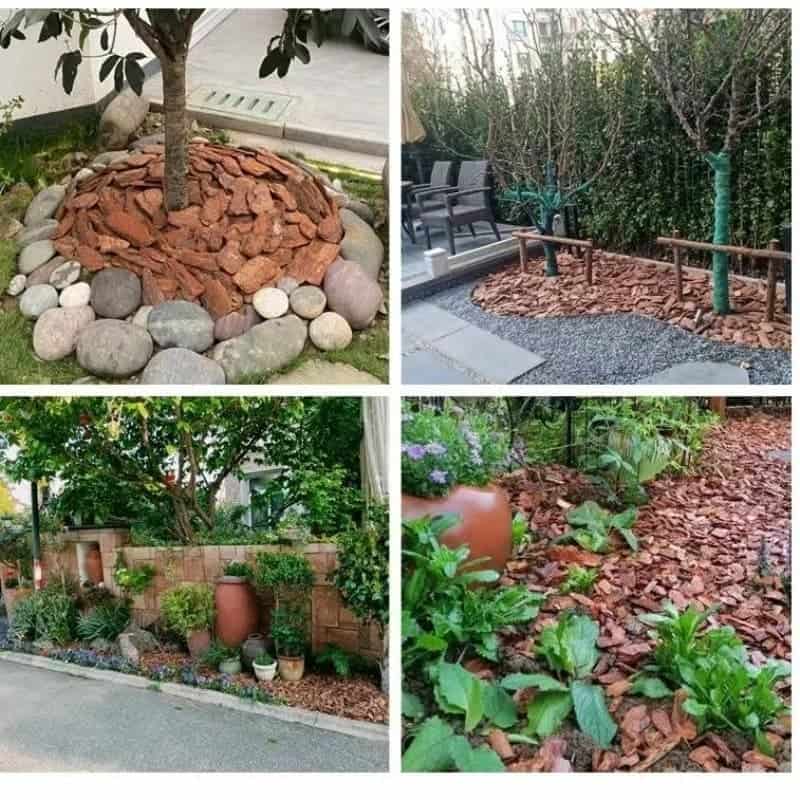
Pro Tip: The Donut Method. As I spread the mulch around my trees, I am very careful to keep it away from the trunk. I create a nice, clear circle—a “donut”—around the base.
Piling mulch against the trunk (a “mulch volcano”) is a cardinal sin of gardening.
It invites pests, disease, and root rot. We want donuts, not volcanoes!
Upgrading to Tree Rings for a Polished Look
While the donut method is perfectly effective, I sometimes like to level up. For a more defined and polished look, I install tree rings.
These are circular plastic or metal borders that you place around the tree.
The advantages are clear:
• They create a perfect, unwavering barrier that keeps mulch from accidentally creeping back toward the trunk.
• They just look super neat and intentional.
I’m a fan of a tidy look, so for my trees, I pop a few of these rings into place.
It instantly makes the whole bed look more professional and finished. The first area is now complete, and the difference is staggering.
Moving to the Second Area: Consistency is Key
I take a moment to admire my work, hydrate, and then move to the second, bare section of the yard.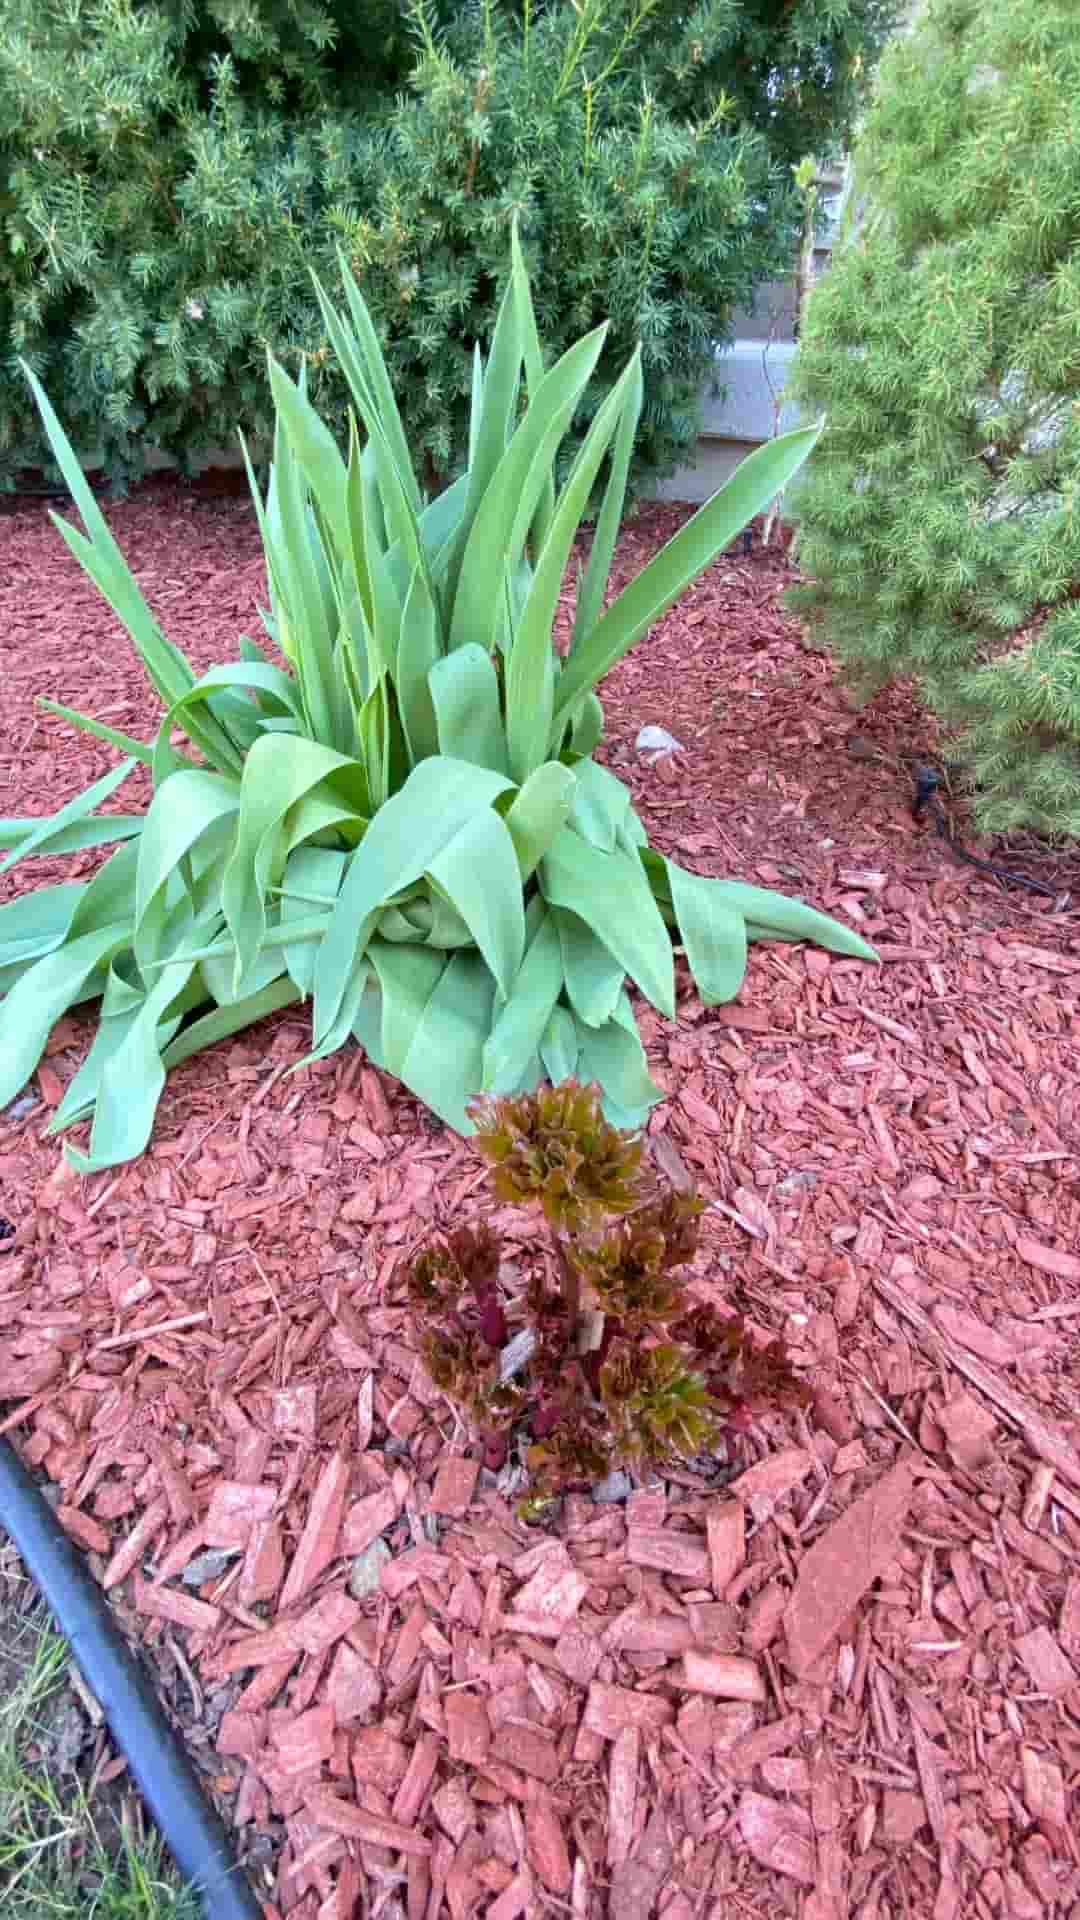
The process is exactly the same: spread the mulch evenly, maintain that crucial spacing from tree trunks and plant stems, and rake it out to a consistent depth.
I make sure to top off the entire section, blending it seamlessly with the first area.
The goal is one unified, cohesive backyard, not a patchwork of different mulching philosophies.
The Finishing Touches: Making It Stick
We’re so close! The final, often-overlooked step is to lightly mist the entire mulched area with the garden hose.
You don’t want to soak it—just a gentle shower.
Why? This helps settle the mulch, locking the pieces together and preventing it from blowing away in the first stiff wind.
It also darkens the color, giving you an instant preview of how amazing it’s going to look after the next rain.
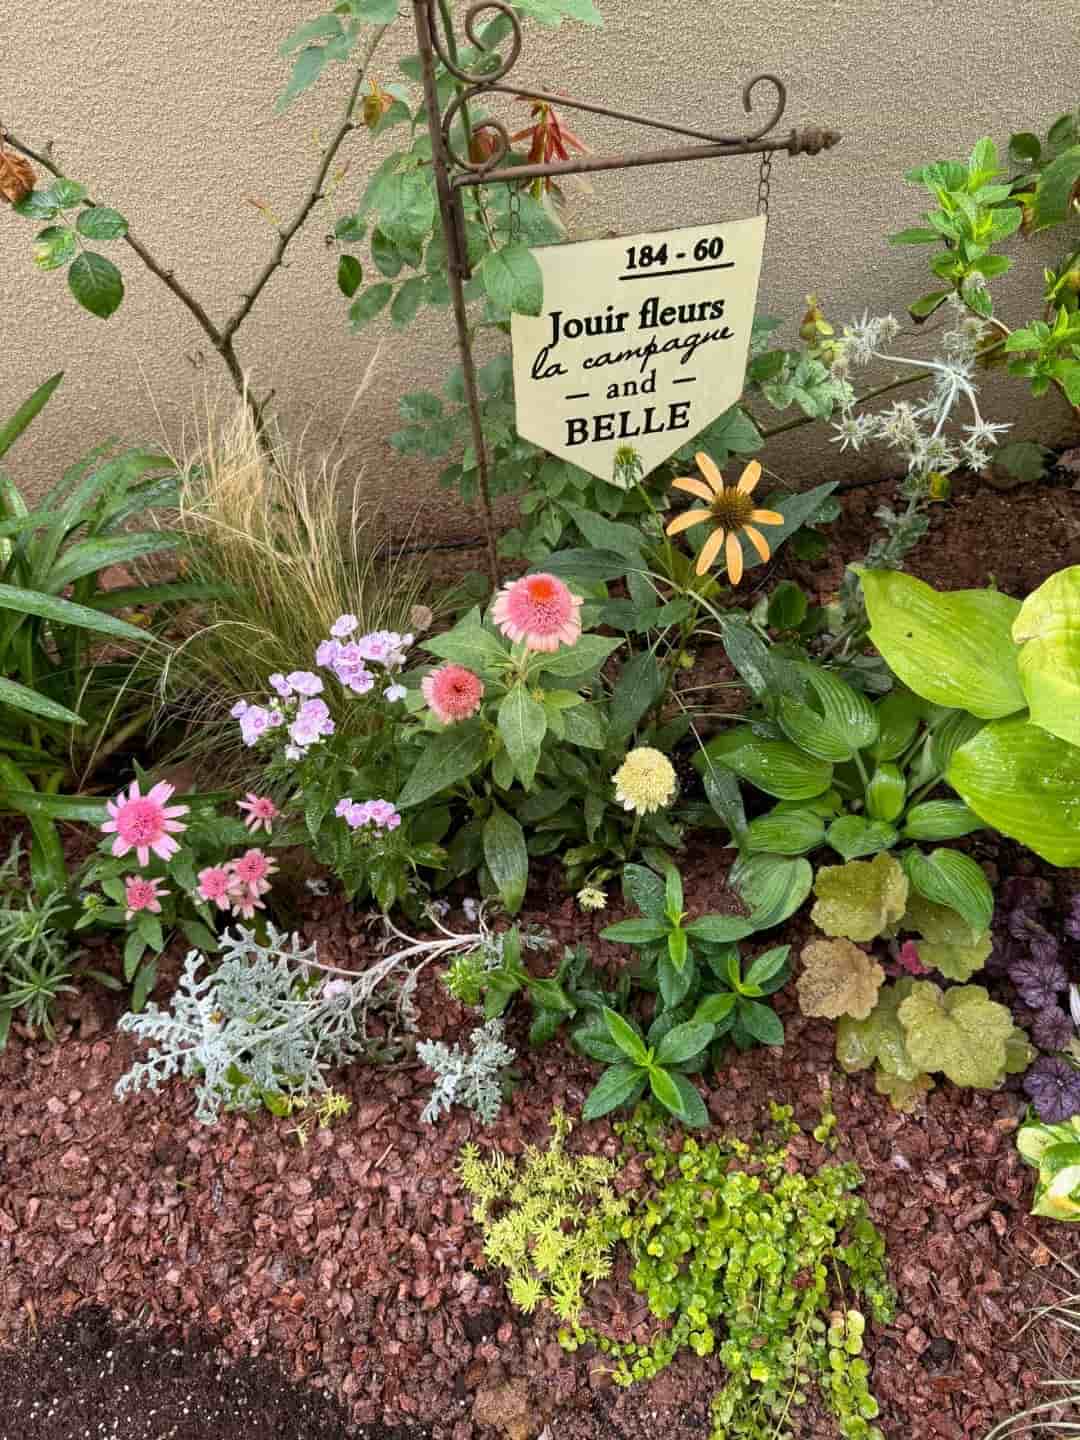
I stand back and look at my handiwork. The backyard looks refreshed, organized, and ready for its close-up.
It’s no longer a weedy, neglected space but a clean canvas waiting for spring.
Final Thoughts
And there you have it! The backyard is officially ready for the new season.
We’ve protected our soil, suppressed a legion of future weeds, and created a beautiful backdrop for all the spring and summer memories we’re about to make.
Recap for the road: Mulch is a miracle worker, always measure before you buy, fabric barrier is your friend, keep mulch away from tree trunks, and a little water at the end seals the deal.