In today’s post, I’m excited to share my passion for home gardening with you.
Whether you’re working with an expansive backyard or a modest apartment balcony, gardening is accessible to everyone.
I’ll be breaking down two foolproof approaches to start your own garden: planting directly in the ground and using containers.
By the time you finish reading, you’ll have all the knowledge you need to begin your gardening journey. No more excuses—it’s time to get growing!
Section 1: Starting a Garden in the Ground
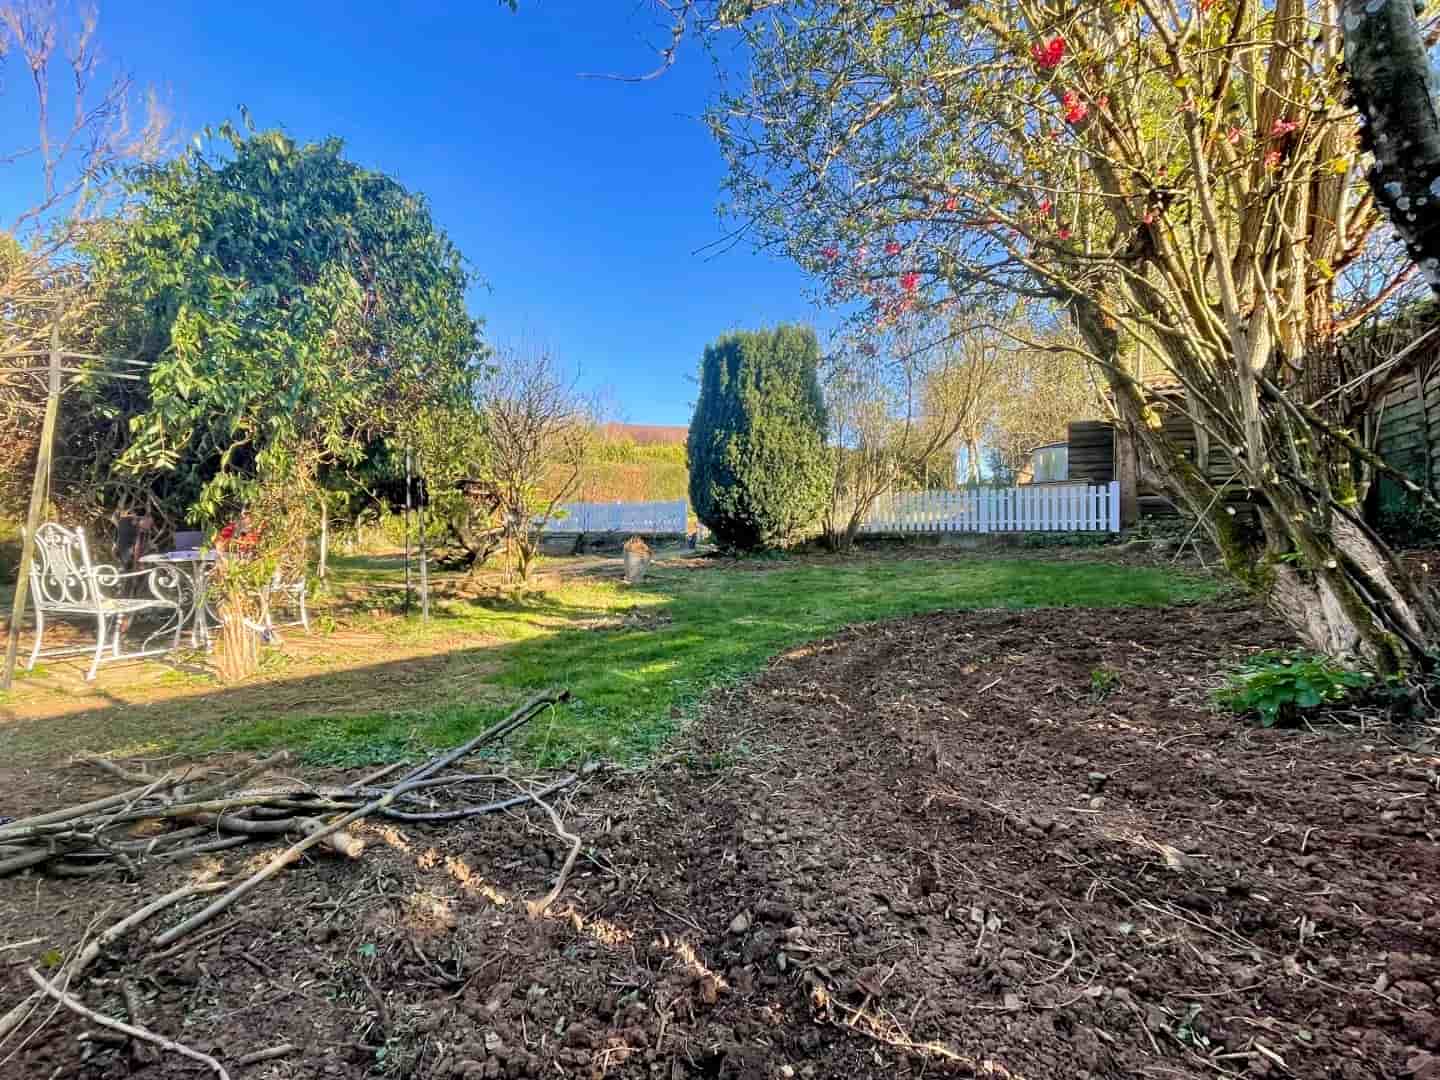
So, you’ve got a patch of earth you’re ready to transform. Awesome. This is the classic way to garden, and it’s incredibly rewarding. But before you just shove a seed in the dirt, we need to talk about the single most important thing. It’s not the seeds, it’s not the fancy tools—it’s the dirt itself. The soil.
The Gospel of Healthy Soil

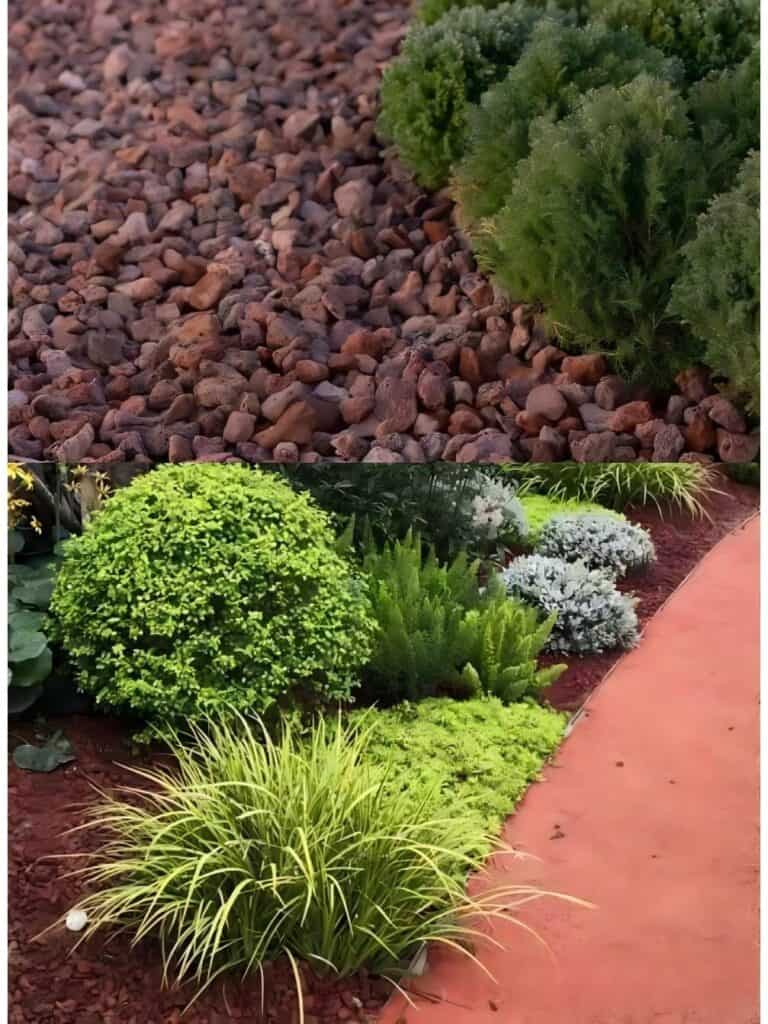
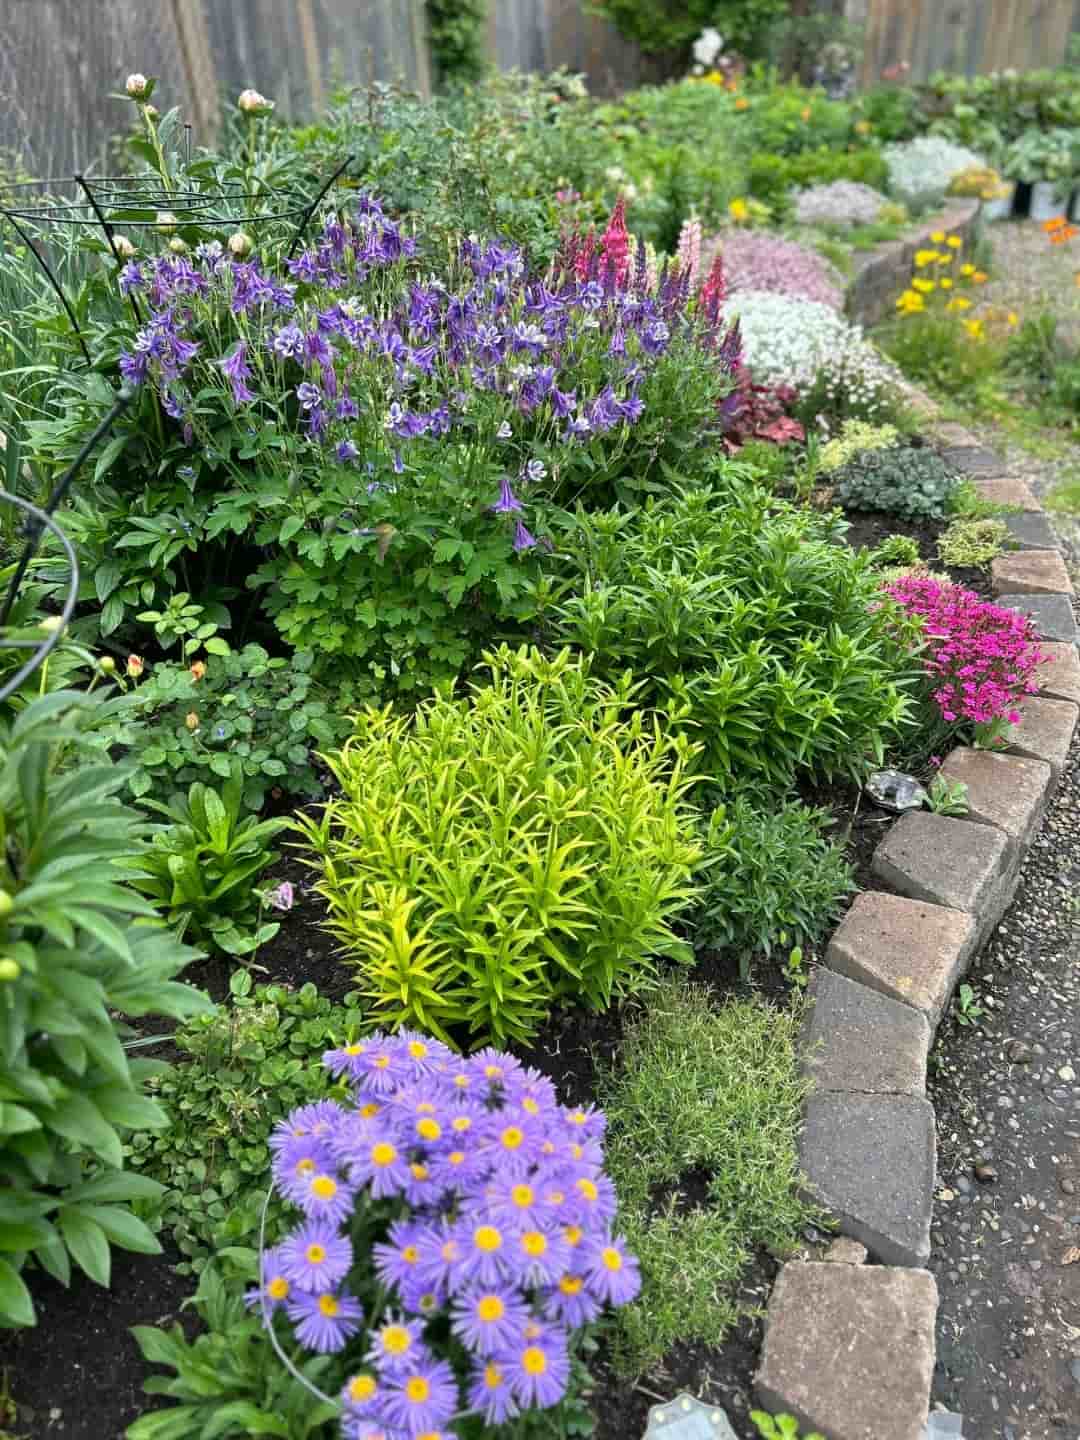
Listen closely, because this is the biggest mistake beginners make: they start with unhealthy soil. You can’t expect a Michelin-star meal to grow in a dumpster. If your soil is sad and depleted, your plants will be too. The first, most crucial step is to start with healthy, living soil. That means you need to gather everything you can to improve your soil’s health. It’s like prepping a five-star hotel bed for your seeds to snuggle into.
Taming the Beast: Red Clay Soil
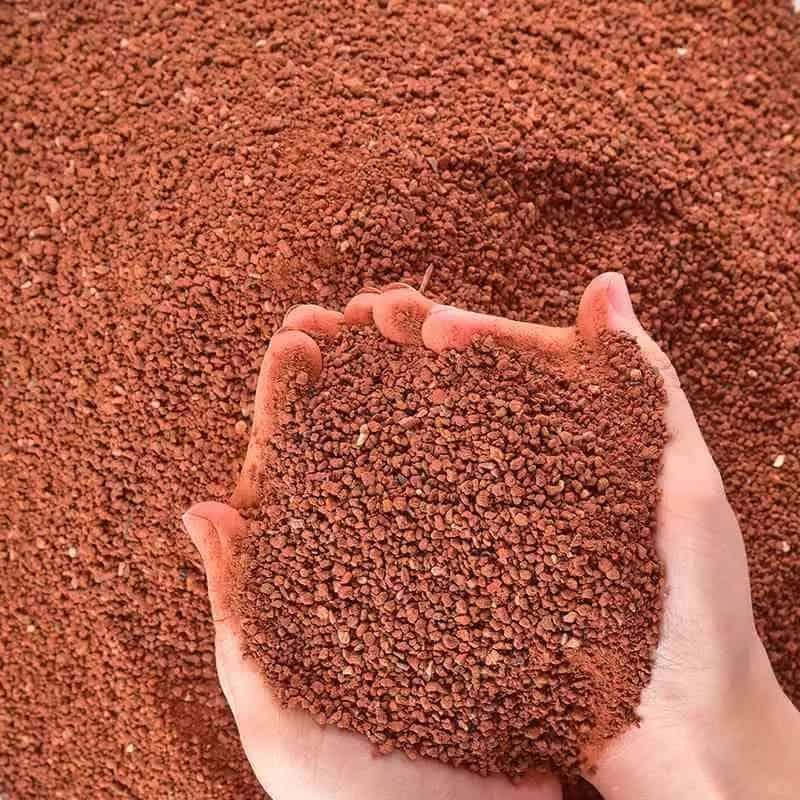
Now, my personal nemesis—and what a lot of you might be dealing with—is red clay soil. It’s beautiful in a pottery kind of way, but for gardening, it’s like concrete. When it’s wet, it’s a sticky, gloppy mess. When it’s dry, it’s practically rock. You need to amend it. That’s just a fancy gardening word for “mix in a bunch of good stuff.”
What good stuff? Here’s my holy trinity for clay busting:
- Compost: This is the black gold. It adds vital nutrients and, most importantly, it feeds the soil life—the worms and microbes that do all the hard work for you.
- Peat Moss or Coconut Coir: These are your moisture managers and aerators. They help loosen up that compacted clay, creating little air pockets so your plant roots can actually breathe and spread out. They’re pretty much interchangeable, so use whichever you can find.
- Topsoil: Now, you might think, “I already have soil!” But adding a good quality topsoil to your native clay helps to immediately dilute it and loosen its stubborn structure.
A Nightmare for Roots
Imagine you’re a tiny little root trying to grow through a brick wall. That’s what it’s like for a plant in hard, compacted clay. It can’t spread out to find water and nutrients. It gets stunted and stressed. Our entire job at this stage is to loosen that soil up and make it a welcoming paradise.
Tools of the Trade: Tillers and Broad Forks
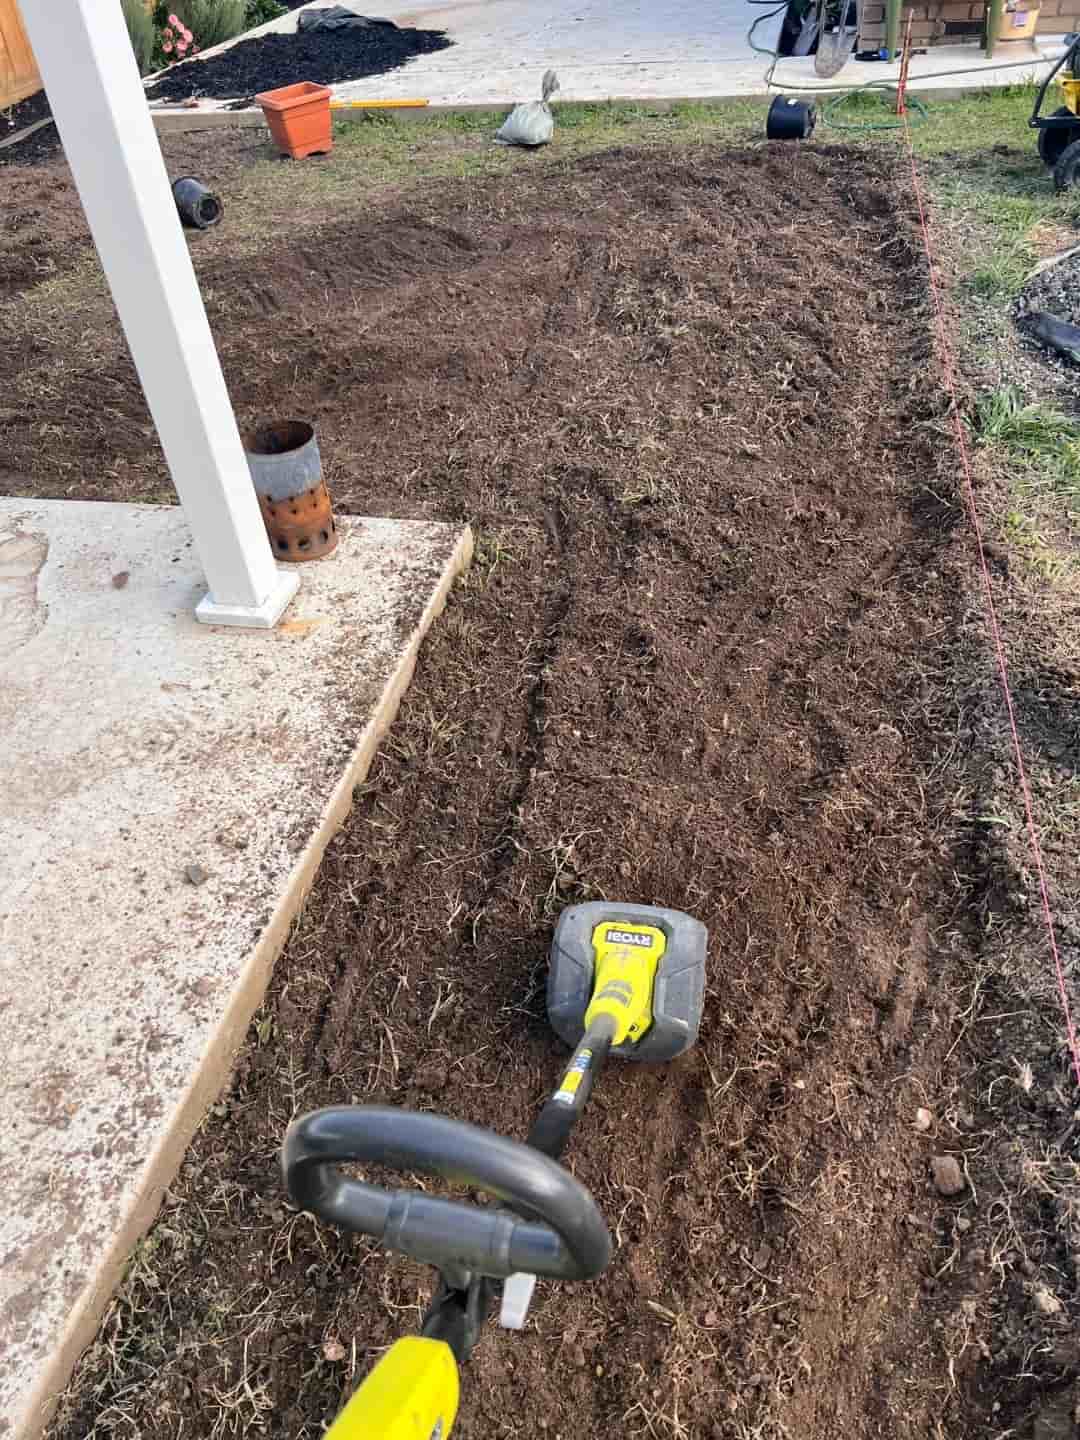
To mix all these amendments into my red clay, I use a tiller. It’s a powerful machine that basically churns everything together like a giant mixer. Now, if you’re tougher than me (or on a tighter budget), you can use a broad fork. It’s a manual tool that you drive into the ground and rock back to loosen the soil. It’s a fantastic workout, I’ll tell you that much. But look at my clay—see how hard it is? You really need some mechanical help to break it up the first time.
[A brief moment where I’d be adding oil to the new tiller, maybe with some background music. Just picture me fumbling with an oil can, and you’ve got the idea.]
The Glow-Up: Results After Tilling
Okay, fast forward. After a lot of noise and dust, I’ve tilled four beautiful garden rows. The transformation is incredible. That hard, red clay is now loose, dark, and rich-looking thanks to all that compost, peat moss, and topsoil we mixed in. It’s fluffy! Can you believe it?
A little pro-tip: you can never have too much compost. If you think you have enough, add a little more. Remember this mantra, because it’s the key to everything: When you feed your soil, your soil will feed you.
Don’t Squish Your Plants: Garden Row Spacing
When you lay out your rows, make sure you leave enough space between them for you to walk comfortably. My personal preference is to leave space wide enough to walk with both feet side-by-side. You want to avoid stepping directly on your planted rows because that re-compacts the beautiful, fluffy soil you just worked so hard to create. Don’t undo all your hard work!
Location, Location, Sun-location!

This might seem obvious, but choose a sunny spot! Most veggies need at least 8 hours of direct sunlight a day. You can’t expect a sun-worshipping tomato to thrive in a shady corner. Plants are solar-powered; without the sun, they can’t make their food. It’s that simple.
The Art of Patience: Timing is Everything

Now, here’s where a lot of eager gardeners (including me, in the past) mess up. Don’t plant your seeds too early! You have to check the weather forecast. I was all ready to go, but then I saw we have nights dipping down to 40°F this week. That’s a no-go.
Cold weather can absolutely kill warm-weather plants like watermelon, peppers, and tomatoes. You have to be patient. Wait until the danger of that last frost has passed and the nights are consistently warm. It’s better to plant a little late than to have all your babies wiped out by a surprise cold snap.
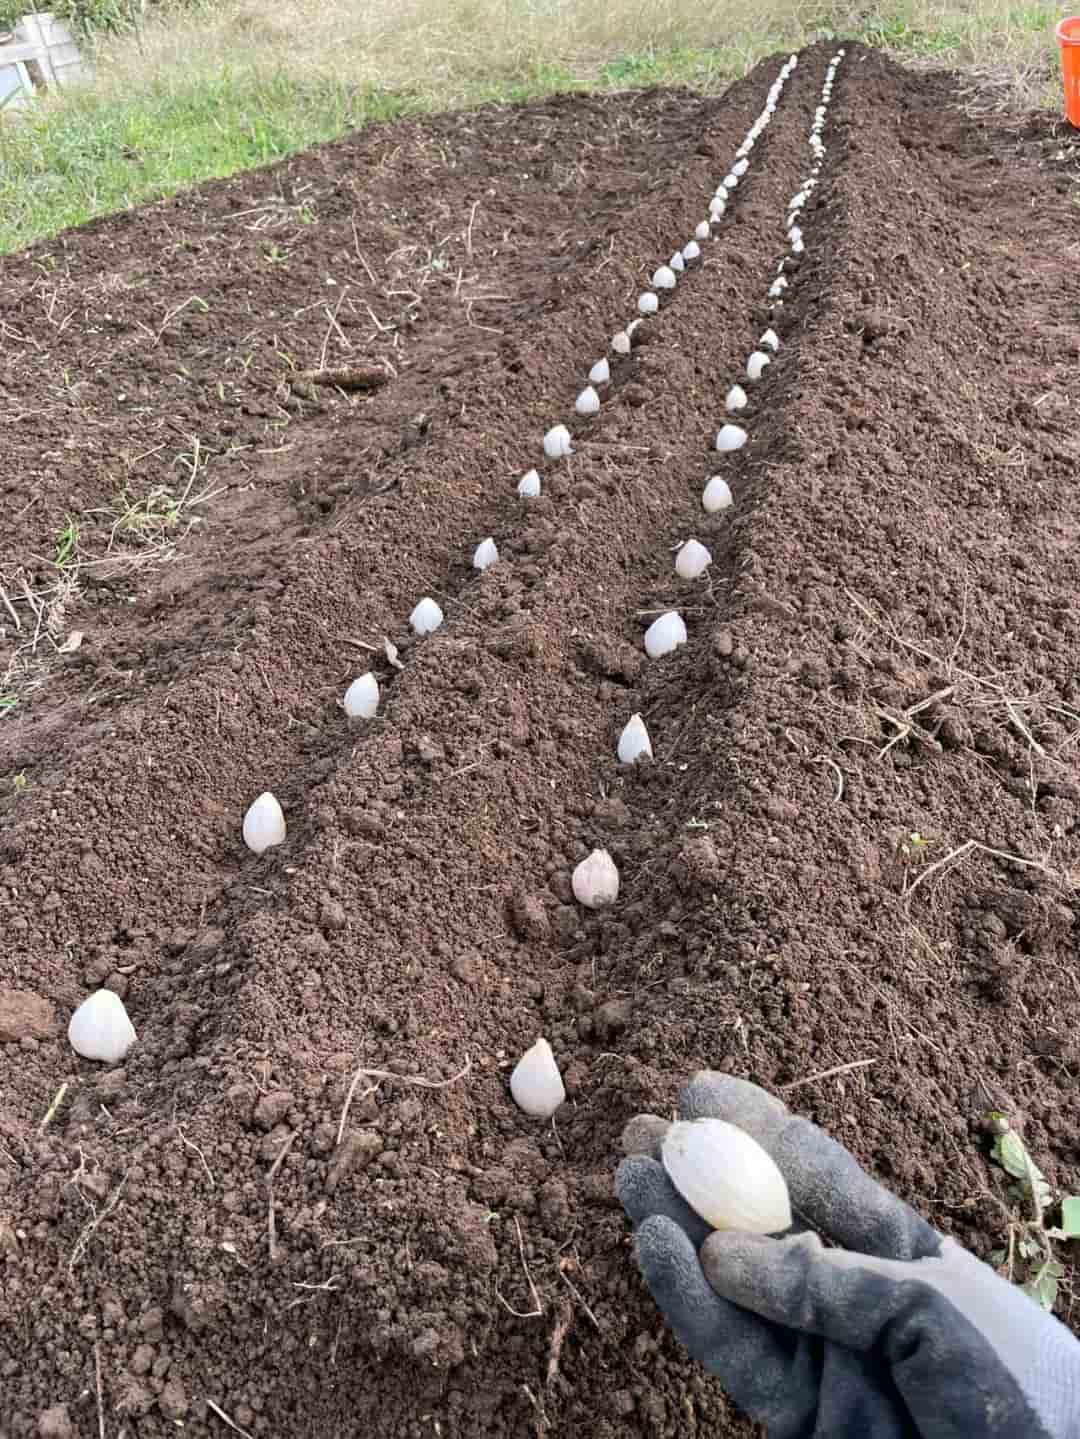
The Grand Plan
So, here’s my plan for these four rows. One for watermelons, one for sweet potatoes, one for sugar melons, and another for more sweet potatoes. And this is just the beginning—I’ve got plans to add more rows later. Having a plan, even a simple one, helps you stay organized.
Section 2: Starting a Garden in Containers
Okay, apartment dwellers and concrete-jungle folks, this one’s for you. No yard? No problem! Container gardening is your best friend. It’s simple, efficient, and you can do it anywhere.

Your Container Shopping List
You don’t need much:
- Potting Soil: Do not skip this. Do not use dirt from your yard.
- Organic All-Purpose Fertilizer: For a little extra boost.
- Containers: Get creative! 5-gallon buckets from the hardware store are perfect. You can even use storage totes.
- A Drill or Something to Poke Holes: This is non-negotiable.
Drainage is NOT Optional

Step one, before you even think about soil, is to add drainage holes to your container. If you don’t, you’re basically creating a swimming pool for your plant’s roots, and they will drown. It’s a tragic, soggy ending. See this bucket? I’ve drilled four decent-sized holes in the bottom. That’s enough for good drainage.
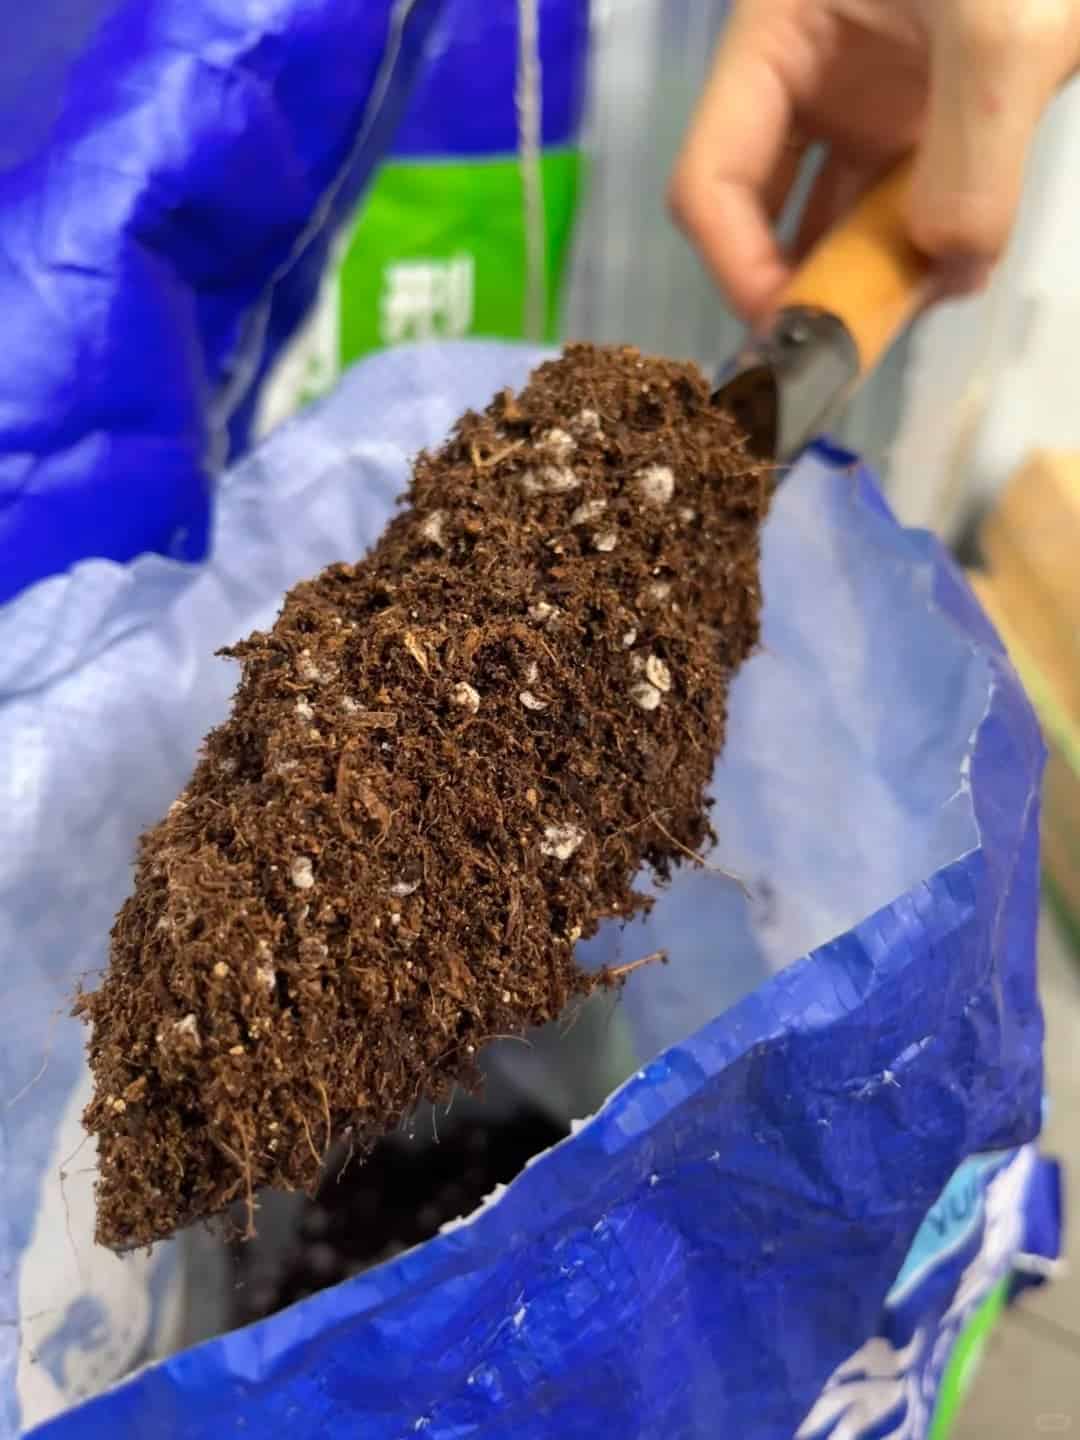
The Magic of Potting Soil
For beginners, I highly recommend a good-quality potting soil. Many of them are miracle workers, pre-loaded with fertilizer that feeds your plants for 5 to 6 months. That means you can just plant and forget about feeding for a while.
What if you want to make your own? Easy. A simple DIY potting mix is just equal parts:
- Peat Moss (or Coconut Coir)
- Compost
Just remember: Potting Soil = Peat/Coco + Compost. It’s that simple.
How Much Dirt Do I Need?!
This is a common question. As a general rule, one of those standard-sized bags of potting soil will fill about three 5-gallon buckets. So, let’s break it down for you apartment gardeners:
- 1 Bag = 3 Buckets
- 2 Bags = 6 Buckets
- 3 Bags = 9 Buckets
See? Easy math. If you want to stretch your soil even further, you can mix in a little of your backyard soil, but the potting mix should be the majority.
A Warning That Will Save Your Plants
I’m going to say this loudly: DO NOT USE IN-GROUND SOIL FOR CONTAINERS. It’s too heavy, it doesn’t drain well, and it will compact into a solid brick in your pot. Always, always check the bag. If it says “for in-ground use,” put it down and back away slowly. You want “Potting Mix.”
Section 3: Let’s Get Planting! Container Demos
Alright, theory is over. Let’s put this into practice.

Example 1: The Orange Bell Pepper
Let’s plant an orange bell pepper in a 5-gallon bucket. We fill the bucket most of the way with potting soil, make a little hole, gently place the plant in, and fill in around it. Then, we give it a good, gentle drink. Spray, spray, spray! You want to settle the soil around the roots.
Example 2: The Hanging Strawberries
For strawberries, you can fit about three plants in one 5-gallon bucket. The trick is to plant them along the edges. Why? So the strawberries can hang over the side as they grow, keeping them clean and beautiful. It looks pretty cool, too.
Don’t Let Them Fall Over: Plant Support
For our pepper plant, it’s a good idea to add a support stake now. A simple bamboo stick or a small tomato cage will do. Once those peppers get big and heavy, the plant will get top-heavy and might fall over. It’s easier to add support now than to try and prop up a fallen plant later.
Container Gardening Recap
So, to recap what you need for container gardening success:
- Potting Soil.
- Containers (5-gallon or bigger for most veggies).
- Drainage holes.
- Optional: Organic fertilizer after the first 3-4 months.
Remember, that potting soil will feed your plants for a good 3-4 months, but after that, they’ll need a nutrient top-up.
Example 3: The Fiery Habanero
Now, let’s start a habanero pepper from seed. It’s way more affordable than buying plant starts. A packet of seeds costs a couple of bucks, whereas one plant can cost $5. If you buy 5 or 6 plants, you’re looking at $50-$60! Seeds are the budget-friendly way to go.
When you plant it, gently loosen the roots a little if it’s pot-bound, and don’t plant it too deep—just to the same level it was in its original pot.
Section 4: Where the Heck Do I Get Seeds?
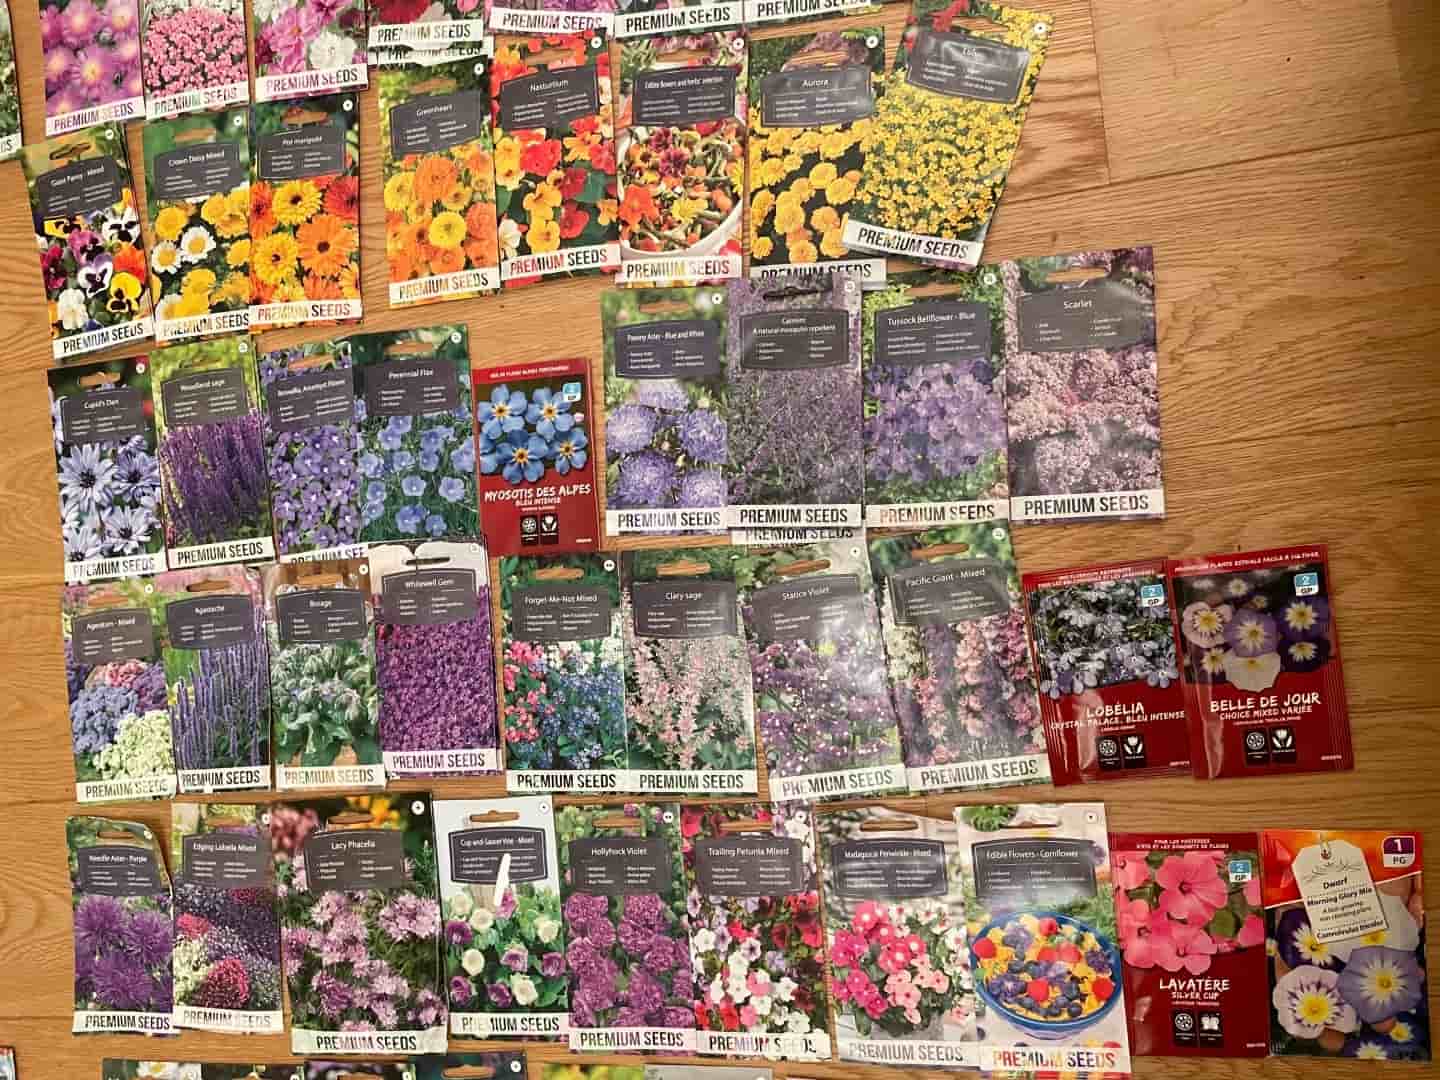
This is easy. You can get seeds everywhere!
- Home Depot
- Lowe’s
- Dollar General
- Dollar Tree
- Amazon
- A million online seed stores
They are not hard to find. And you can save your own! For example, I saved thousands of seeds from just two yellow watermelons I grew last year. It’s a fantastic way to save money and keep the cycle going.
Section 5: Other Awesome Gardening Options
We covered in-ground and containers, but there are other ways!
- Raised Beds: These are fantastic. They’re like a perfect hybrid of in-ground and container gardening. Great drainage, warm up faster in spring, and you can control the soil 100%.
- Cardboard Box Gardens: Yep, you read that right. You can literally use a cardboard box for one growing season. It’s free, and it will last the season before it decomposes. It’s a perfect, zero-cost way to try gardening.
Conclusion
So, family, gardening doesn’t have to be complicated. It really boils down to two simple ideas:
a. For an in-ground garden, focus on building healthy, fluffy, nutrient-rich soil.
b. For a container garden, use the right potting soil and make sure your containers can drain.
That’s it! Whether you have acres of land or just a sunny windowsill, you can do this. It’s one of the most rewarding hobbies you’ll ever pick up. I hope this motivates you to get out there and grow something. I want to see your gardens!