Let’s face it—your closet might be great at hiding your messy shoe collection, but it could do so much more.
You can transform any ordinary closet into built-in shelves that look custom-made and make your space actually work for you.
Turning closets into built-in shelves isn’t just for the pros or people with a garage full of power tools.
There’s no “secret passageway” required—just a bit of DIY spirit and the desire to stop losing things in the depths of your closet.
To get inspired by a real-life example, check out this easy breakdown of how to turn a closet into a bookshelf.
Your closet has never looked so ready for a glow-up!
Understanding the Benefits of Converting Closets to Built-In Shelves
Closets have a secret talent for turning into black holes full of old coats, tangled wires, and that box labeled “misc.”
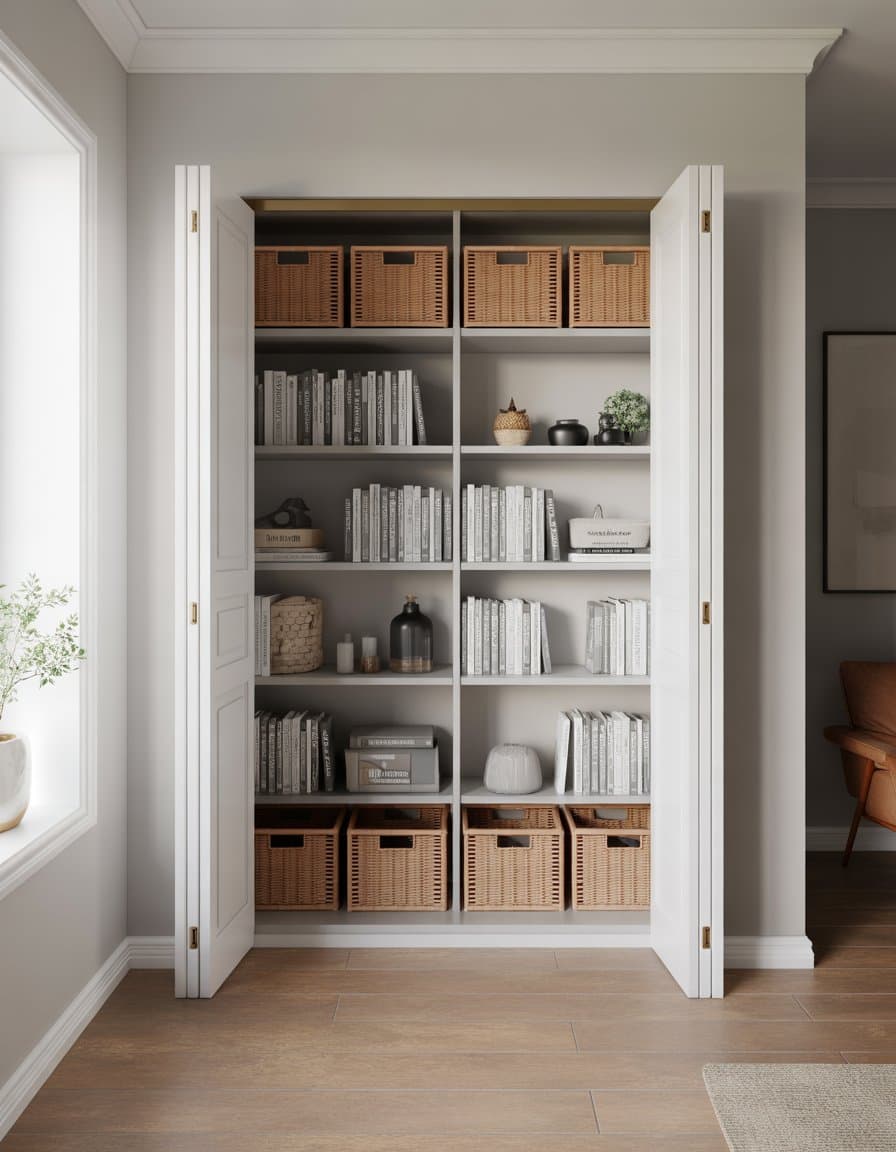
By switching to built-in shelves, you can finally see your stuff without fighting through mysterious piles.
Built-in shelves let you store books, baskets, or even display those random collectibles you can’t bear to part with.
Adding Custom Style
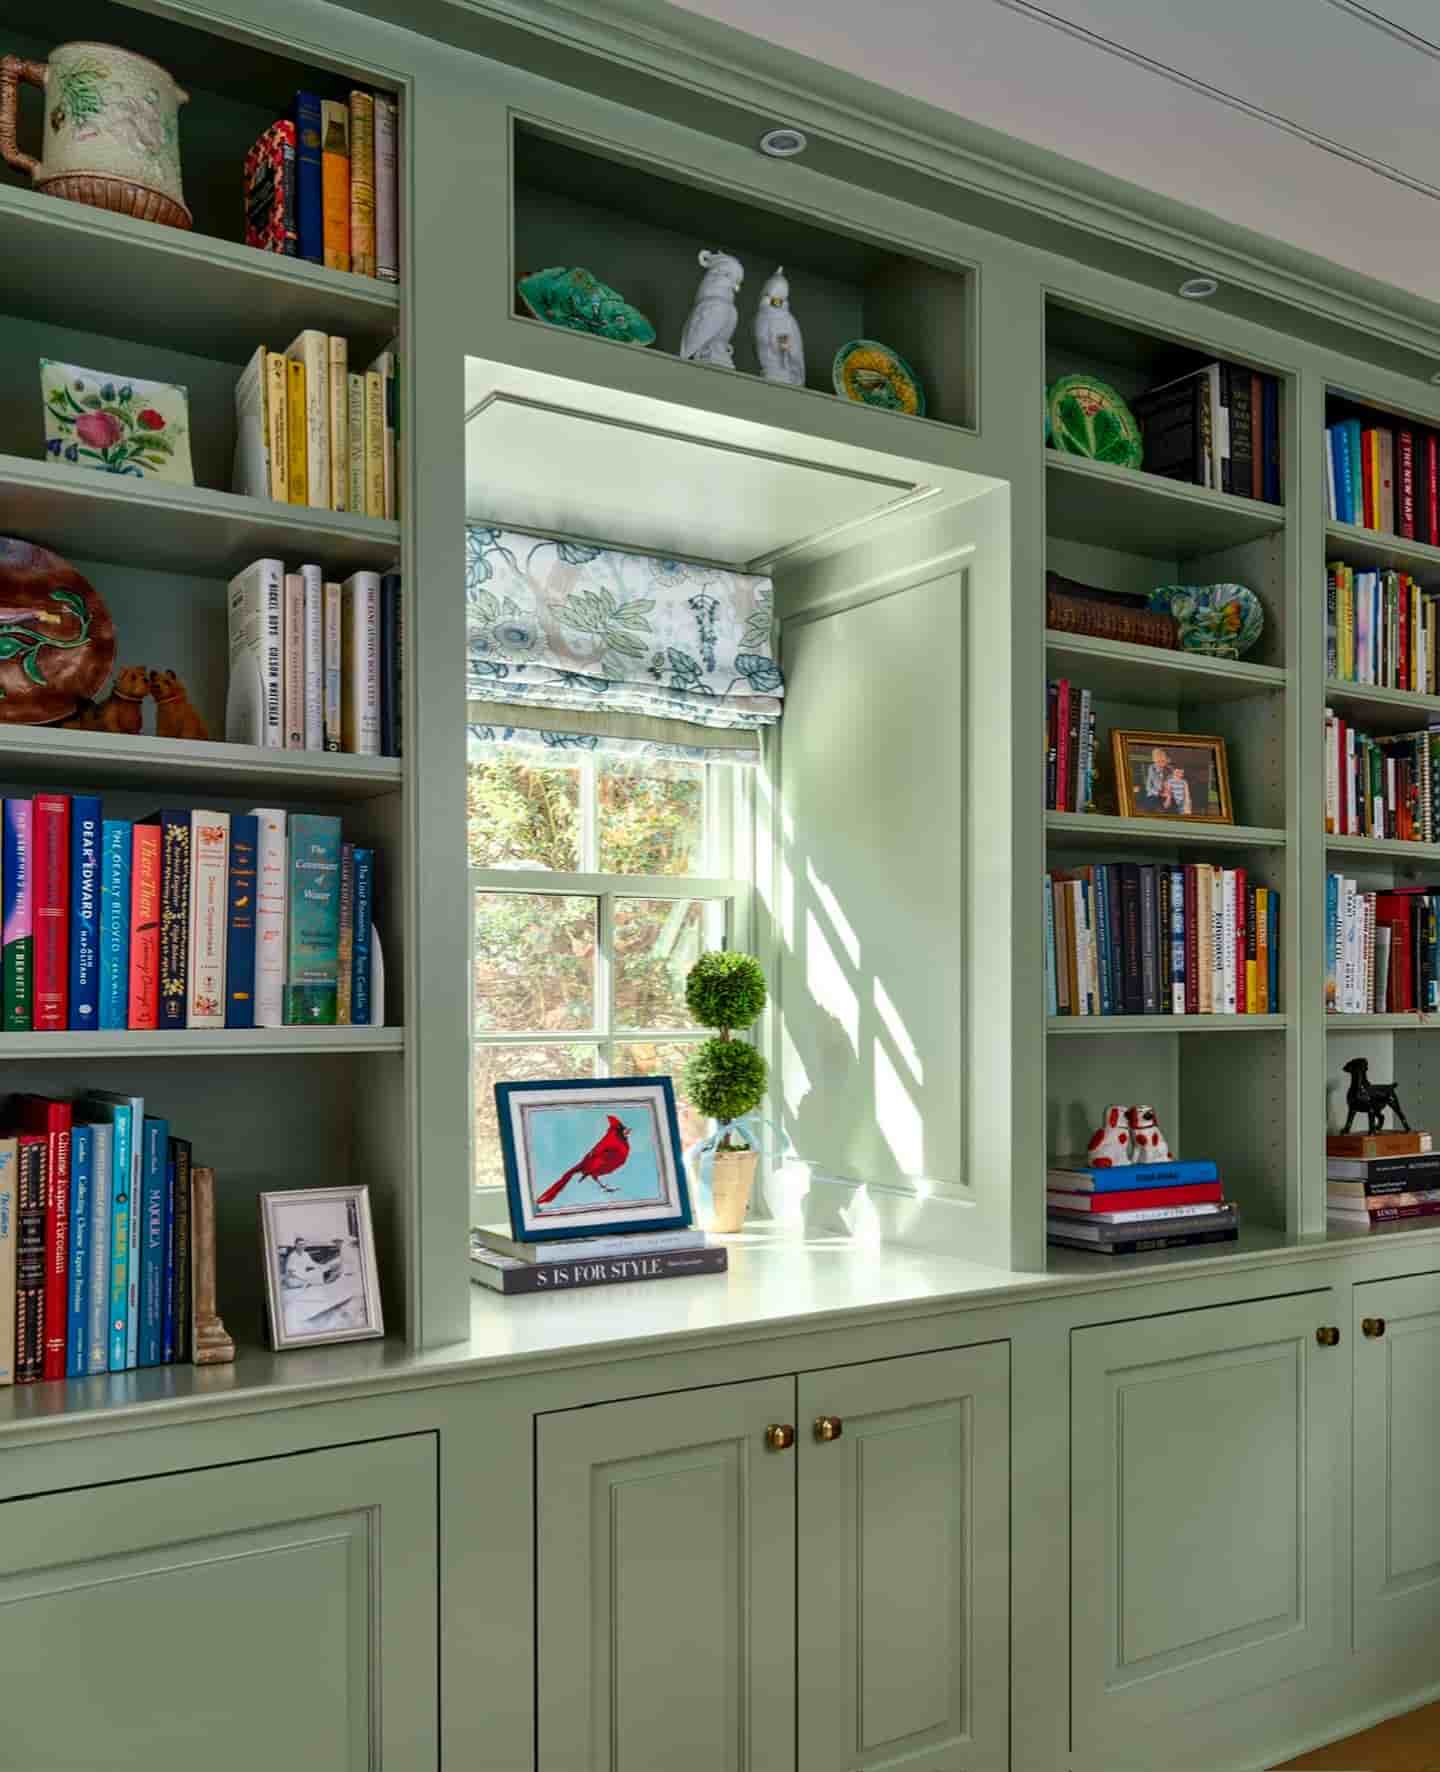
No two closets—or, honestly, homeowners—are alike. With built-in shelves, you can put your own style on full display (pun absolutely intended).
Paint them bright, keep them sleek and white, or use fun wallpaper at the back for a pop of color.
You have full control over the design. Go for deep shelves for chunky sweaters, or shallow ones for shoes and books. Mix open shelves with little cabinets for hiding messier stuff. If you want,
Assessing Closet Size and Layout
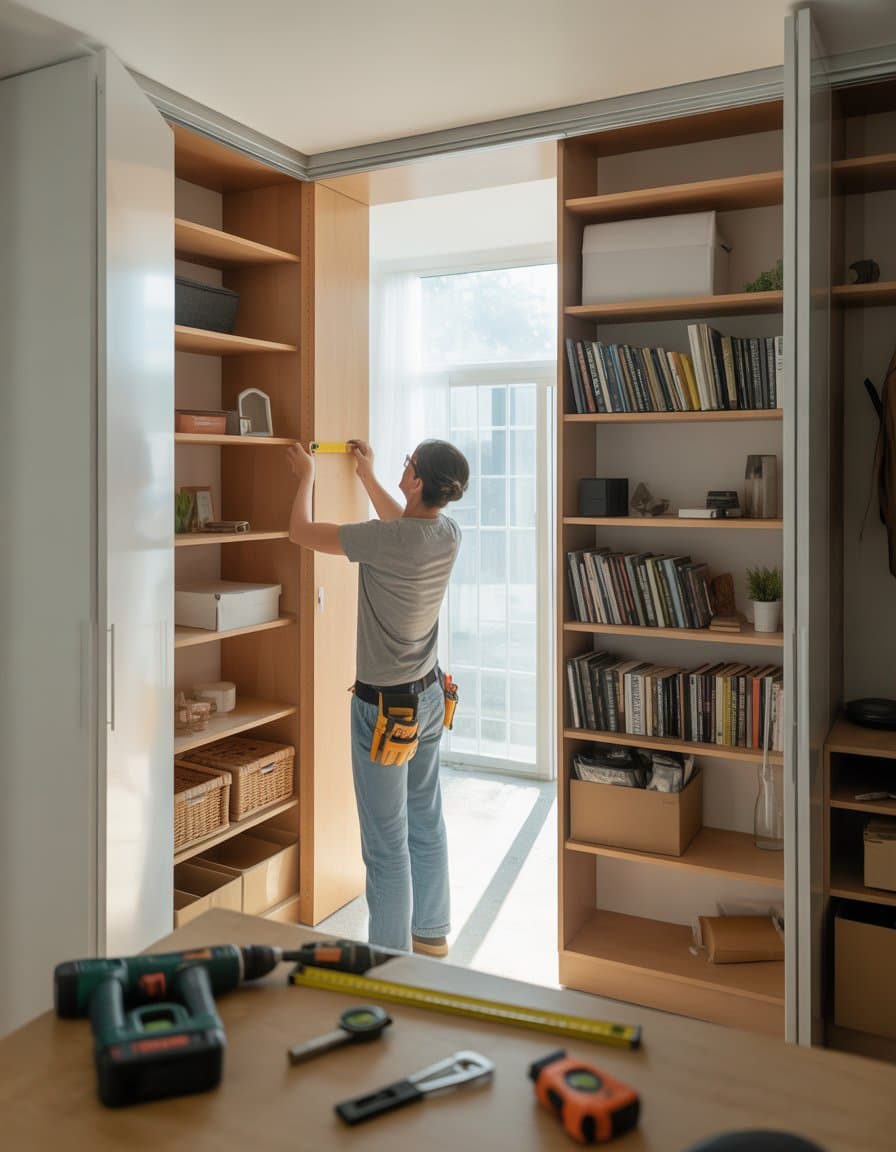
First things first: open those closet doors and take a good look. Get your tape measure, and jot down the height, width, and depth.
Check for weird corners, outlets, vents, wild wires, or anything else that might make your shelves cry for help later.
Next, sketch a quick layout—even if you draw like you’re using your non-dominant foot.
Decide how many shelves you need, how high each should be, and if you want cubbies or open space at the bottom. Groceries don’t store themselves, and neither do board games.
Choosing Materials and Finishes
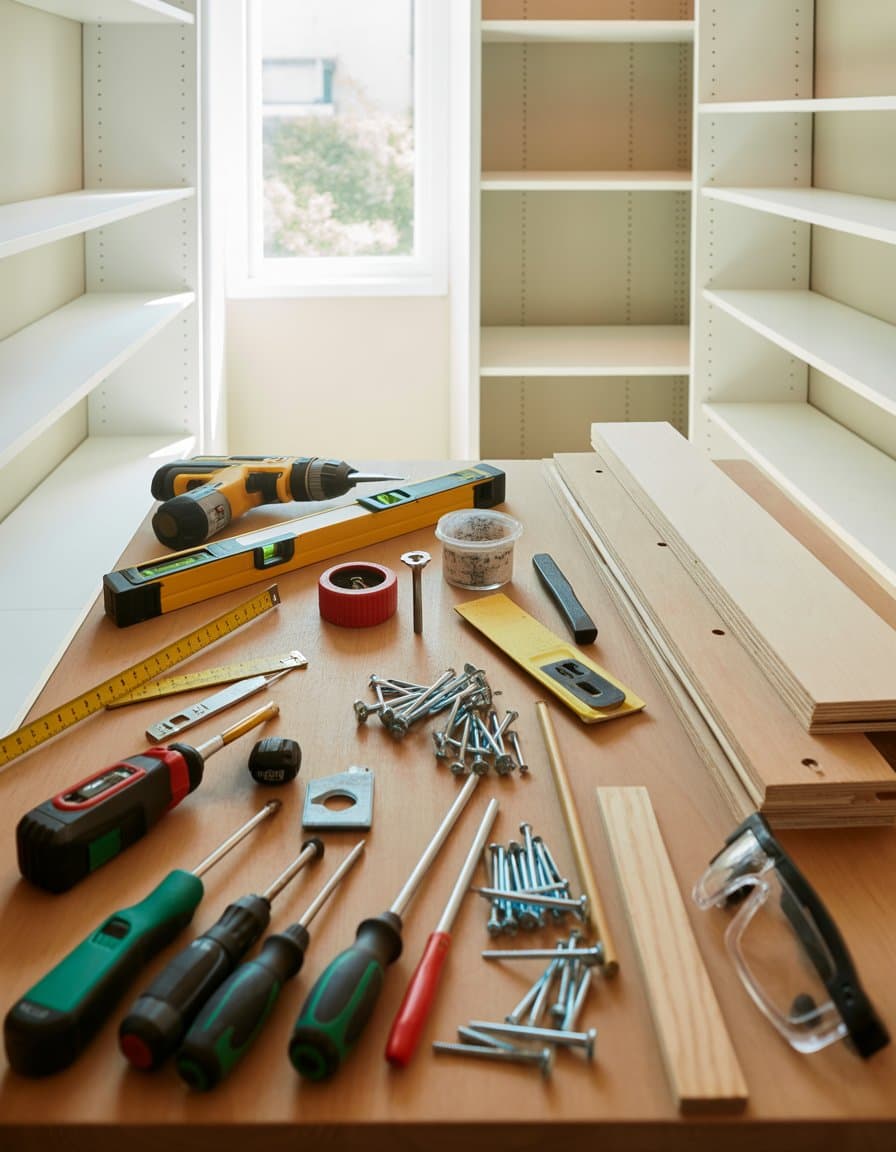
Your old closet deserves better than wobbly, mystery wood. Plywood is a solid choice—specifically, 3/4″ thick for most shelves.
It’s affordable, easy to work with, and won’t sag the moment you put something heavier than a sock on it.
If you want fancier, you can try solid wood or MDF, but don’t forget your wallet.
Common Materials Table
| Material | Pros | Cons |
|---|---|---|
| Plywood | Strong, easy to paint | Can splinter on edges |
| MDF | Smooth finish, cheap | Not water-resistant |
| Solid Wood | Durable, looks fancy | Expensive, needs sealing |
Budgeting Like a Pro (Or At Least Trying To)
Spreadsheet time! Write down every material you need—even the stuff you forgot last trip to the store.
Factor in plywood, paint, screws, brackets, trim, and a little extra for mistakes (because, well, life).
Check prices online and in-store. Don’t forget to add delivery or tool rental fees if you don’t own a saw that isn’t rusted shut.
Measuring Closet Dimensions
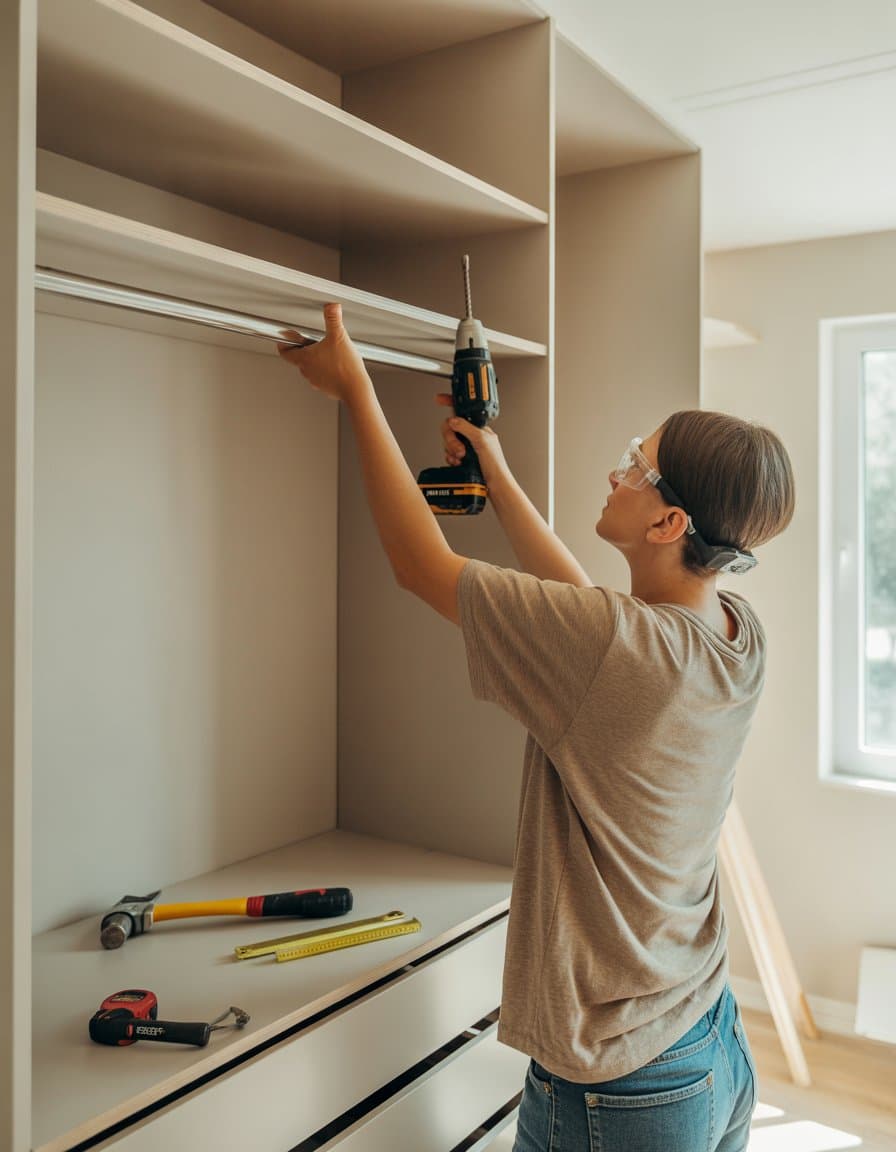
Grab your tape measure. Measure the closet width from wall to wall, left to right, at both the top and the bottom.
Old homes sometimes have surprise slants, so double-check you’re not building a shelf for a funhouse.
Next, measure the height from floor to ceiling on both sides. If you’re lucky, it’ll match!
Also, measure the depth from the back wall to the door opening so your shelves don’t stick out like a duckbill.
Marking Stud Locations
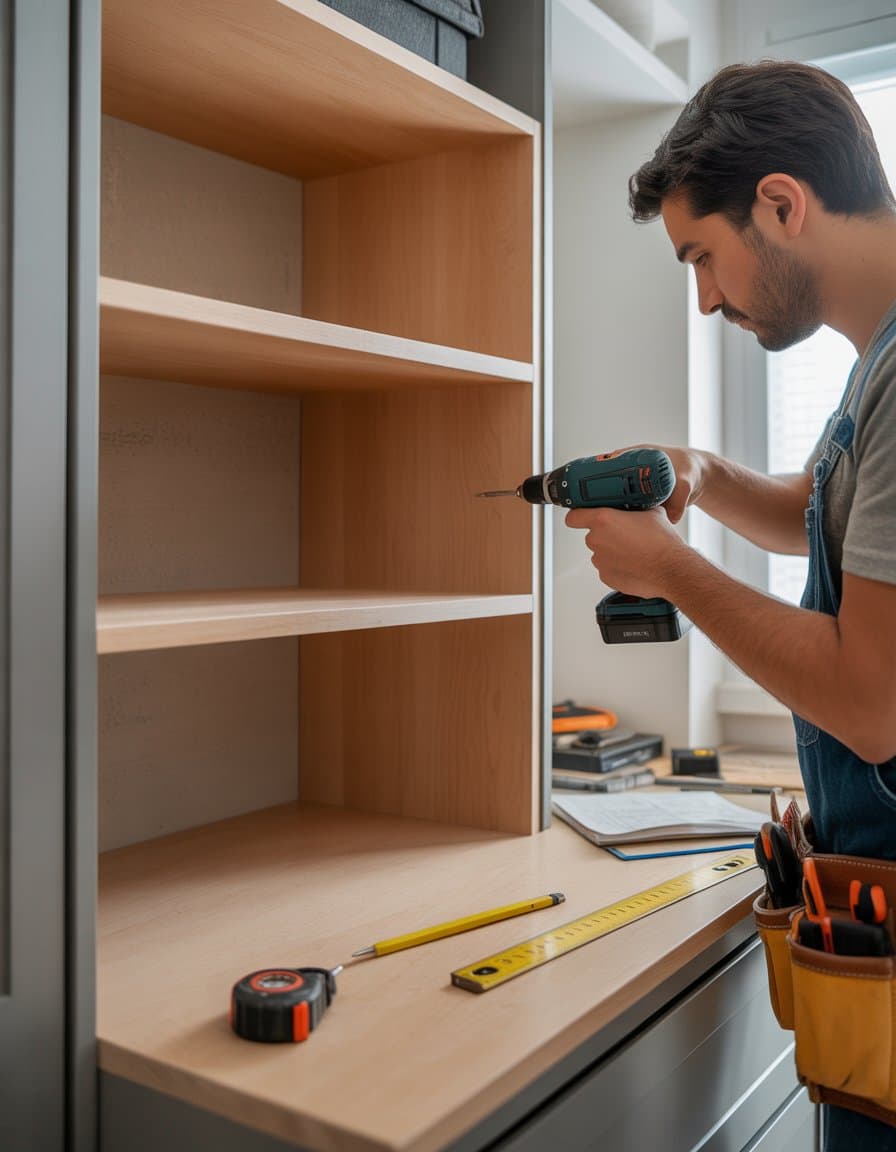
Once you have your closet’s size written down in every possible place, it’s time to go stud-hunting—with a stud finder, not compliments.
Run your stud finder slowly along the back and side walls to locate those hidden beams.
Mark each stud with painter’s tape or a pencil. No guessing; you don’t want to hang heavy shelves from just drywall.
Studs are usually 16 or 24 inches apart, but don’t trust math over a reliable gadget. Test each spot by tapping a small nail to double-check if you’ve actually hit solid wood.
Mark each one you find with a clear note—preferably something more helpful than just a happy face.
Essential Tools for Installation
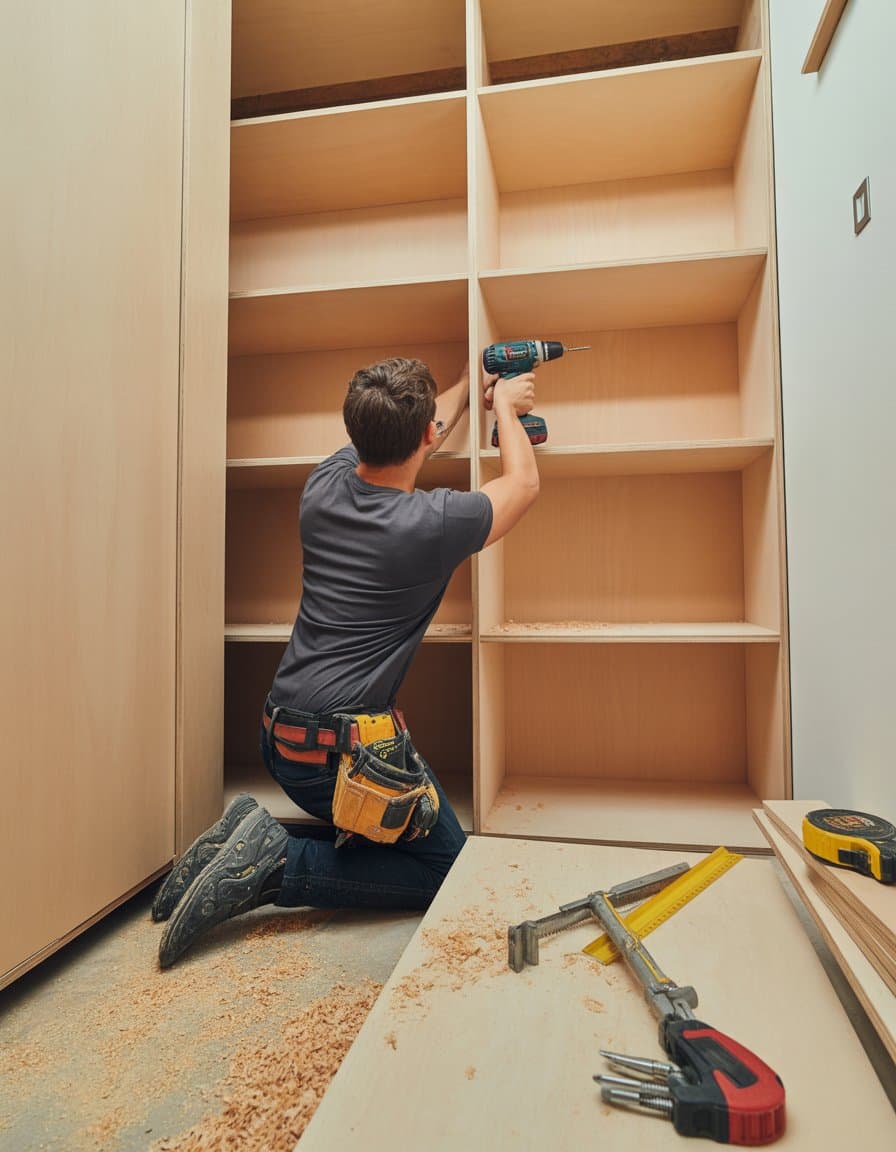
You’re going to want more than your basic set of screwdrivers. A circular saw will slice your plywood smoothly and make sure your shelves aren’t shaped like potato chips.
For tight corners and precise cuts, you’ll need an oscillating multi-tool—think of it as the Swiss Army knife of the tool world.
A stud finder is not just for people who want to find themselves on a good day. Seriously, it helps you locate the wall’s studs so your shelves don’t crash down next time you stack your bowling trophies.
A cordless nail gun speeds things up so you’re not hammering until your wrist begs for mercy, and a trusty drill/driver handles everything from pilot holes to screwing in fasteners.
Don’t forget a level to avoid slanted shelves (books sliding off are way less dramatic than you think), and grab some measuring tape unless you prefer to eyeball it and hope for the best.
Recommended Materials for Durability
If you want shelves that don’t sag like an overused hammock, say hello to 3/4-inch plywood.
This is sturdy enough for most household storage and doesn’t warp with a little weight.
Pair the wood with wood screws—don’t use drywall screws unless you like wobbly shelves.
Shelf brackets or support cleats give extra backbone to your work. If you’re making adjustable shelves, get a shelf pin jig so you’re not playing guessing games with hole placement.
Removing Closet Doors and Shelves
Grab your tools and, if you feel fancy, your favorite demolition playlist. First, clear out everything in the closet—clothes, shoes, and that mysterious box from 2014.
Unhinge the doors using a screwdriver or drill. Most doors pop off pretty easily, but if yours fight back, don’t take it personally.
Helpfully, some closets have tracks or bifold doors you’ll need to unscrew and lift out. If you find sliding doors, you might need to lift them off their tracks after unscrewing a bottom guide.
Shelves and rods are usually attached with brackets and screws. Unscrew the fasteners and remove the brackets.
If the shelves are stuck, gently tap them with a rubber mallet to loosen them.
Preparing Walls for Built-In Shelving
Start by removing anchors, nails, and rogue brackets left in the walls. Use pliers for stubborn pieces, but try not to take out chunks of drywall—no one likes surprise holes.
Patrol the wall for dings, holes, or scratches. Patch up any damage with spackle or joint compound.
For tiny nail holes, a dab usually does the job. For anything bigger than a quarter, fill completely, smooth, and let it dry.
Sand everything flush so your shelves sit flat—no one wants wobbly new shelves.
Then, wipe down the entire area with a damp cloth. If you want your built-in shelves to feel custom, now is also a great time to add a fresh coat of paint.
You’ll have a smoother space to work with and your future self will thank you.
Cutting Plywood to Size
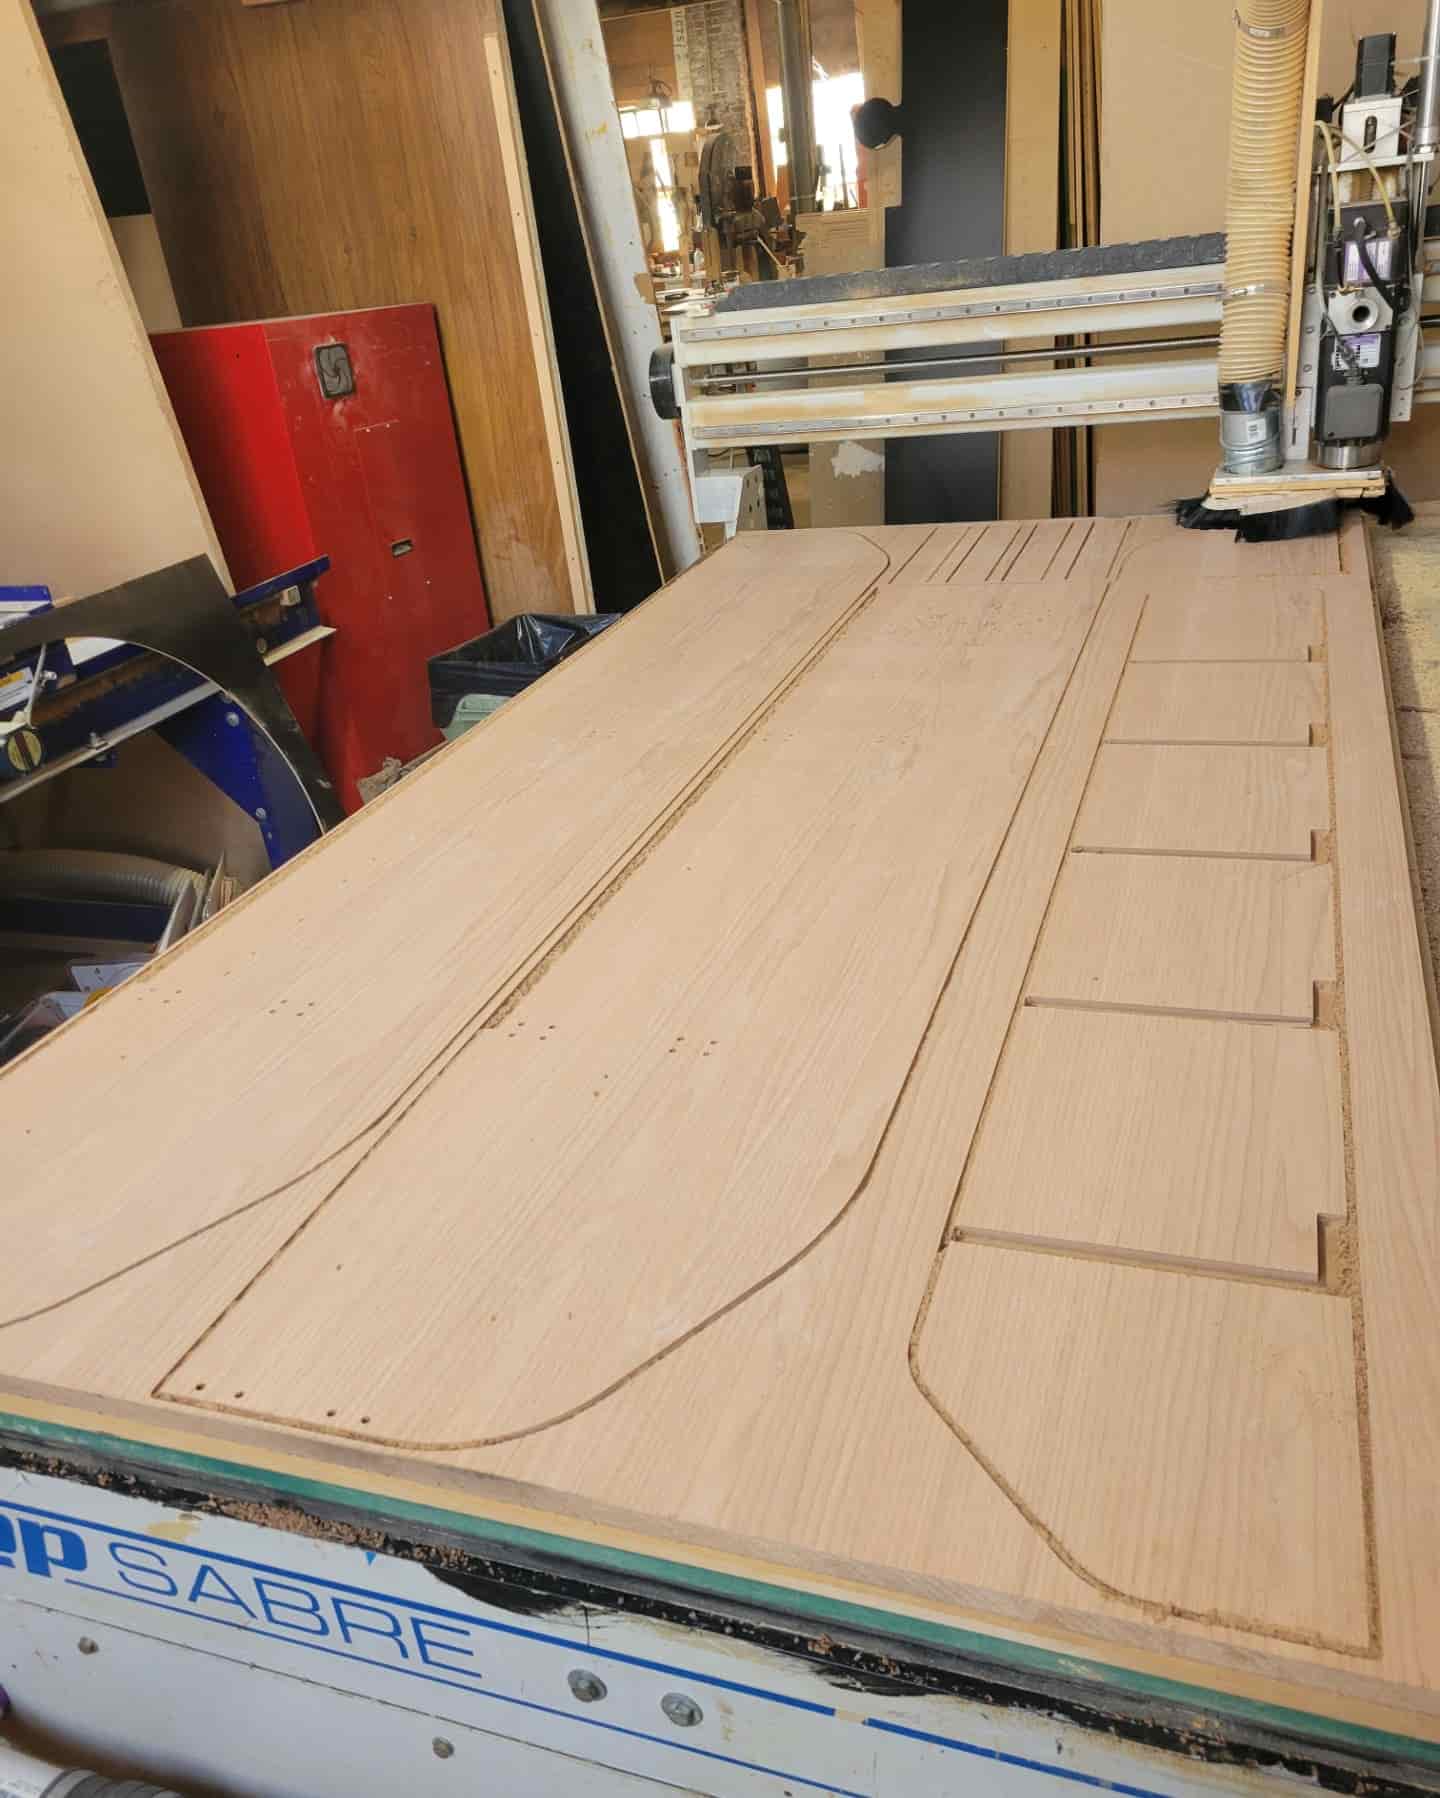
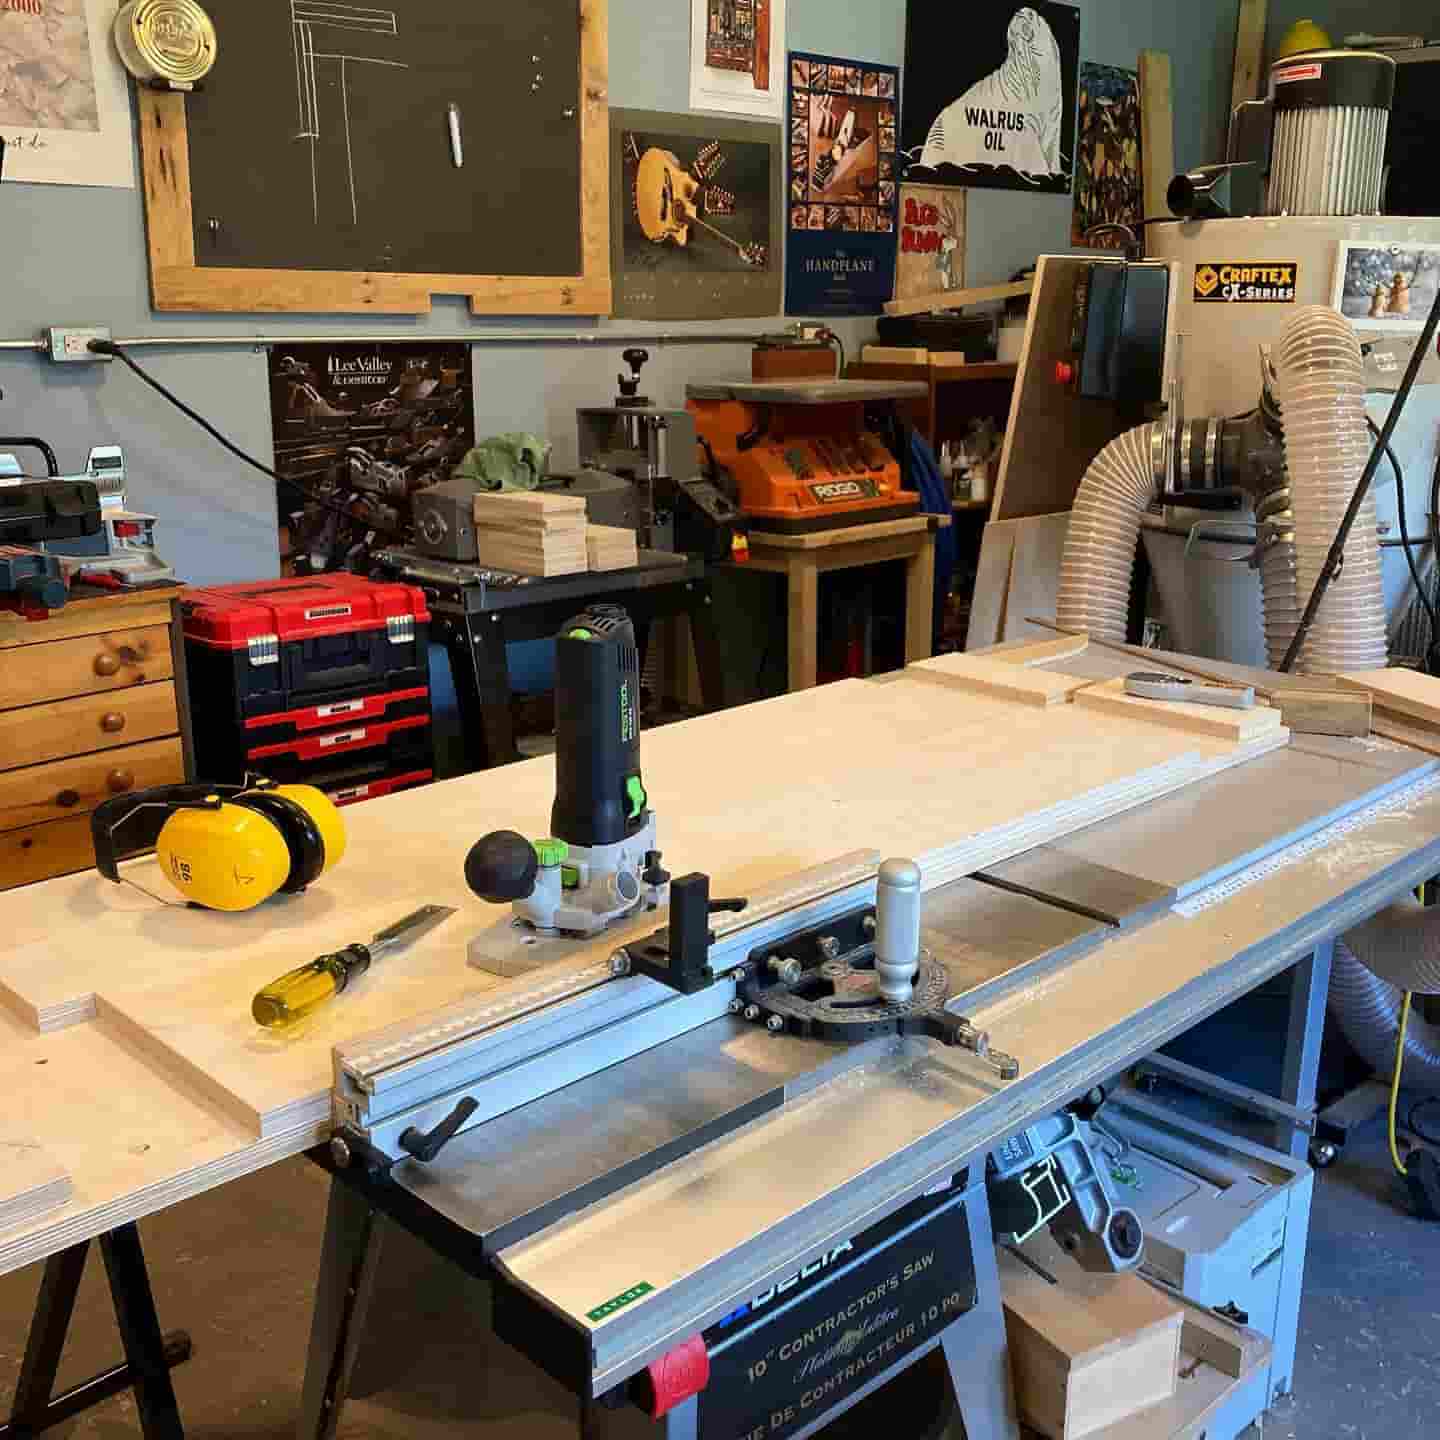
Grab your measuring tape and find your inner geometry teacher. Measure every wall inside the closet.
Measure again. Then once more, just to be sure—plywood rarely forgives sloppy math.
Cut your plywood sheets to size with a circular saw or table saw. A straight edge guide can help keep the saw from taking creative detours.
Edge Treatment and Finishing Touches
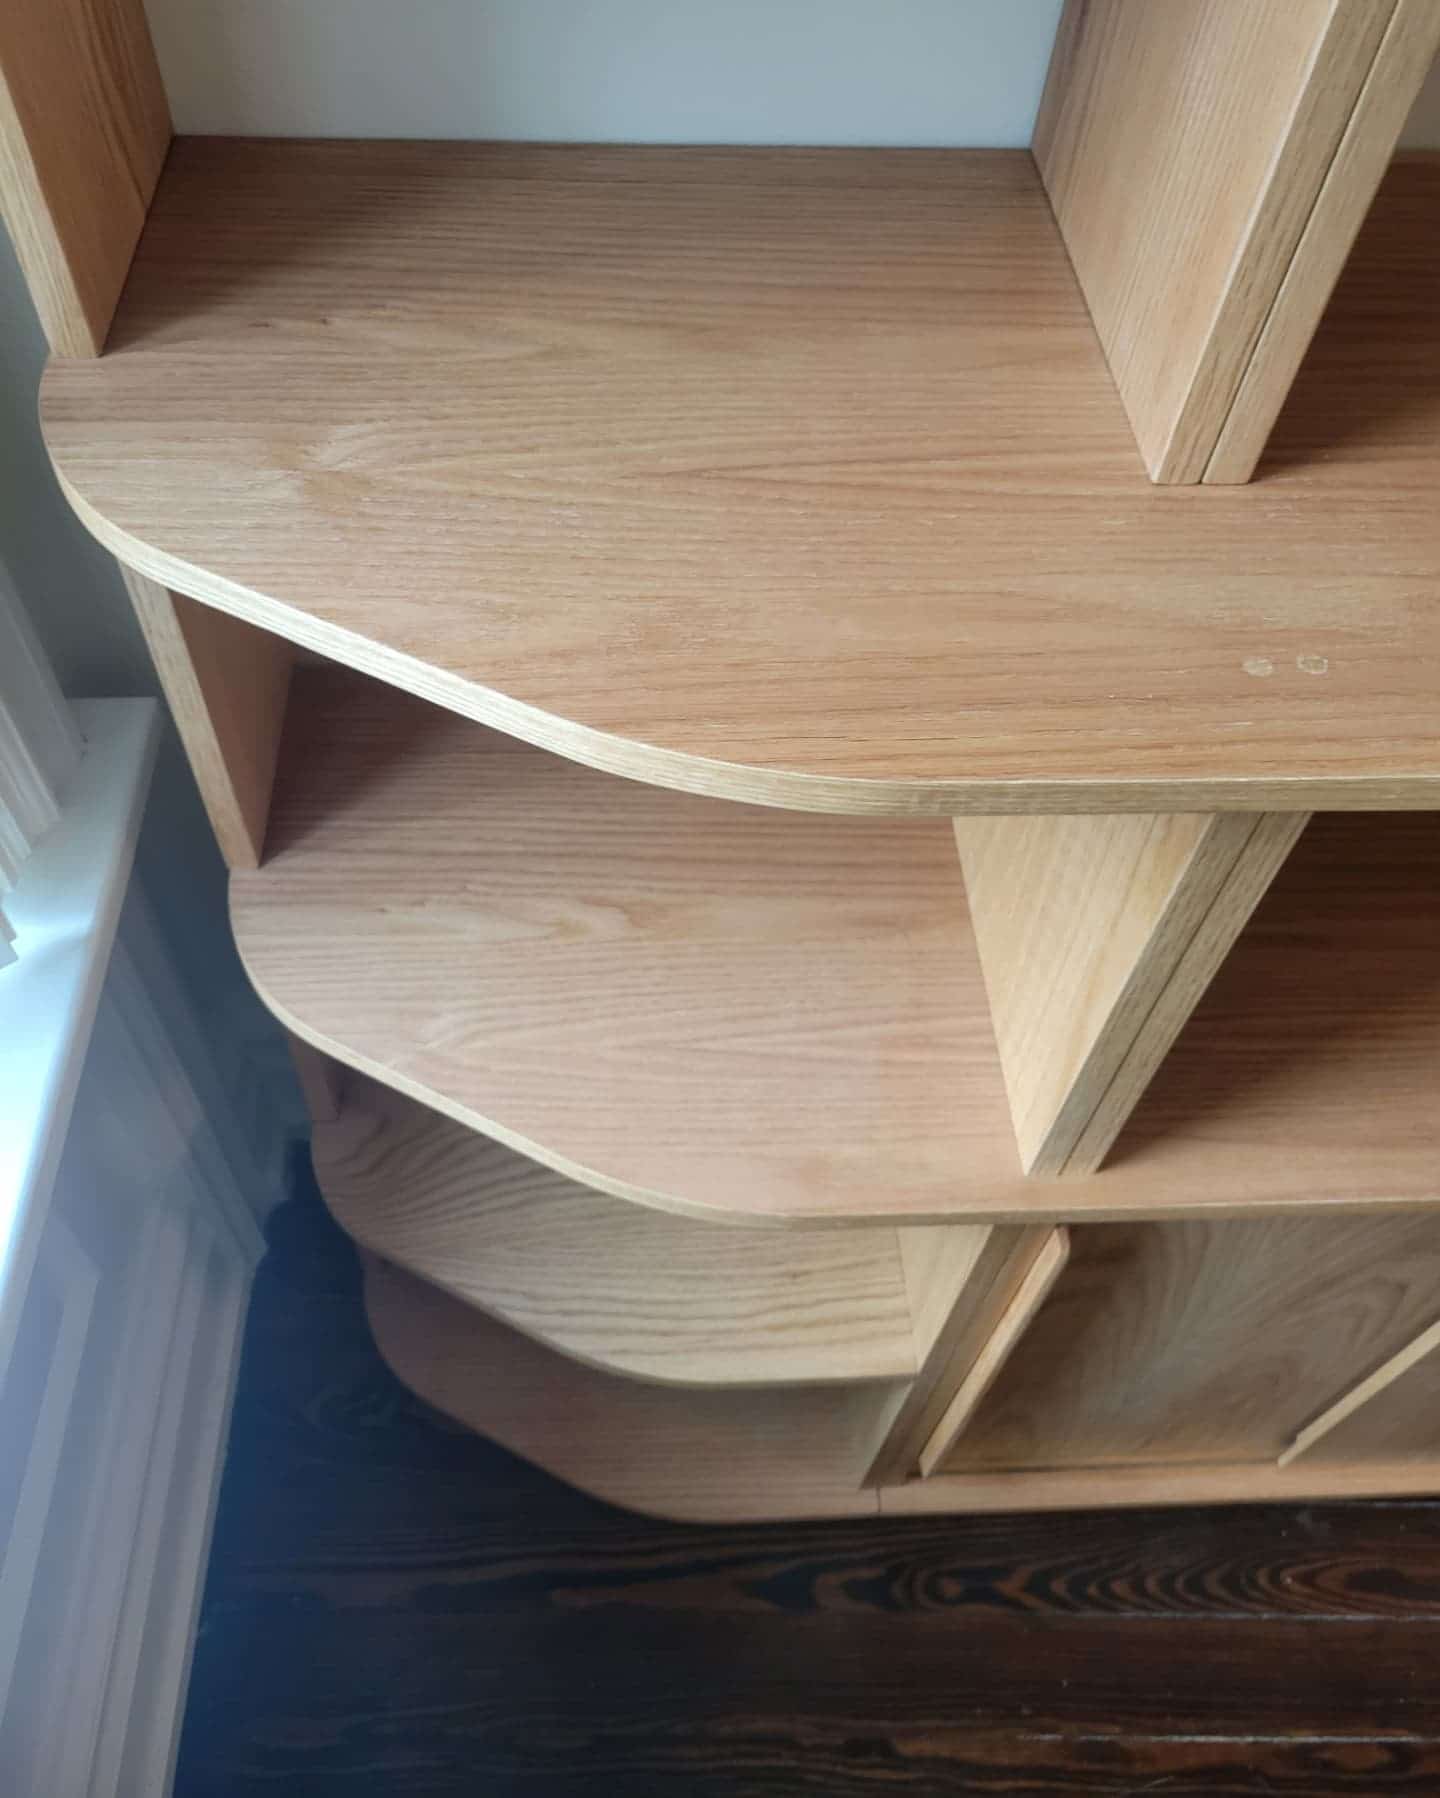
Bare plywood edges are the telltale sign of a DIY job, and not always in a charming way.
To give your shelves a pro look, add edge banding using iron-on strips or attach thin strips of wood with glue for a chunkier edge.
Lightly sand all exposed edges to smooth splinters and boost the chances of avoiding future bandage needs.
Next, dust off the shelves, then apply primer and paint or wood stain for color and protection. Don’t rush the drying time—sticky shelves aren’t fun for anybody.
Securing Supports to Studs
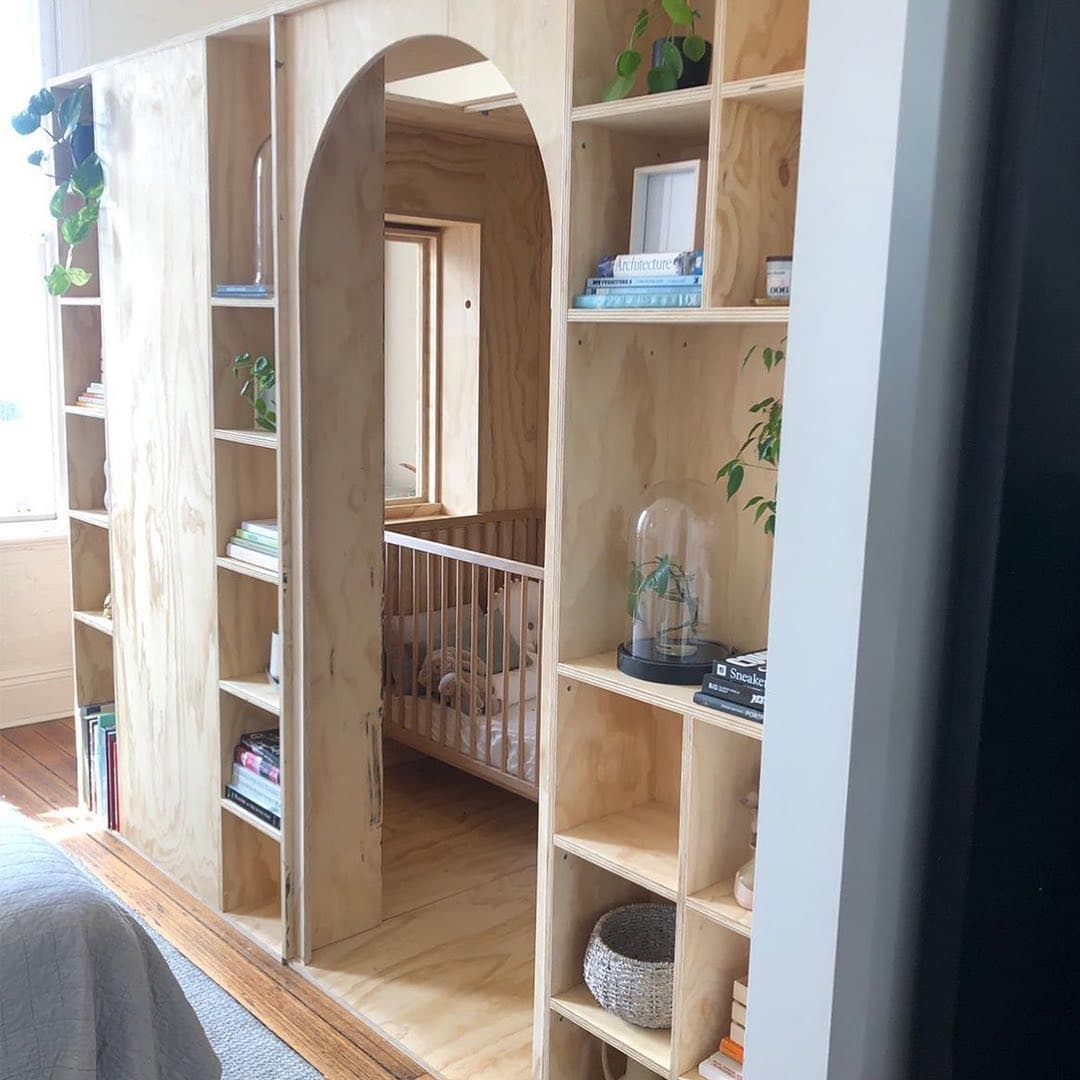
First up, find those elusive wall studs. A stud finder is magic for this, but if you don’t have one, knock along the wall and listen for the solid thud.
Mark these spots. No, seriously—use a pencil. Guesswork leads to disaster.
Cut your support boards to the length you need for each side of your closet. When you attach them, use wood screws for extra strength.
Screws hold better than nails, especially if you plan on stacking heavy stuff. Space the screws about every 12–16 inches for best results.
If you want extra credit (and less wrist pain), a nail gun can help pin the supports in place before screwing them in. Double-check everything with a level.
Mounting Shelves
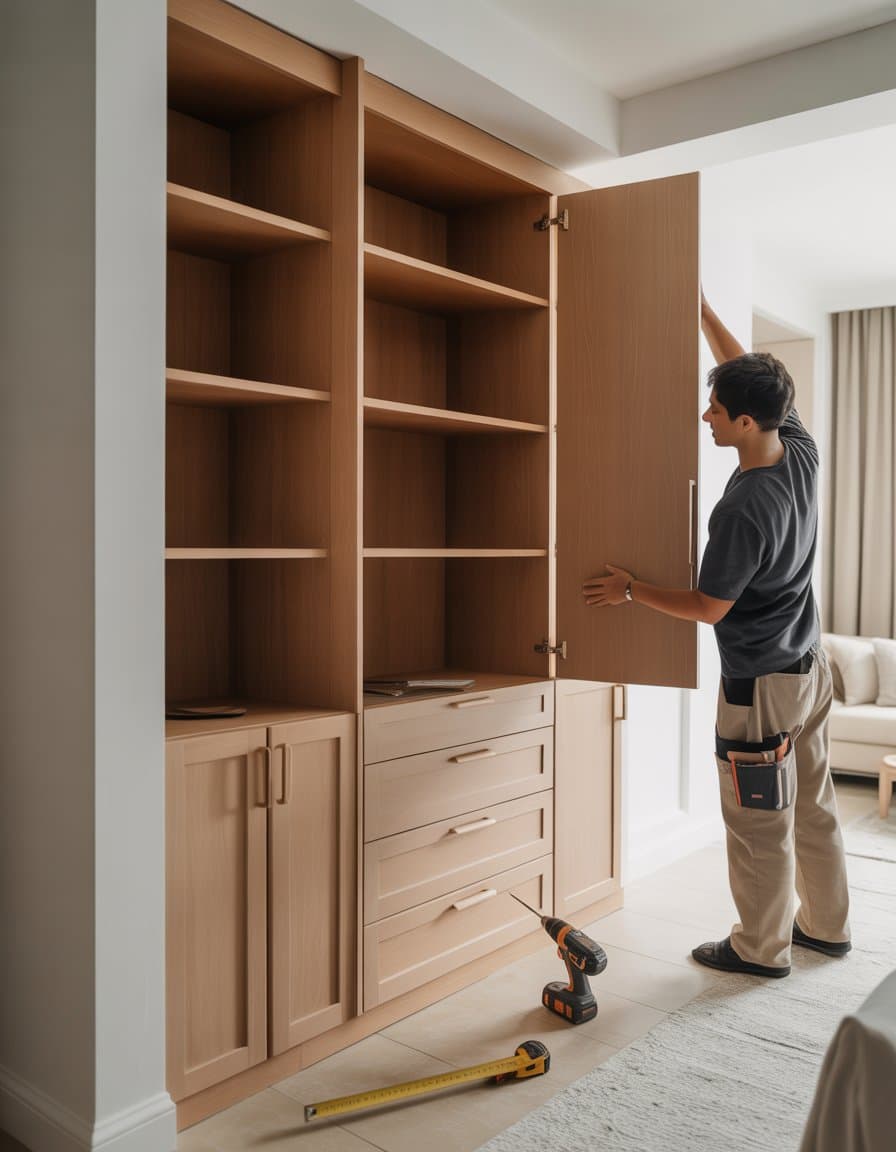
Time to actually install those shelves! Cut them to fit your closet, and check each piece for a snug fit.
If you want that floating shelves look, keep those supports tucked under or even hidden behind the shelf.
Once you’re happy with the fit, rest the shelf on the supports and screw them down from above.
Use 1½ to 2-inch wood screws, spaced every foot or so. If you’re feeling a bit wild, you can counter-sink the screws and fill the holes with wood filler for a sleek finish.
Choosing Hardware That Won’t Fall Off
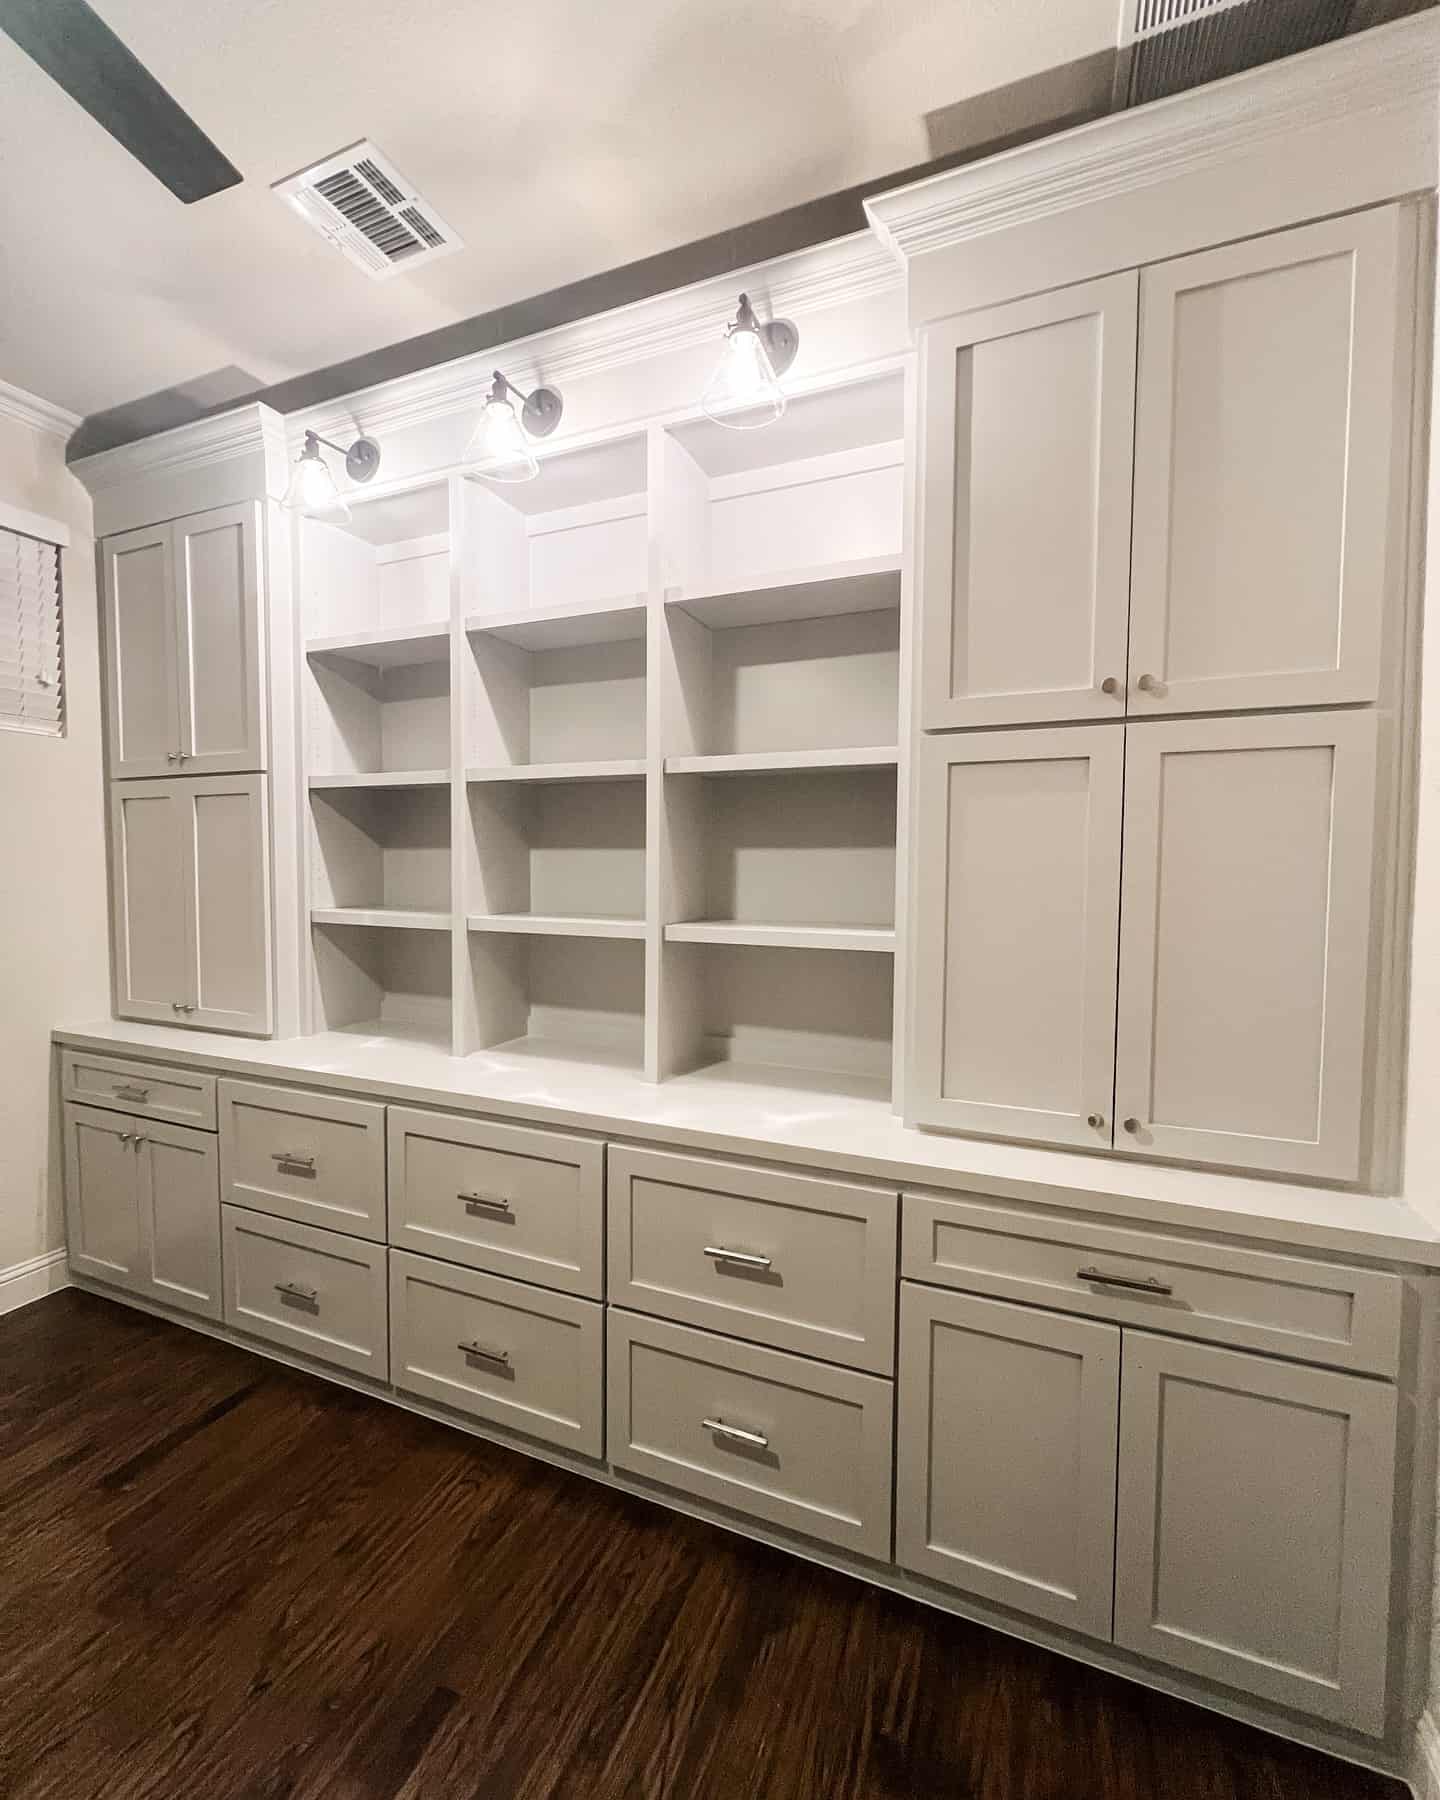
You need handles and drawer pulls that can stand up to daily use (and sudden fits of rage when you can’t find your favorite socks).
Look for solid metal hardware, even if the rest of your closet is made from discount plywood. If you want your cabinets to feel expensive, pick finishes like satin nickel, matte black, or brass.
Screws matter. Always use the right size—even with great hardware, undersized screws lead to wobbly drawer pulls.
Double-check the size before drilling any holes (trust me, it’s easier than patching mistakes).
Cabinet doors can use soft-close hinges, so your midnight snack raids don’t wake up the whole house.
For drawers, ball bearing slides are smooth and make you feel like a grown-up every time you open them.
Applying Joint Compound for a Seamless Finish
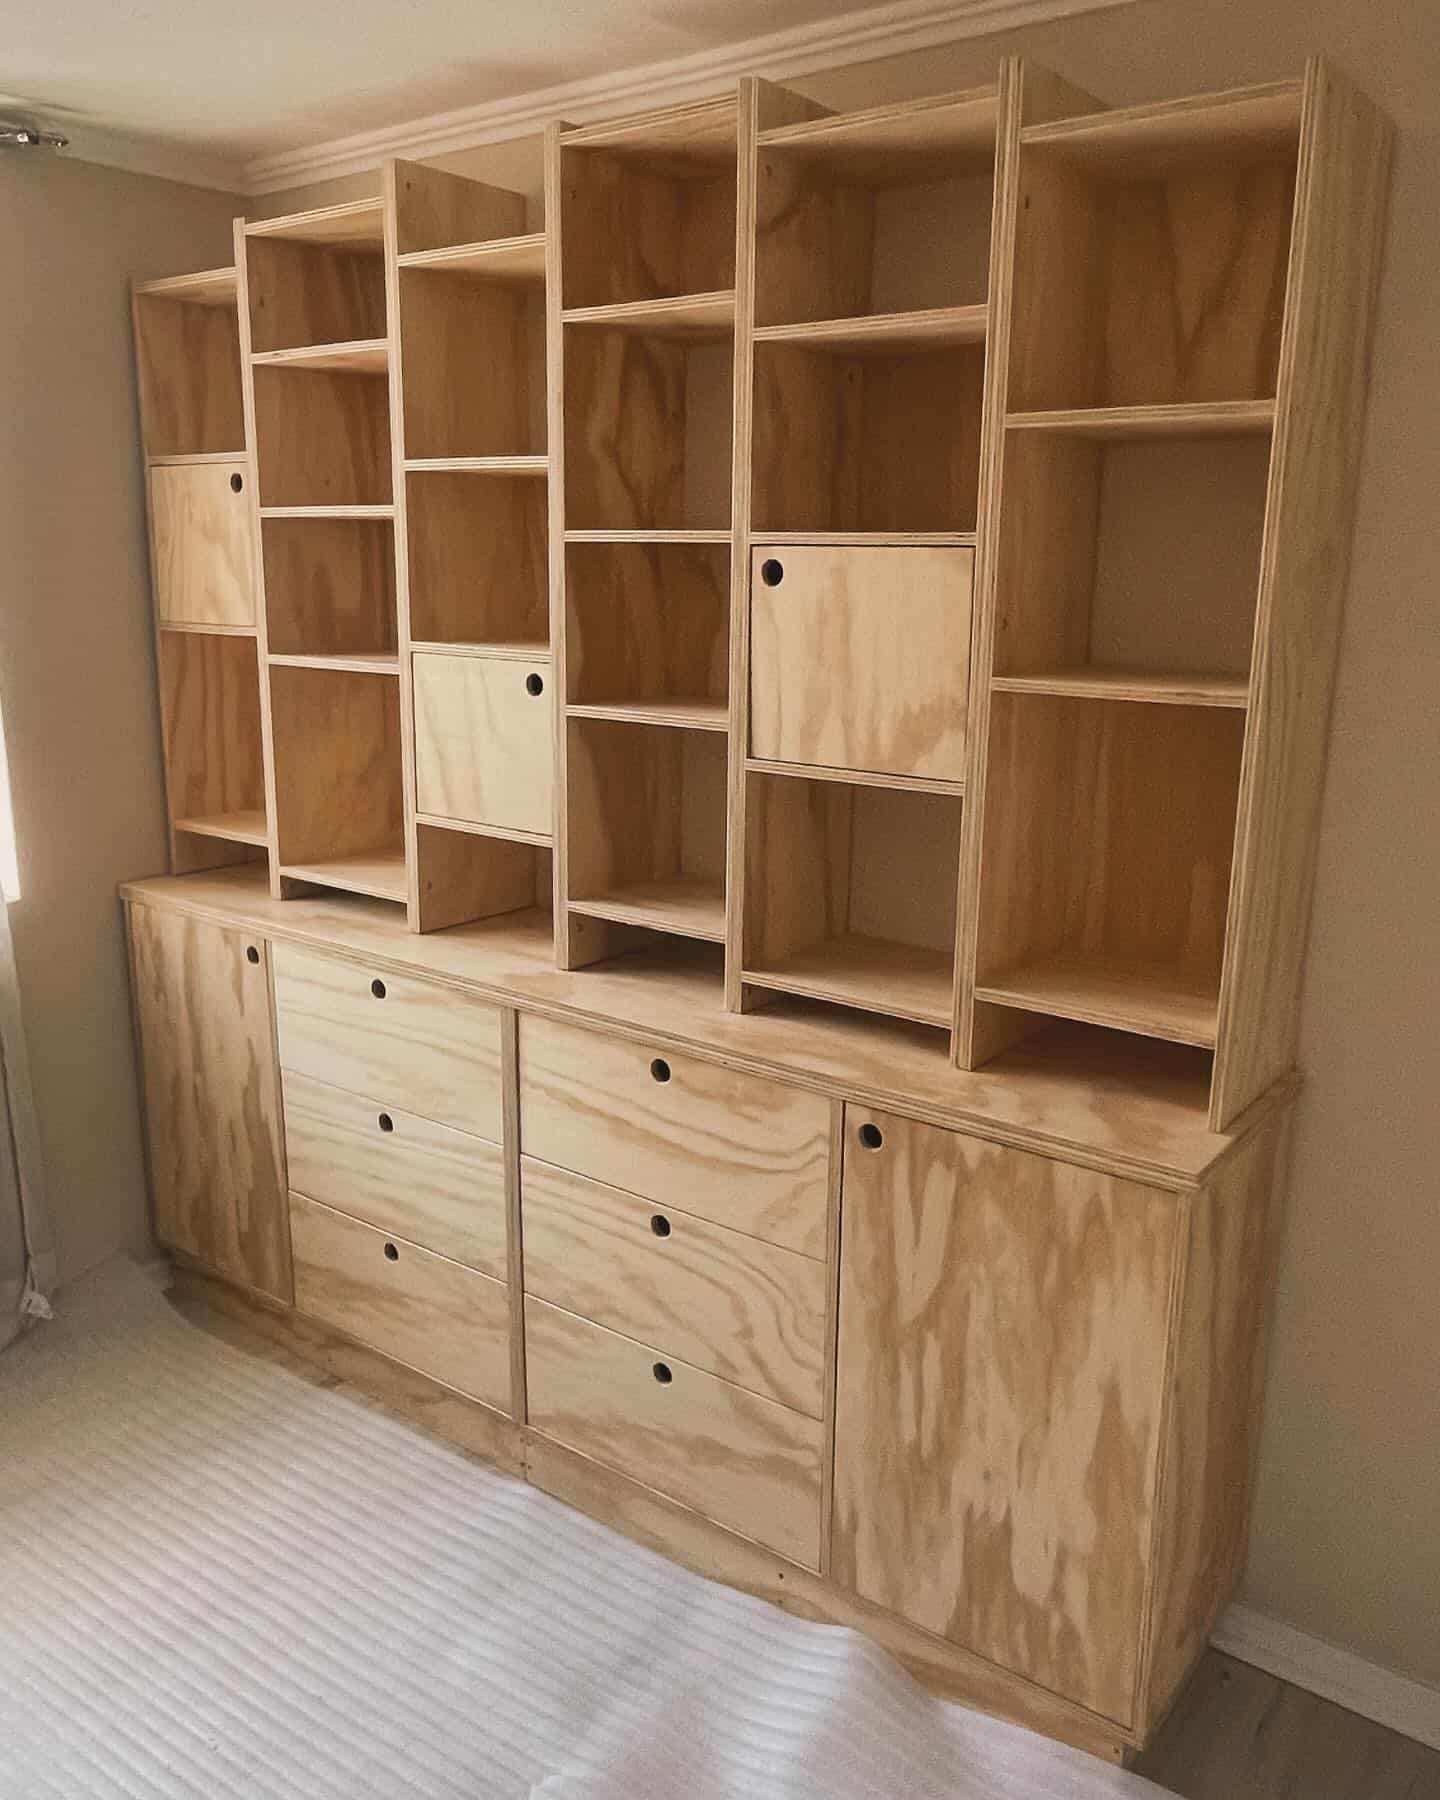
Grab some joint compound (the fancy term for “stuff that makes walls smooth”). Apply it on all the seams, screw heads, and corners where your shelves meet the wall.
Use a putty knife. Spread the compound thin. Thicker isn’t always better, kind of like gravy. Let it dry, then sand it smooth. Wear a mask, unless you want to sneeze drywall dust for days.
For best results, repeat the process. Fill, dry, sand, repeat. Your goal is to have no bumps or lines.
Painting and Decorating Your Shelves
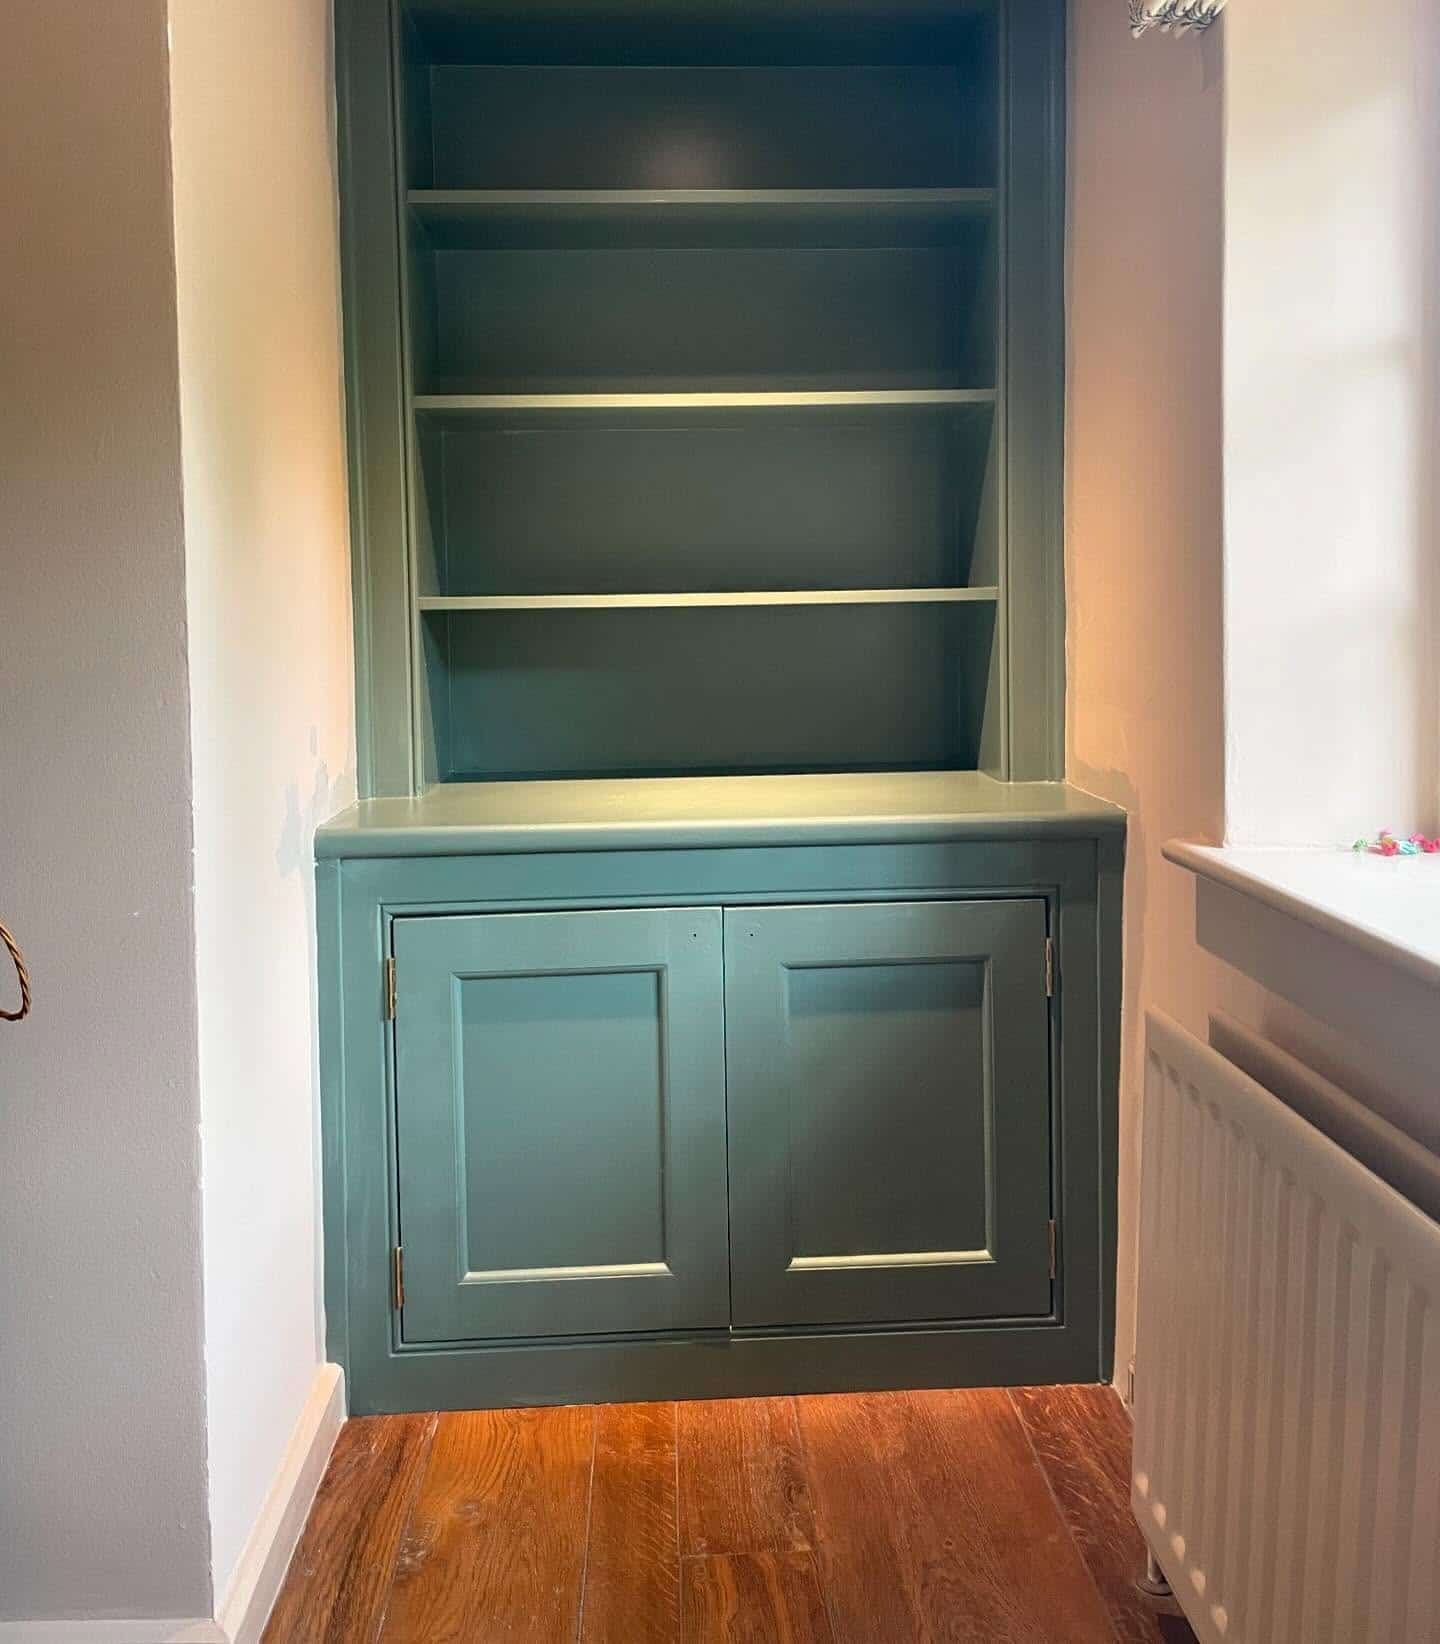
First, use a primer to help the paint stick, especially if your shelves are raw wood or patched with joint compound.
This stops your paint from soaking in and makes the finish look more even.
Choose a color that matches or complements the room. Use semi-gloss or satin paint for shelves because they’re easier to clean when you inevitably spill something.
Apply at least two coats, letting each one dry fully unless you want fingerprints forever.
Maintenance and Long-Term Care for Your Built-In Shelves
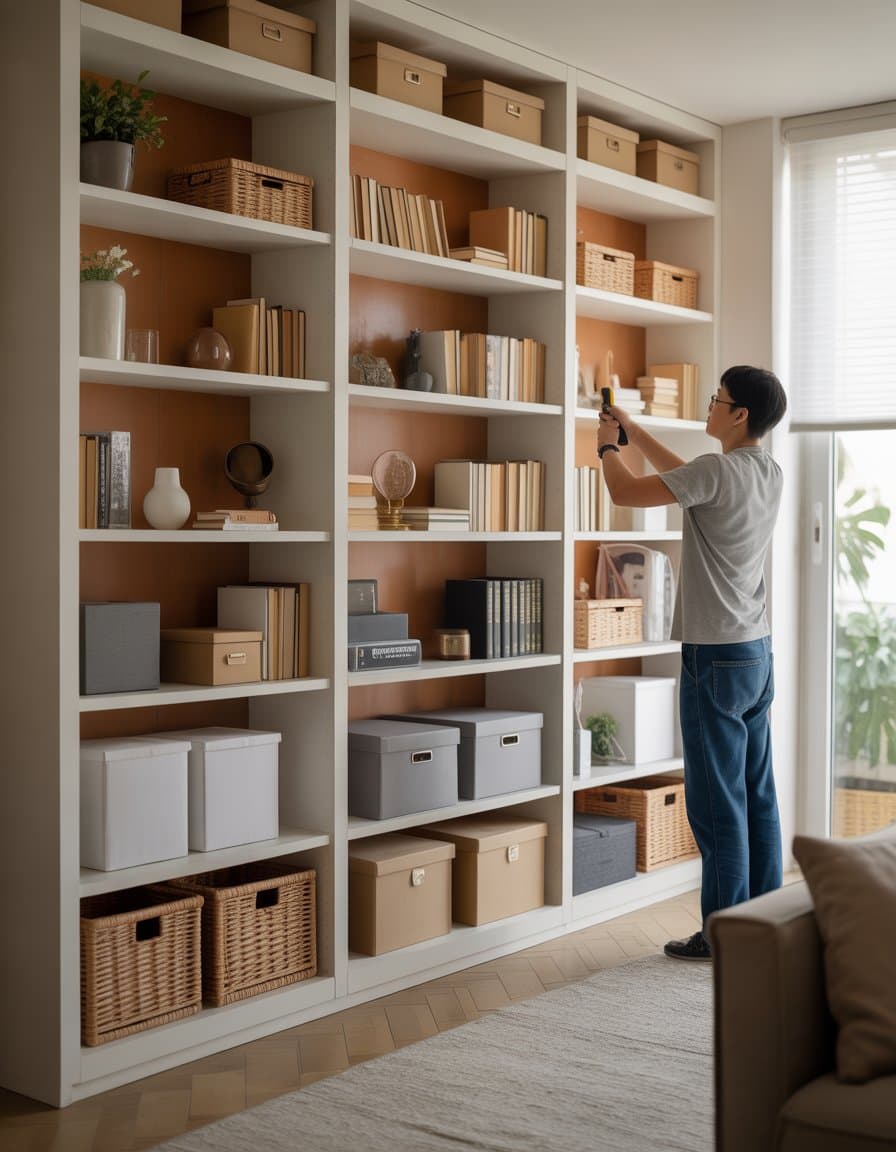
Built-in shelves are like new pets: they need a little care to stay cute and functional.
With the right cleaning routine and a “handy” attitude about repairs, your shelves and cabinets will stay sturdy and stylish for years.
Dust is sneaky. It loves to throw parties on your shelves when you’re not looking. Grab a microfiber cloth weekly and give all surfaces a wipe down.
Microfiber catches dust better than old T-shirts, and it won’t scratch the paint or finish.
If you store books, rotate them sometimes so the spines all sunbathe evenly. Shelves near kitchens may get sticky—use a gentle cleaner and avoid heavy water, unless you want to host a soggy shelf contest.
For glass shelves, a little vinegar and water can make them shine.