Marble is a stunning choice for home surfaces, but it can be a real drama queen when it comes to stains. You’ve probably seen that awful red wine spill or that mysterious coffee ring, and now your beautiful marble looks like it has been through a food fight.
You might think stains are the end of the world, but with the right techniques, you can wipe away evidence of your latest mishap.
So, grab your supplies and a little elbow grease. You’re about to become a marble cleaning expert.
Understanding Marble and Its Quirks
Marble is a type of rock that comes from limestone. When limestone gets a high-temperature makeover, it transforms into marble, full of calcium carbonate.
This process gives it stunning colors and patterns. Who knew a rock could be so stylish?
It’s beautiful but a bit sensitive. The characteristic veining can make your floors or countertops pop, but that gorgeous surface can easily be dulled by neglect.
The Science Behind Marble Stains

Understanding how these pesky marks appear is key to your cleaning success.
Types of Marble Stains
Marble stains come in various flavors, just like ice cream, but less tasty. Here are the main types:
- Oil Stains: These sneaky little culprits often come from cooking oils or even body lotion. They tend to be dark and can spread out, making them look like a crime scene on your countertop.
- Water Stains: Ever left a glass on your lovely marble? Water stains can be clear but annoying. They often appear as cloudy patches, making your marble look less than pristine.
- Yellow Stains: Yellow stains are usually from rust or minerals in the stone. If your marble is near metal, you may find these bright surprises popping up.
How Stains Latch Onto Marble
Now, how do these stains get so cozy on your marble? It’s all about marble’s porous nature. Think of marble as a sponge.
When spills happen (and let’s be honest, they often do), substances can seep into the tiny holes in the stone.
Essential Tools and Products for Cleaning Marble
When picking cleaning products for your marble, it’s best to go for gentle options. Think of mild dish soap or neutral cleaners that won’t cause a chemistry meltdown on your beautiful surfaces.
Recommended products:
- Mild liquid dishwashing detergent: Mix this with warm water for a gentle clean.
- pH-neutral cleaners: They clean well without causing harm.
Avoid anything acidic, like vinegar or lemon juice—they’re like a bad date that just won’t quit. The right cleaner makes all the difference in keeping your marble happy.
DIY vs Store-Bought Marble Cleaning Supplies
Feeling crafty? You can whip up effective DIY cleaning supplies without needing a chemistry degree. Just mix baking soda and water to create a safe scrub for stains and messes.
On the other hand, if you prefer the store route, there are excellent marble polishing products that can do the job. Many brands offer specialized marble cleaners that are specifically made for your precious stone.
Store-bought options:
- Bar Keepers Friend: Great for tough stains.
- Magic Erasers: These little wonders can tackle surface stains with ease.
Prepping Your Marble for Stain Removal: Safety First!
Before you tackle those stubborn stains, it’s important to get your marble ready. A little bit of prep work can save you from potential mishaps.

Protecting Adjacent Surfaces
You’re ready to clean, but wait! Those nearby surfaces need some love too. Cover your counters, walls, and any nearby furniture with old rags or towels.
This will protect them from splashes and chemicals that could cause damage.
Consider using a plastic drop cloth if you’re feeling fancy. Just don’t blame me if you trip over it later!
Remember, marble is sensitive to many cleaners. Be extra careful around edges and corners where stains might sneak out.
Testing Cleaners in Small Areas
Now comes the moment of truth! You’re eyeing that cleaner, but hold on. It’s time for a little experiment.
Choose a hidden spot on your marble and apply the cleaner there first. It’s like a first date—better to test the waters before diving in!
Use a small amount and observe for a few minutes. No bubbling, discoloration, or weird textures?
You’re golden! If drama does unfold, rest assured you’ve saved your beautiful marble from disaster.
Step-by-Step Guide to Removing Stains from Marble
Whether you’re dealing with food spills or pesky marks, these methods will help you tackle those stains head-on, making your marble shine like the star it is.
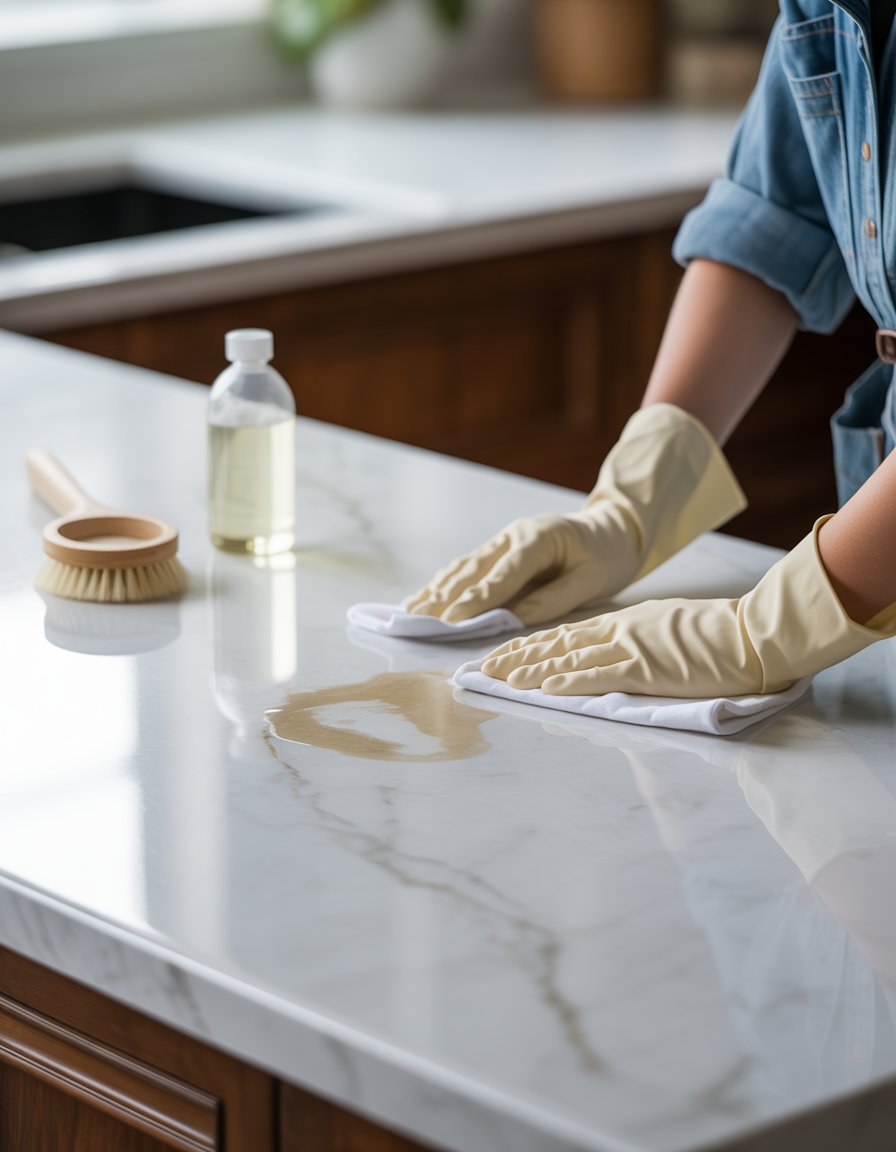
Gentle Wipe-Downs for Fresh Stains
First things first, if you’ve just spilled something, don’t panic. Grab a clean, soft cloth and give it a gentle wipe.
Lightly dampen your cloth with warm water and wipe the area. Avoid scrubbing like it’s a sports competition; marble is delicate, and aggression can lead to scratches.
If water alone isn’t cutting it, mix a few drops of dish soap into your warm water. Apply this mix with your cloth and don’t forget to rinse and dry afterward. Voila! Spills don’t stand a chance!
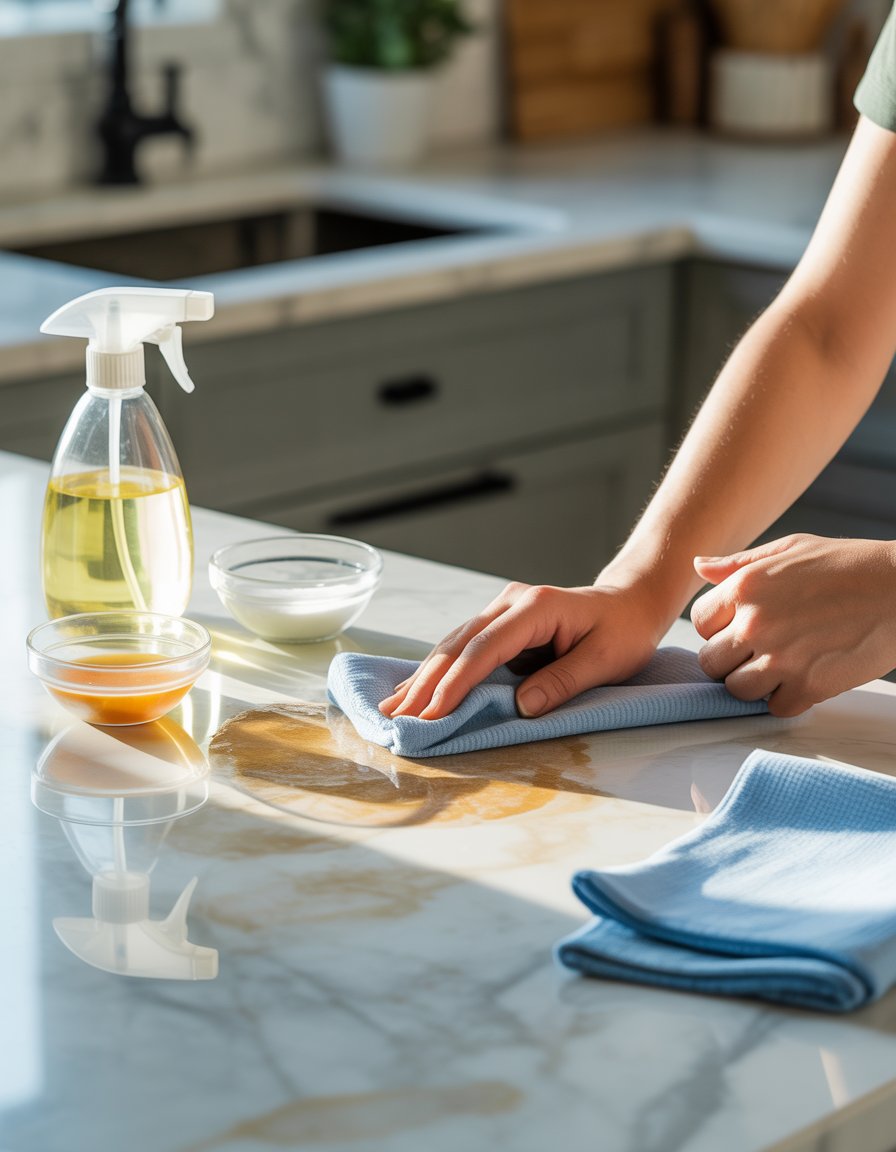
Working with Baking Soda and Water
Now, if the stain has decided to stick around like an uninvited guest, it’s time to bring out the big guns: baking soda.
Mix four tablespoons of baking soda with a quarter cup of warm water. Stir it until it forms a paste.
Apply the paste to the stain and cover it with plastic wrap. This is like a spa day for your marble! Leave it to work its magic for a few hours or overnight.
After it’s had time, gently wipe it away with a damp cloth. If at first you don’t succeed, repeat the process. Remember, patience is key, just like waiting for your dough to rise!
When to Call in Alcohol

Alright, if your stains are still hanging on like a stubborn stain from that mysterious pizza sauce, it might be time to call in alcohol.
No, not the party kind! Grab some isopropyl alcohol instead.
Apply a little bit to a soft cloth, making sure it’s not soaking wet. Gently dab the stain and let it sit for a minute. Wipe it clean afterward.
When Marble Throws a Tantrum: Handling Etching and Dull Spots

First, let’s talk about severe etching. If your marble has noticeable marks or uneven areas, you’ve got a case on your hands. So, how can you tell if it’s severe? Look for these signs:
- Deep scratches or discoloration: These are not just a little “meh.” They’re more like “help!”
- Water spots: If these marks are sticking around longer than your last guest, it’s time to act.
When you encounter severe etching, reach for a quality etch remover. Follow the instructions carefully. Apply it to the affected area, then buff it out.
Reviving Dull Spots the Fun Way
Now, let’s tackle those dull spots. They can really make your marble surface look tired.
To start, create a simple paste with baking soda and water. Mix it until it resembles a yogurt-like consistency. Apply this paste on the dull spots and let it sit for about 5-10 minutes.
Next, grab a soft cloth or sponge and gently rub in a circular motion. This action is perfect for getting your marble’s shine back. Rinse with warm water and dry it thoroughly. If your marble is still sulking, consider using a specialized marble cleaner for a more polished finish.
Why Acidic Cleaners Are a No-Go
You might think vinegar is your cleaning superhero, but it has a kryptonite: marble. Its acidity can actually etch the surface, leaving behind dull spots that make your once shiny countertop look more like a sad pancake.
Using vinegar can gradually wear away the finish, turning your elegant marble into a lifeless rock. If you’ve got granite or marble countertops, you should treat them like you would a fine wine—not with a splash of vinegar, but with care.
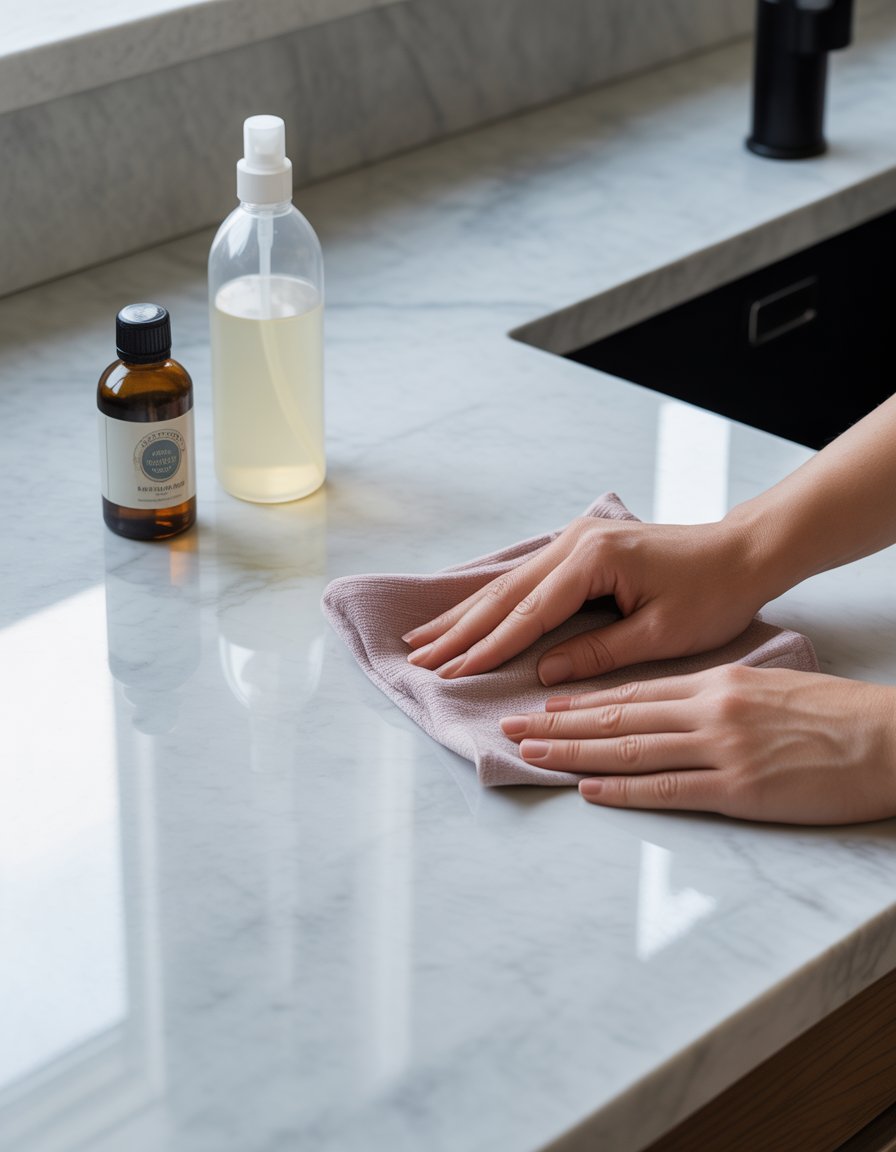
The Art of Marble Maintenance

Use a soft cloth and warm water for daily cleaning. It’s like giving your marble a warm hug.
For a deeper clean, mix a drop of mild dish soap with water. Gently wipe the surface with this mix. Avoid anything harsh! Abrasive cleaners are a marble’s worst enemy.
Cleaning Tips:
- Use a soft cloth or microfiber towel.
- Avoid acidic cleaners like vinegar or lemon juice. They can cause etching, which is marble’s way of saying, “Ouch!”
- Rinse with clean water to remove any soap residue.
Doing this regularly stops dirt from turning into stubborn stains. Remember, a little cleaning goes a long way!
Sealant Secrets for Lasting Shine
You’ve got to treat your marble right! A good sealant is like sunscreen for your stone. It protects against stains and keeps it shiny.
After cleaning, apply a marble-specific sealant. Follow the product instructions for the best results. Usually, you can apply it with a soft cloth in circular motions. Let it soak in, and then buff it until it shines like a diamond.
Sealant Tips:
- Reseal your marble every 6-12 months, depending on usage.
- Test the sealant on a small area first. You want to avoid surprises!
- Keep an eye out for water spots. If water beads up, your sealant is holding strong.
When to Seek Professional Help (and Not Just from just answer)
While DIY efforts can be valiant, there are moments when you just need to call in the pros. Here’s when you might want to step aside and let the experts work their magic.
If your marble stains look like they’ve taken up permanent residence, it might be time to call in a marble whisperer. These experts know how to deal with stubborn stains that regular cleaning can’t budge.
Look for someone who specializes in:
- Deep cleaning: Using professional-grade products that you may not have access to.
- Stain removal techniques: They often use poultices or advanced methods for tough stains.
- Restoration: If your marble has scratches or dullness, they can polish and restore its shine.
Before diving into a big project, it’s wise to check reviews and get a quote. This way, you can avoid any surprises—like finding out your marble is actually made of cake!