I don’t know about you, but I’m always up for some free home decor.
Why spend a small fortune on dried arrangements when Mother Nature provides such beautiful materials right outside our doors?
As my husband likes to say (while eyeing my credit card statements), “The best decorations are the ones that don’t involve a trip to the garden center.” Smart man, that one.
Today, I’m going to share not one, not two, but FIVE different methods for drying those beautiful hydrangea blooms.
Plus, I’ll take you on a little foraging adventure to see what other treasures we can collect and preserve for stunning autumn and winter displays.
So put on your comfy shoes, grab a cup of tea, and let’s dive into the wonderful world of hydrangea preservation!
Why I’m Absolutely Mad About Hydrangeas
You’ve probably noticed that I have a bit of an obsession with hydrangeas.
And by “a bit,” I mean I would happily turn my entire garden into a hydrangea theme park if my husband would let me.
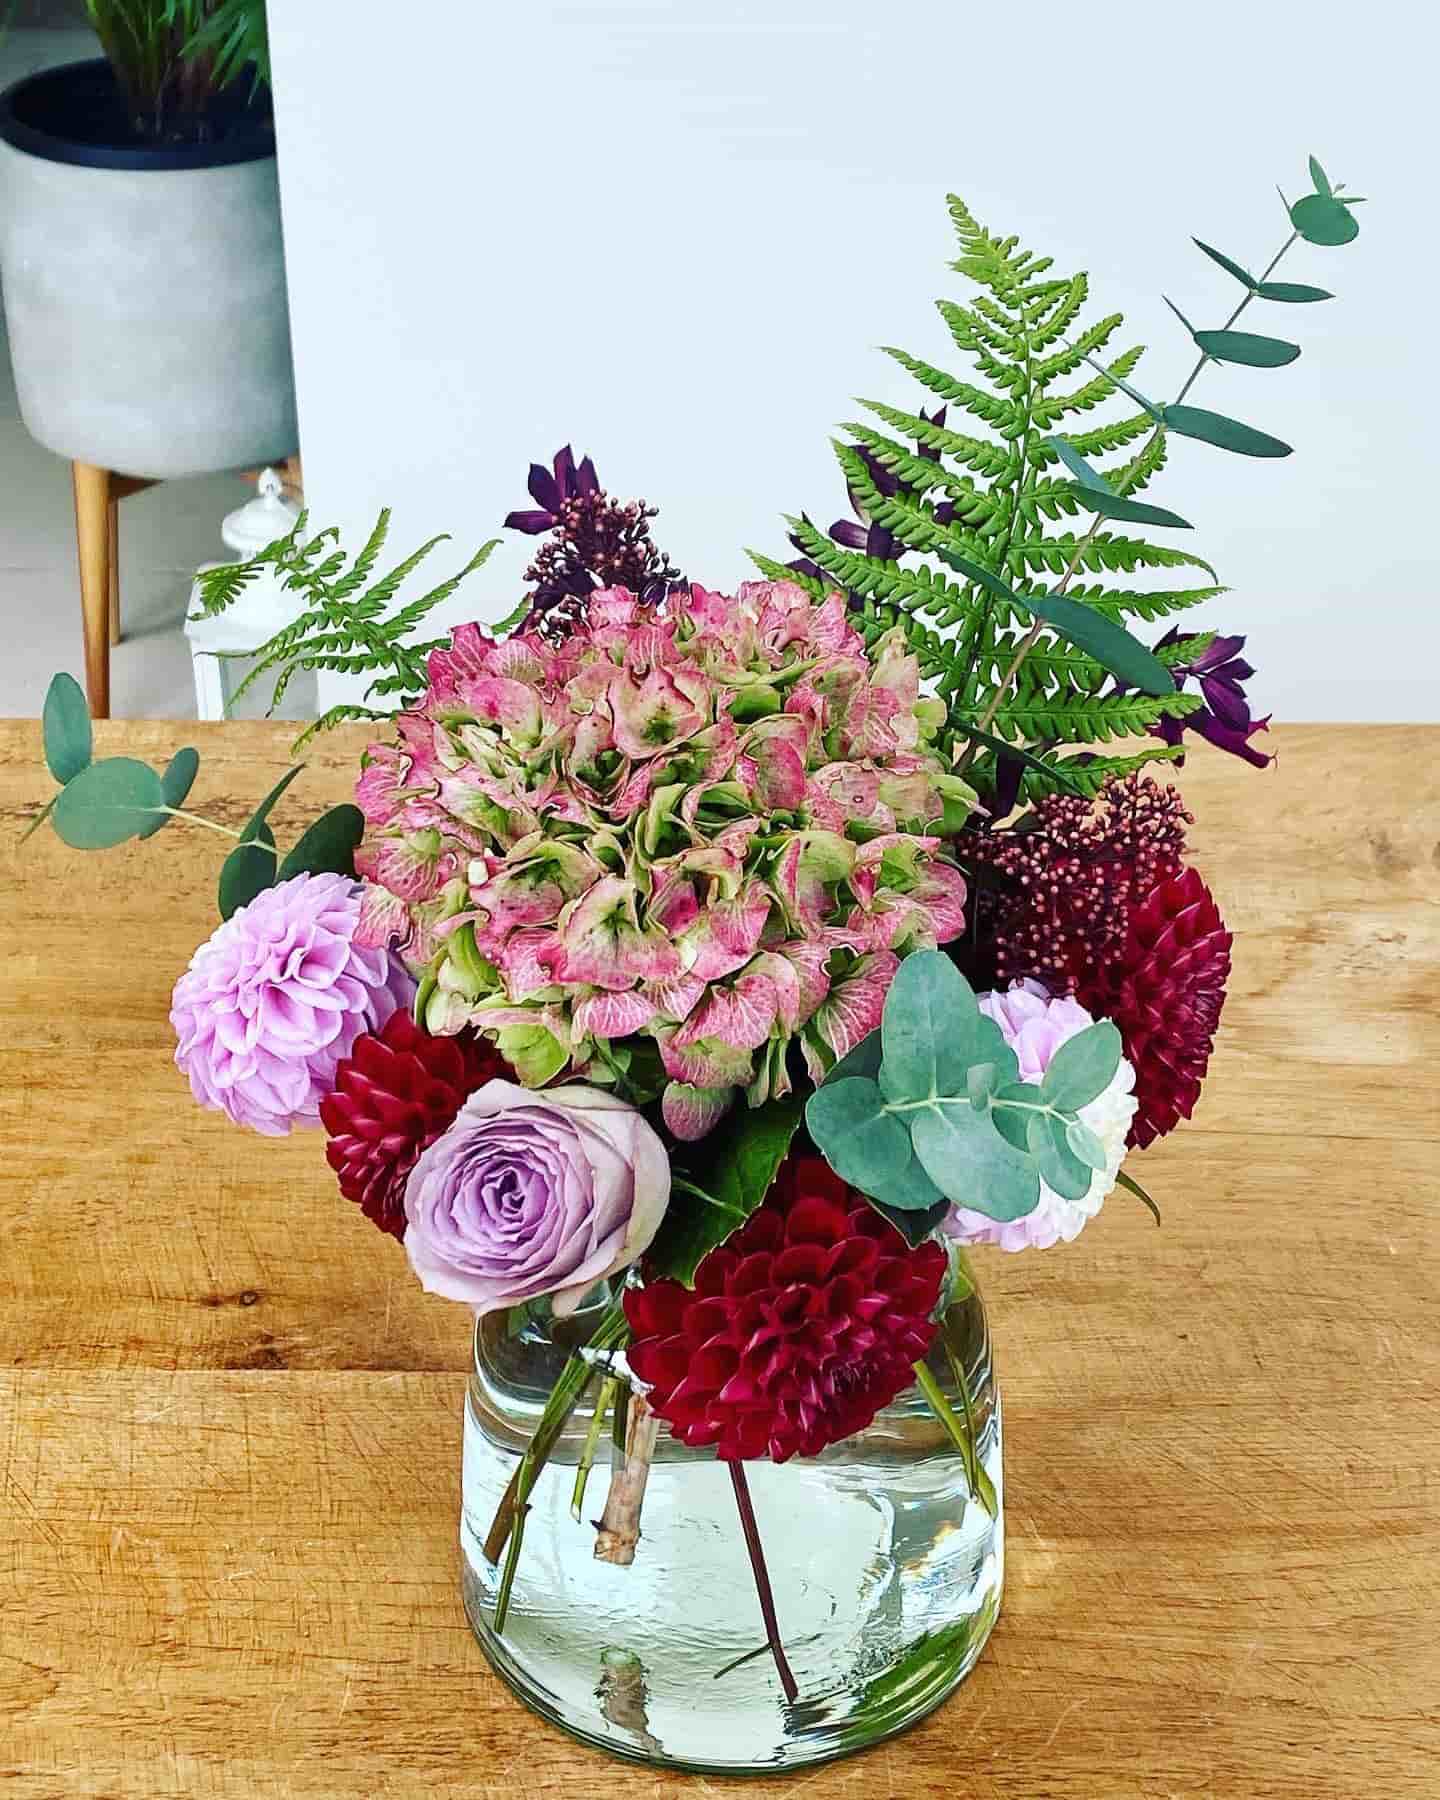
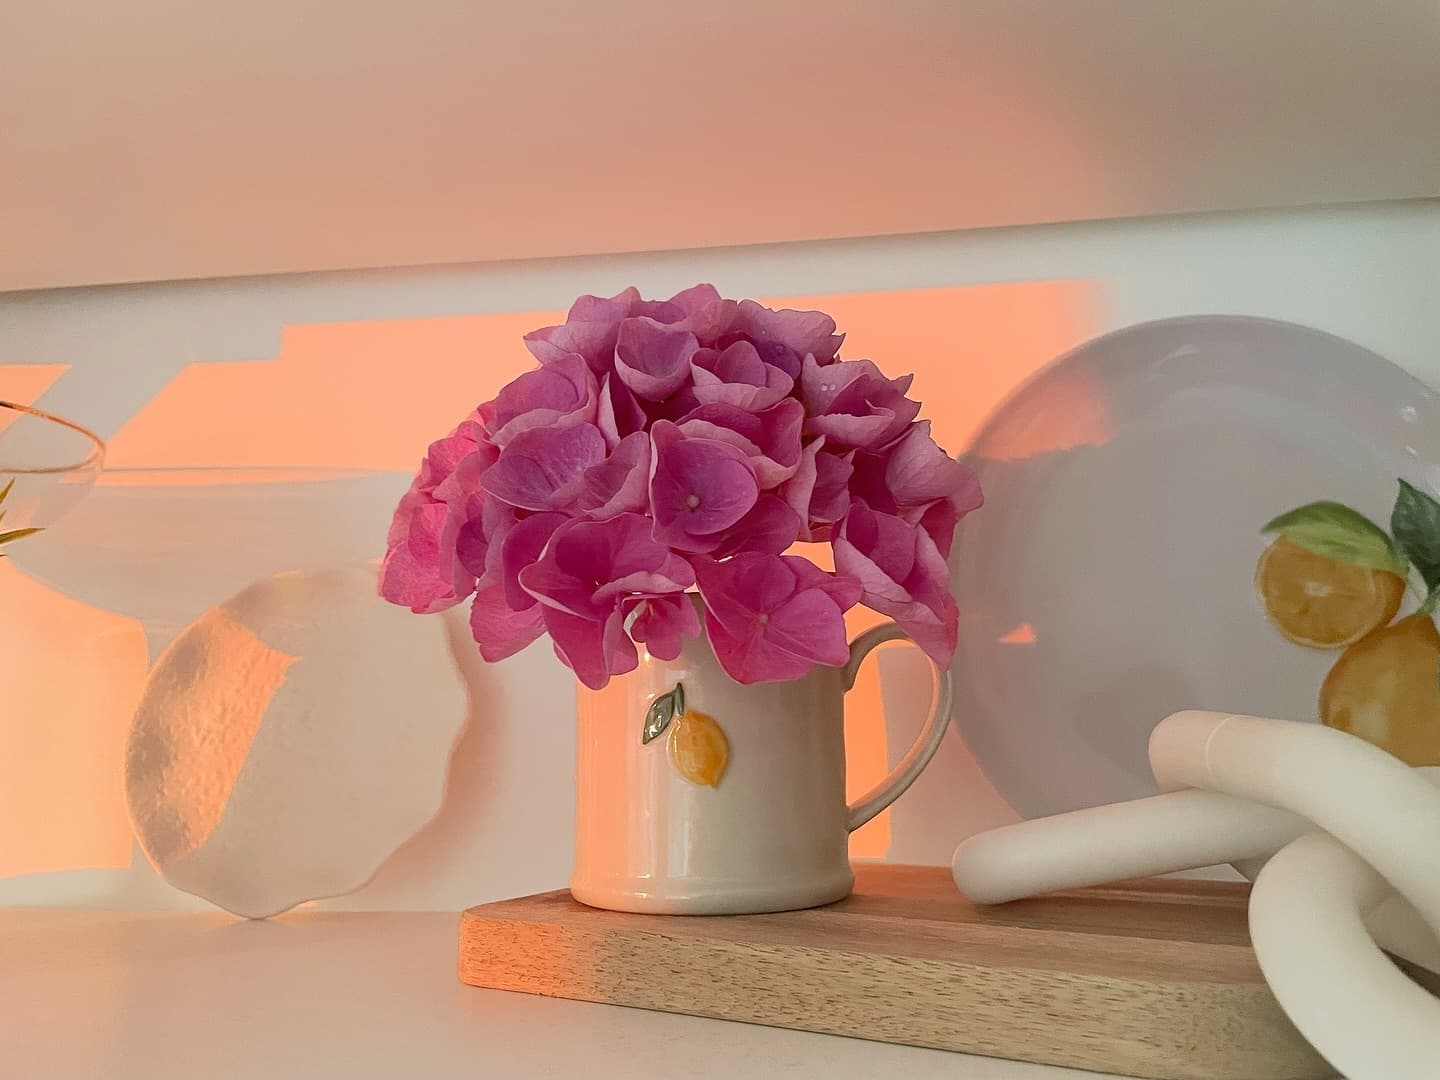
These plants are truly garden superstars. With their big, bountiful blooms providing gorgeous pops of color from summer well into autumn, they’re the gift that keeps on giving.
You really can’t fault them – they’re easy to grow, relatively simple to maintain, and wonderfully easy to dry.

Prepping Your Hydrangeas for Drying Success

Before I cut any hydrangeas for drying, I always make sure they’re fully hydrated but not wet. This means no cutting after a rain shower or while the morning dew is still glistening on the petals.
Around 11 o’clock in the morning is typically ideal – after the dew has dried but before the heat of the day sets in.
Now, where exactly should you cut? Well, frankly, it depends on what you plan to do with them and how tall your vases are.
When I prep them for drying, I’ll cut the stems again at a 45-degree angle to help with the drying process. I always cut in batches, so I think this handful is enough for my first round.
The next step is to strip off all the leaves. I like to go right up into the heads and remove the leaves there too, though some people prefer to leave the top few.
It’s really a matter of personal preference. Once all the leaves are gone, I’ll make that 45-degree angle cut on each stem.
Method 1: The Simplest Approach – No Water, No Fuss

Now that our hydrangeas are prepped and ready, let’s dive into the five different drying methods I promised.
First up is by far the simplest technique – so simple, in fact, that you might wonder if I’m having you on!
For Method 1, literally all you need to do is choose your vase and pop the hydrangeas in. That’s it! No water, no additives, no complicated steps.
Could it be any easier? I think not!
These now need to go somewhere out of direct sunlight, away from drafts, and ideally in a cool spot.
The drying time is generally a few weeks, but that will vary depending on your home’s conditions, particularly the humidity levels.
Method 2: The Shallow Water Technique

Moving on to Method 2, we’re getting a bit more sophisticated now – we’re adding water! I know, contain your excitement!
For this approach, add about one to two inches of water to your chosen container.
Then, just as with Method 1, arrange your hydrangea stems in the vessel.
The key difference here is that the stems will continue to draw up the water as they dry, which some gardeners believe results in a more vibrant dried bloom.
I don’t like to overcrowd the flowers. These fluffy beauties dry better when they have some breathing room, allowing air to circulate around the entire flower head.
Remember, these particular blooms have been quite badly damaged by the wind and rain, so they’re not in perfect condition.
Method 3: The Glycerin Technique – A Bit of Science
Now for Method 3, which gets a bit more technical with the addition of glycerin. I must confess, this is the method I find most tricky.
Sometimes it works brilliantly, and other times it’s an absolute disaster that leaves me questioning my life choices!
The standard ratio is one part glycerin to two parts water. I’m currently experimenting with different strengths to see what works best with them.
If you haven’t used glycerin before, it’s quite fascinating.
Unlike the other methods that result in papery, somewhat brittle dried flowers, glycerin actually makes the petals supple and flexible.
The blooms maintain a more lifelike quality, and the petals tend to shed less, which means less vacuuming for me (always a bonus!).
Method 4: The Classic Hanging Method

Time for Method 4, which is perhaps the most traditional approach to drying flowers of all kinds.
For this technique, I’m gathering my prepped hydrangea stems into small bundles and securing them with twine.
I find that keeping the bundles relatively small allows for better air circulation, which helps prevent mold – nobody wants moldy hydrangeas, trust me on that one!
Once tied, I’m hanging these bundles upside down in my garage. While some might suggest hanging them in an airing cupboard or attic, I find the garage works perfectly.
It’s cool, relatively dark, and has decent air circulation.
When hanging hydrangeas, make sure they’re not touching each other or the wall.
They need space to dry properly, just like those of us who need a bit of personal space after a long day of socializing!
Method 5: The Lazy Gardener’s Approach – On-Plant Drying

Before I forget, let me tell you about Method 5, which is possibly the easiest of all – though it does require a bit of patience.
This approach is simply to leave the hydrangeas on the bush and let them dry naturally!
This works particularly well with Annabelles. They dry back beautifully right on the plant and add wonderful winter interest to the garden.
Those dried flower heads catching the frost on a crisp winter morning are absolutely magical – nature’s own Christmas decorations!
The added benefit is that you can snip them off whenever you need them through autumn and winter.
They’re also perfect candidates for spray painting if you want to get creative with your holiday decor.
Nothing says “festive” quite like a gold-sprayed hydrangea head in a Christmas arrangement!
Troubleshooting Common Drying Issues

Now, I’d be remiss if I didn’t mention that drying hydrangeas isn’t always smooth sailing. Sometimes things go a bit pear-shaped, and it’s good to know what might have gone wrong.
If your hydrangeas shrivel up rather than drying beautifully, you probably picked them either too early (when they were still too fresh) or too late (when they had already started to decay). Timing really is everything!
Sometimes you’ll find that your blooms develop mold during the drying process. This is almost always due to too much humidity and not enough air circulation.
If your first batch doesn’t turn out perfectly, don’t be discouraged!
Each season, each variety, and even each individual plant can behave differently. It’s all part of the learning process.
Extending Your Drying Repertoire Beyond Hydrangeas
Once you’ve mastered hydrangeas, you might want to experiment with drying other garden flowers and finds. Here are some of my favorite alternatives that dry beautifully:
Lavender is a classic for drying and brings wonderful fragrance to your home.
Bundle the stems as I showed with Method 4, and hang them upside down.
They’ll be dry within a week or two and will retain their gorgeous scent for months.

Roses can be dried using the hanging method as well, though they will shrink and darken considerably.
For best results, catch them just as they’re fully open but before they start to fade.

Peonies (my other floral obsession) can be dried by standing them upside down in a vase without water.
They’ll take several weeks to dry completely, but the resulting blooms have a beautiful vintage quality.

Allium seed heads dry naturally in the garden and make spectacular architectural elements in dried arrangements.
I leave mine in place until they’re completely dry, then carefully cut and bring them indoors.
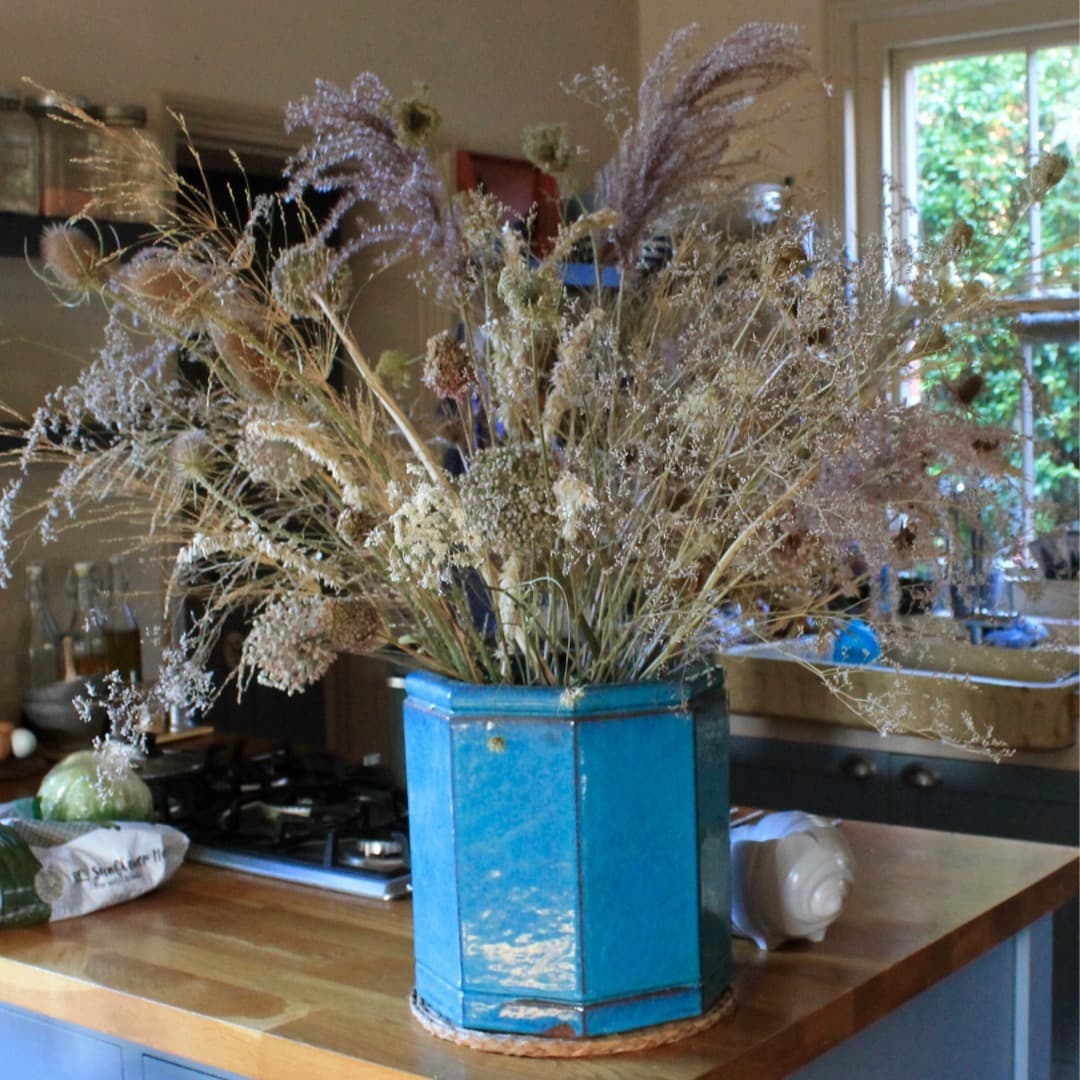
Poppy seed heads are another garden treasure. Once the petals have fallen and the seed pods have hardened, they provide wonderful textural interest in arrangements.
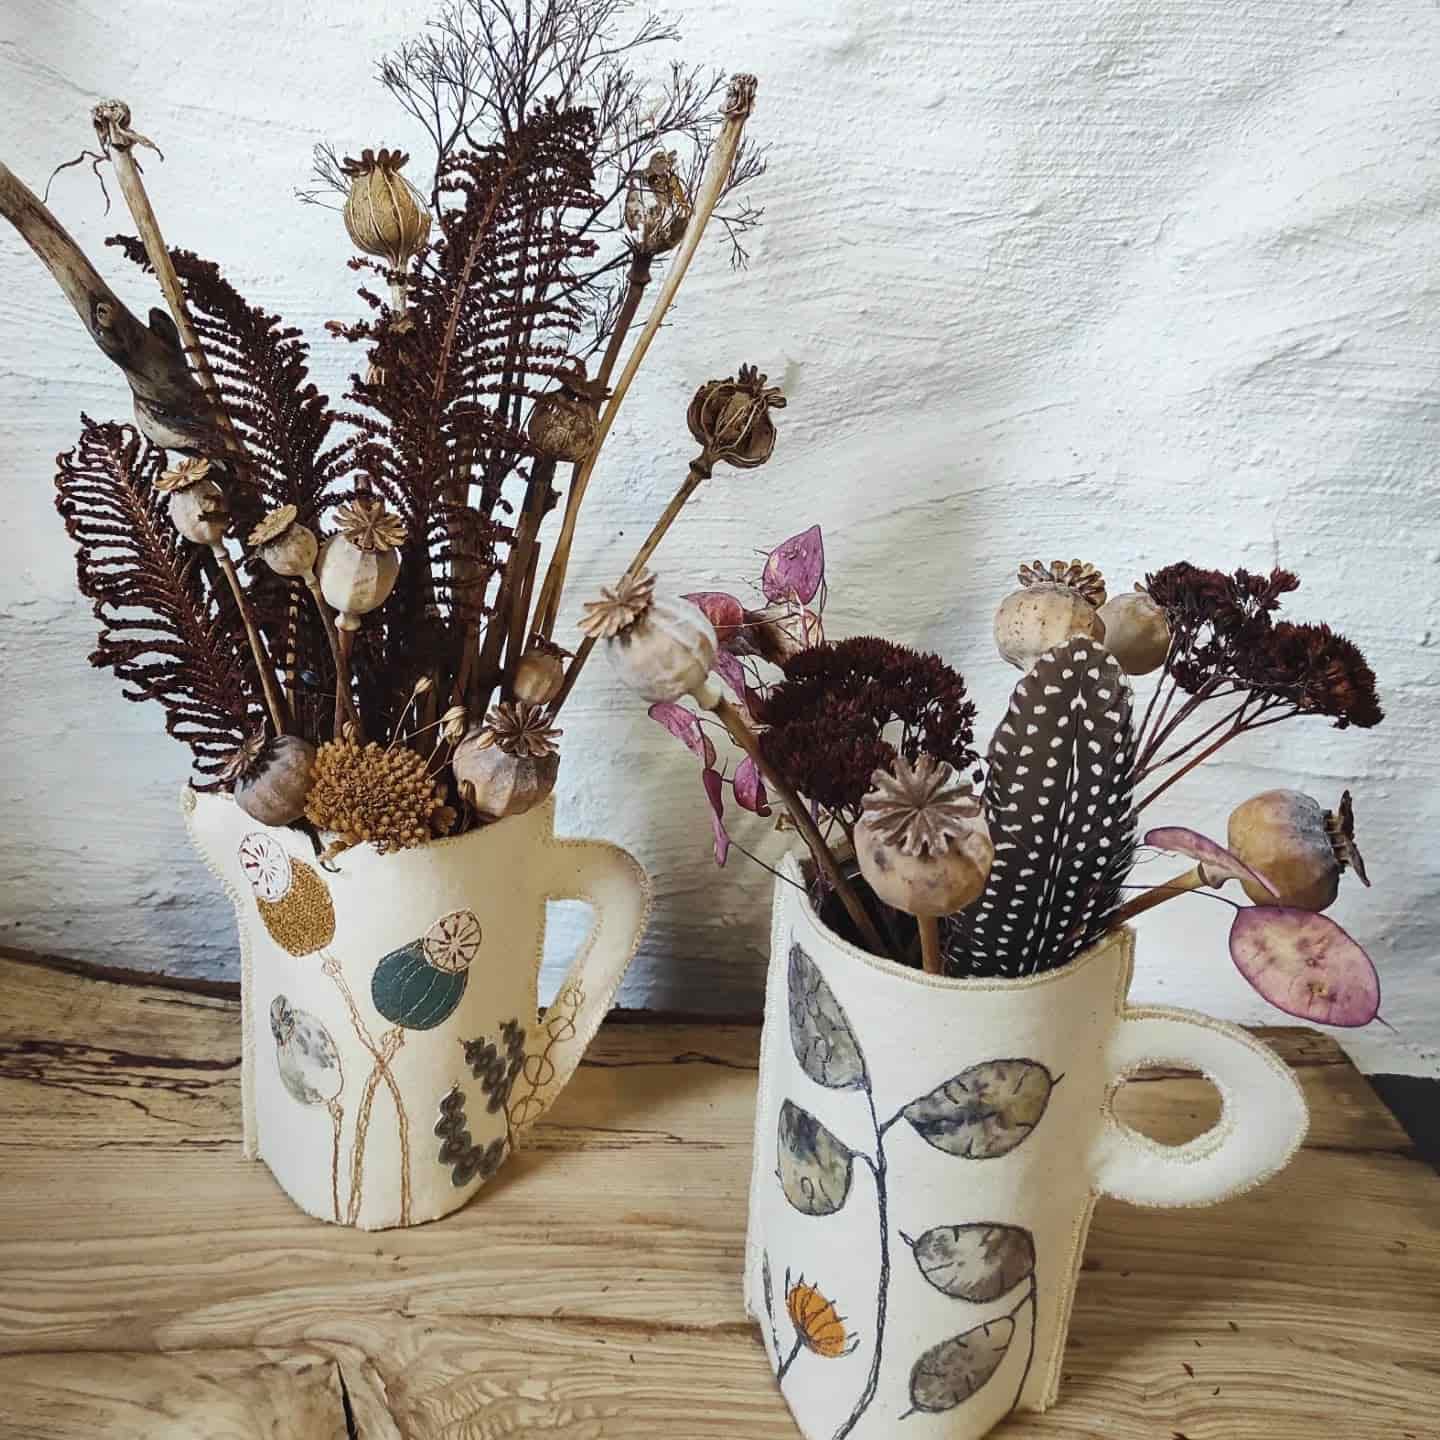
Honesty (Lunaria annua), also known as the money plant, produces the most gorgeous translucent silvery seed pods that dry naturally and last forever. They add a beautiful ethereal quality to winter arrangements.

Sharing the Joy

One of the loveliest aspects of having an abundance of dried flowers is being able to share them with friends and family.
A small arrangement of dried hydrangeas makes a thoughtful hostess gift or a sweet present for someone who could use a bit of cheering up.
I often make small wreaths or posies of dried flowers to give as Christmas gifts, personalized with colors I know the recipient will love.
They’re always well-received – not just because they’re beautiful, but because they represent time and care rather than just a quick trip to the shops.
Preserving Summer Memories
There’s something wonderfully nostalgic about dried flowers. Each bloom carries memories of the summer past – that particularly hot week when the hydrangeas were at their peak, the garden party where guests admired the
Annabelles in full bloom, the morning coffee enjoyed on the patio surrounded by floral abundance.
By drying these blooms, we’re essentially preserving those summer memories to enjoy throughout the darker, colder months.
On a dreary February day, when the garden is dormant and spring seems impossibly far away, those dried hydrangeas serve as a tangible reminder that the garden will bloom again.
I often find myself touching the dried blooms and being transported back to warmer days. Is that terribly sentimental?
Perhaps. But gardening is an emotional pursuit as much as a practical one, isn’t it?
Final Thoughts and Encouragement
I do hope you’ve enjoyed this little journey into my hydrangea-drying adventures and that it’s given you plenty of inspiration.
If you’ve never tried drying flowers before, I encourage you to give it a go! Start simple with Method 1 or 5, and see how you get on.
I promise it’s not nearly as complicated as it might seem.
Remember that nature doesn’t aim for perfection, and neither should we.
Some of your blooms will dry more beautifully than others, and that’s all part of their charm. Embrace the imperfections and variations – they’re what make your dried arrangements uniquely yours.
I’d absolutely love to hear about your experiences with drying hydrangeas or other flowers. Have you tried any of these methods?
Do you have other techniques that work well for you? What’s your favorite way to display dried blooms?
Let’s have a lovely chat in the comments!